What can you do with rejected rope
If your rope has been rejected, you do not have to dispose of it immediately. There is always interest in it, but not in climbing activities.
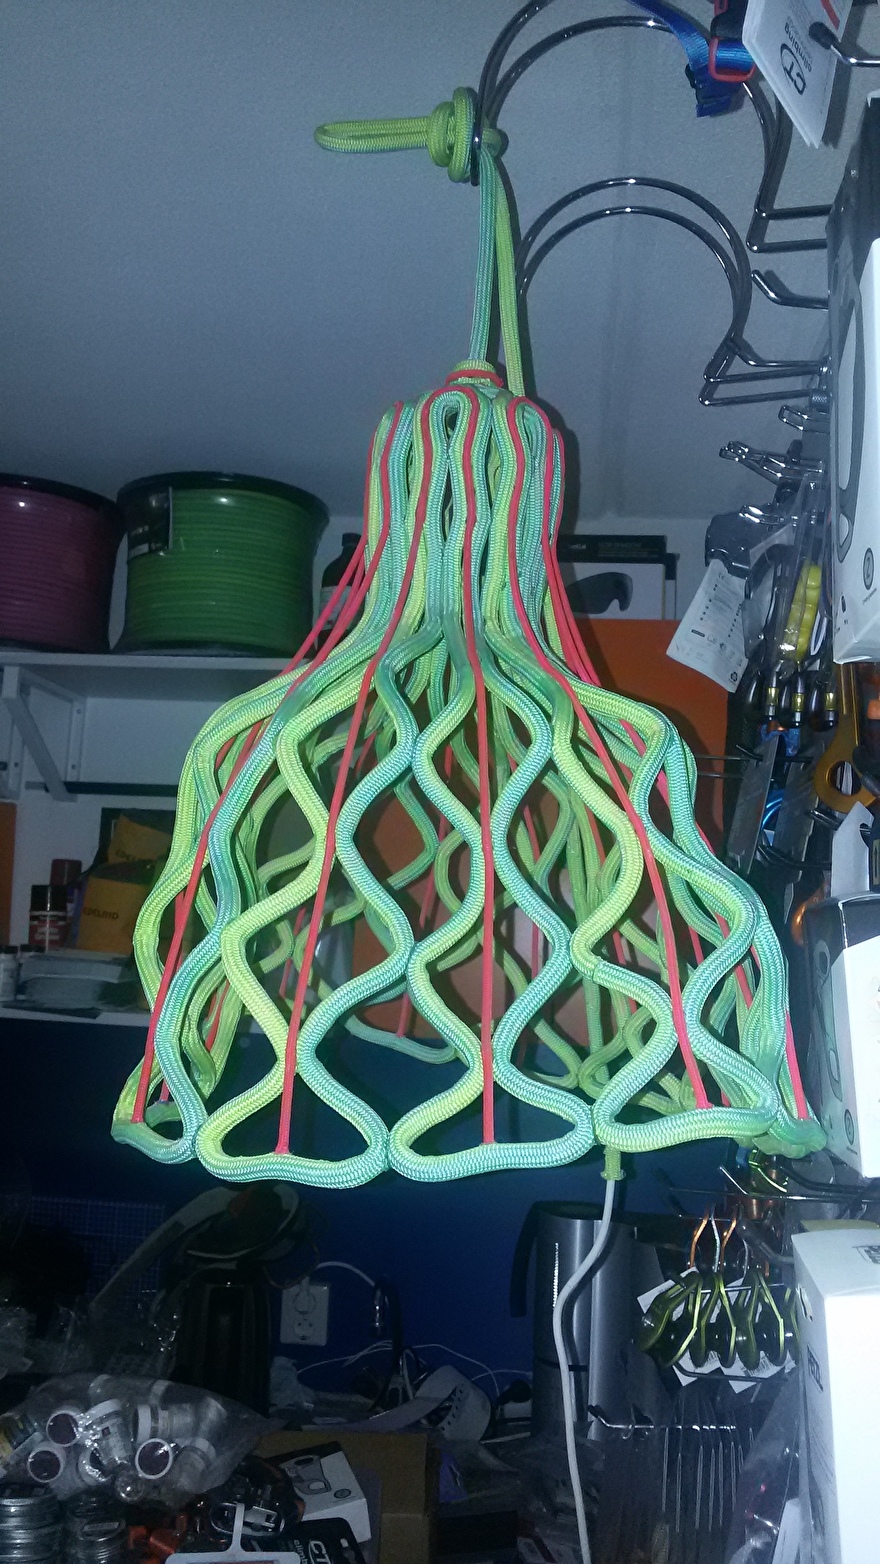
For example, you can use it to create:
- a plate with rope knots
- lamps
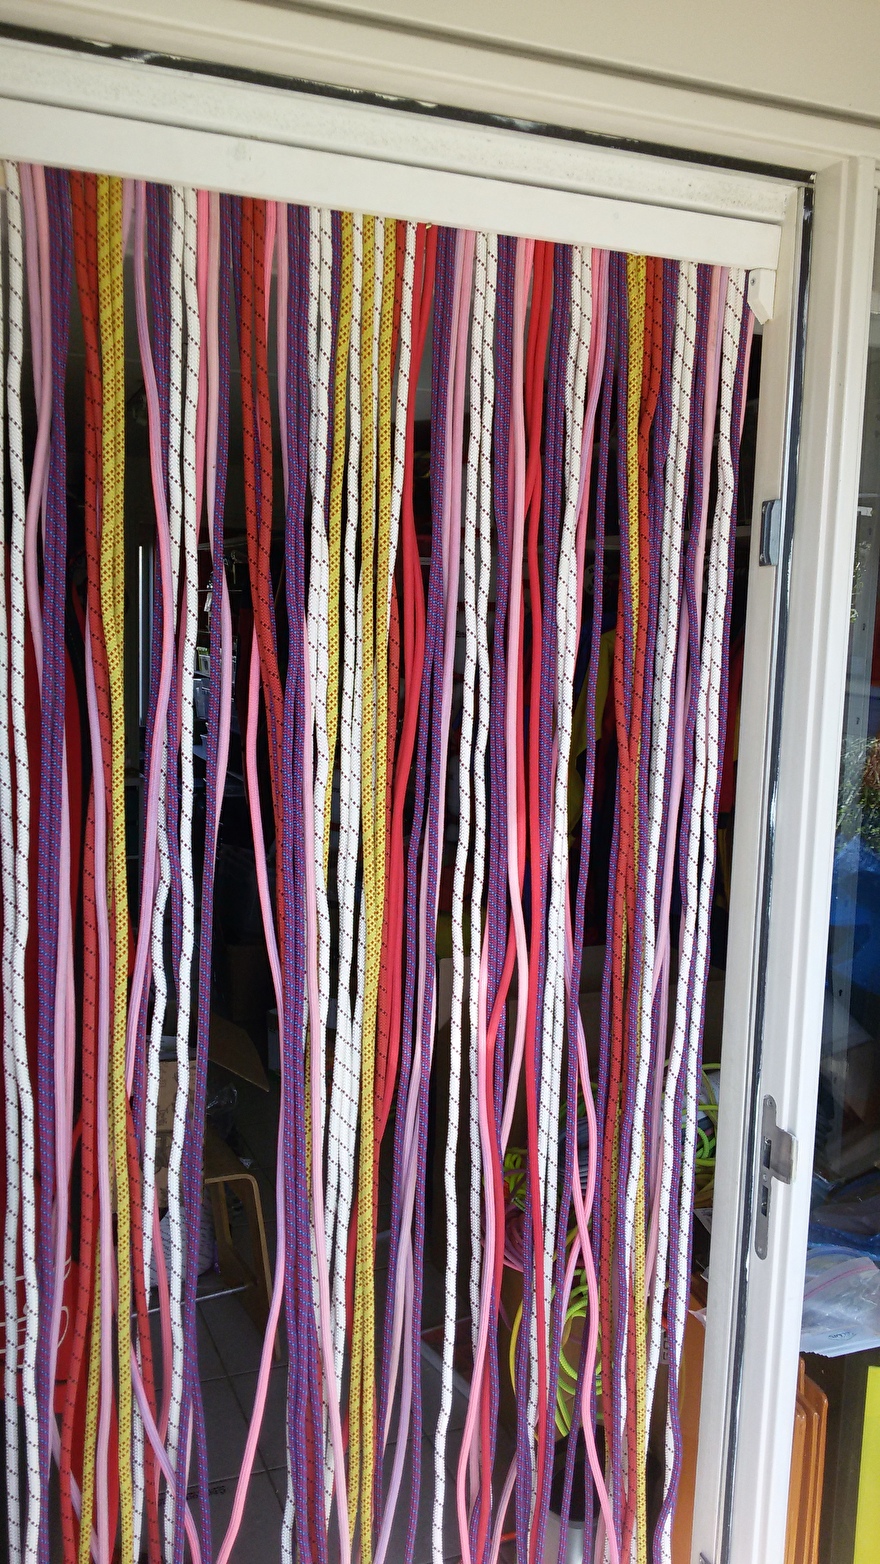
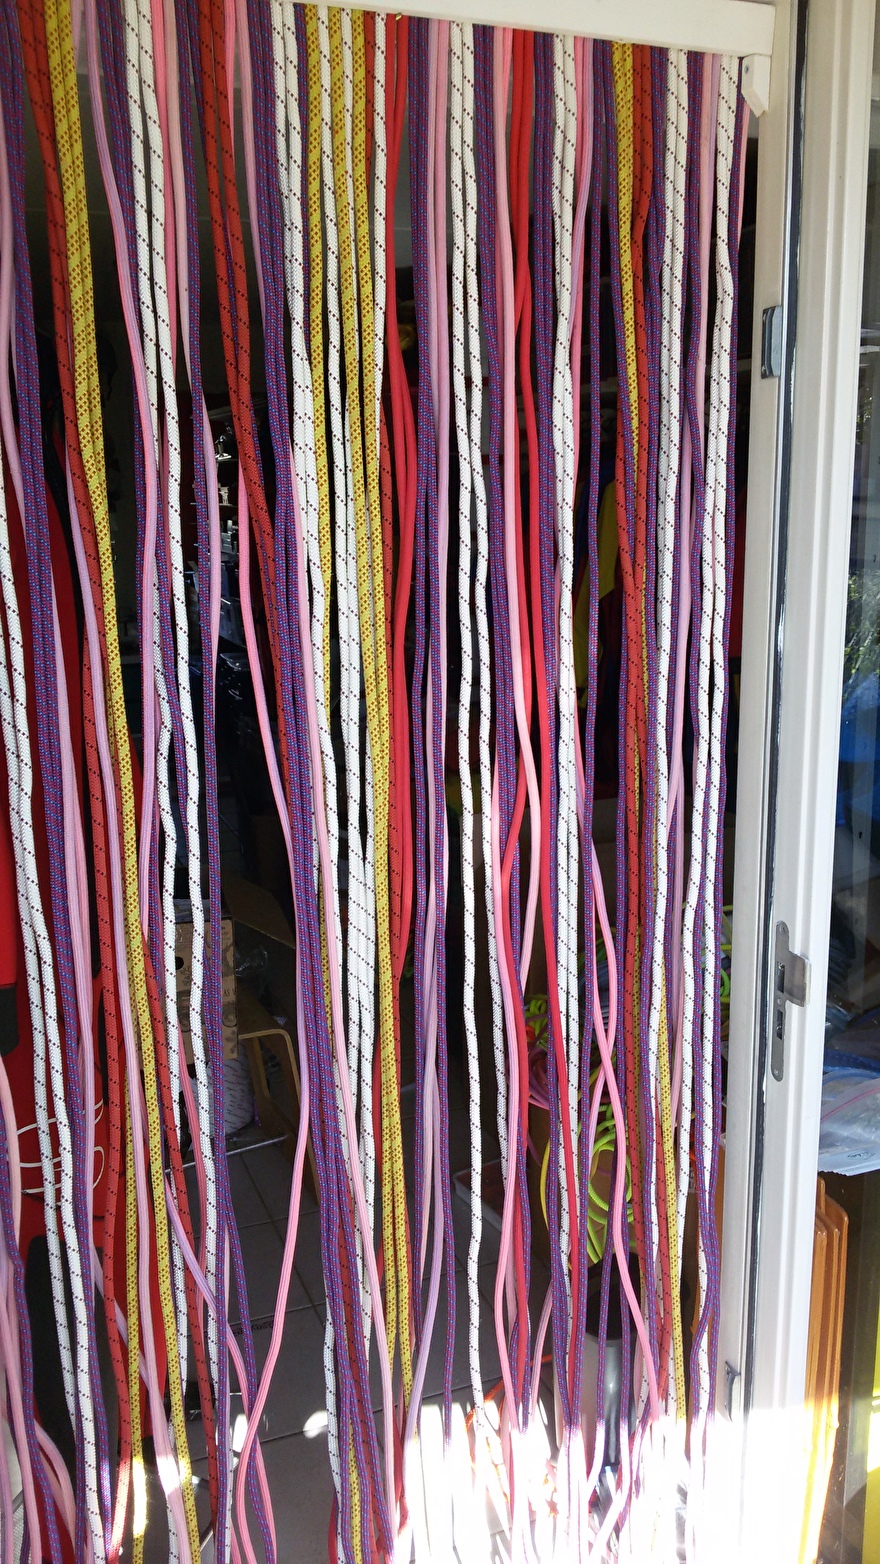
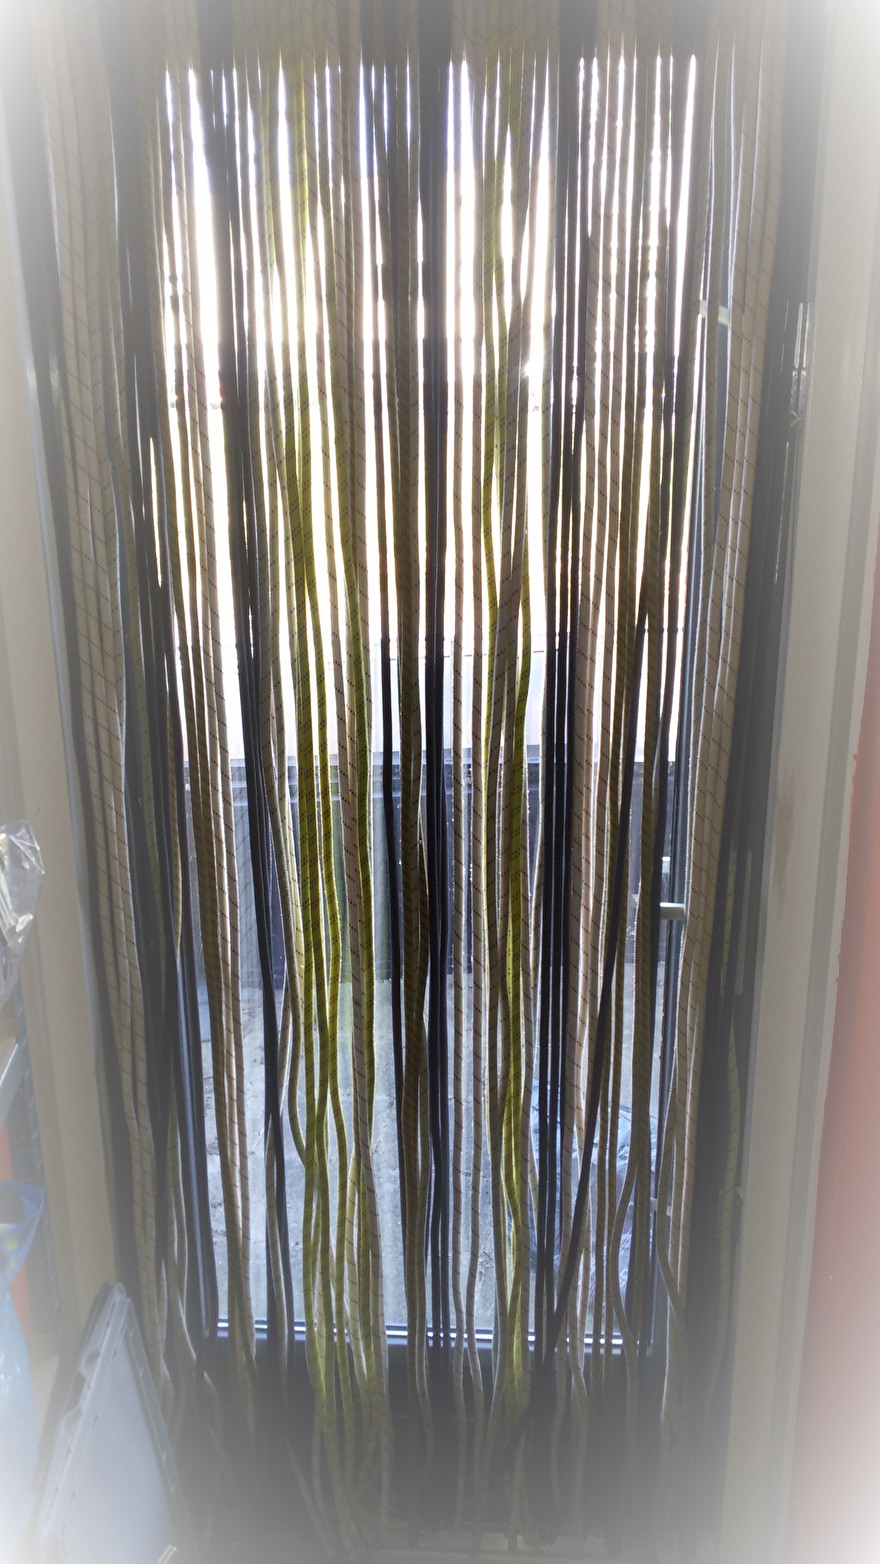
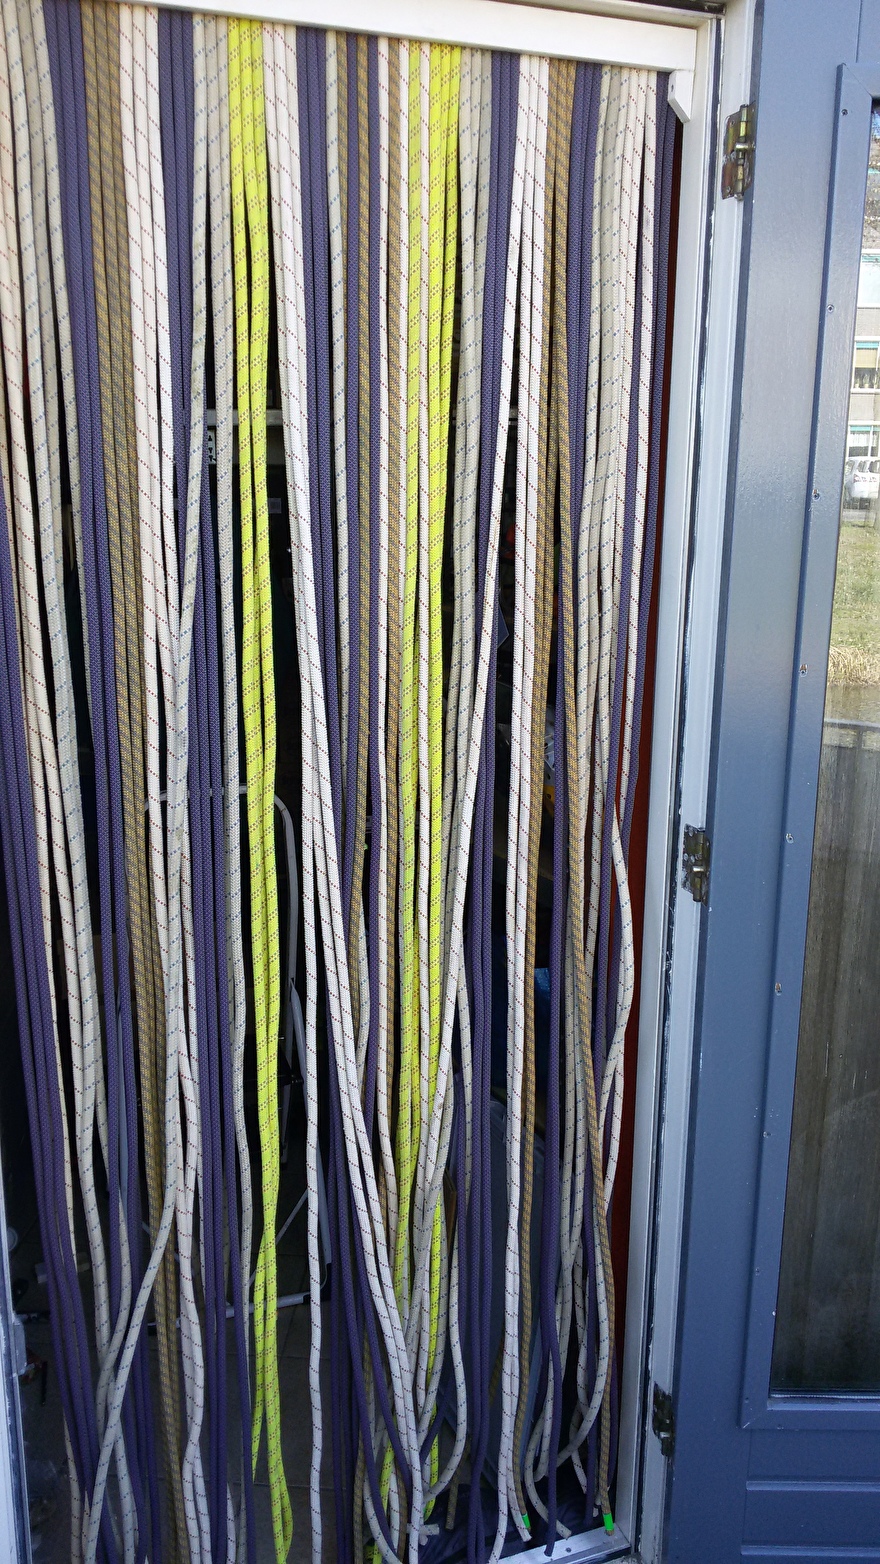
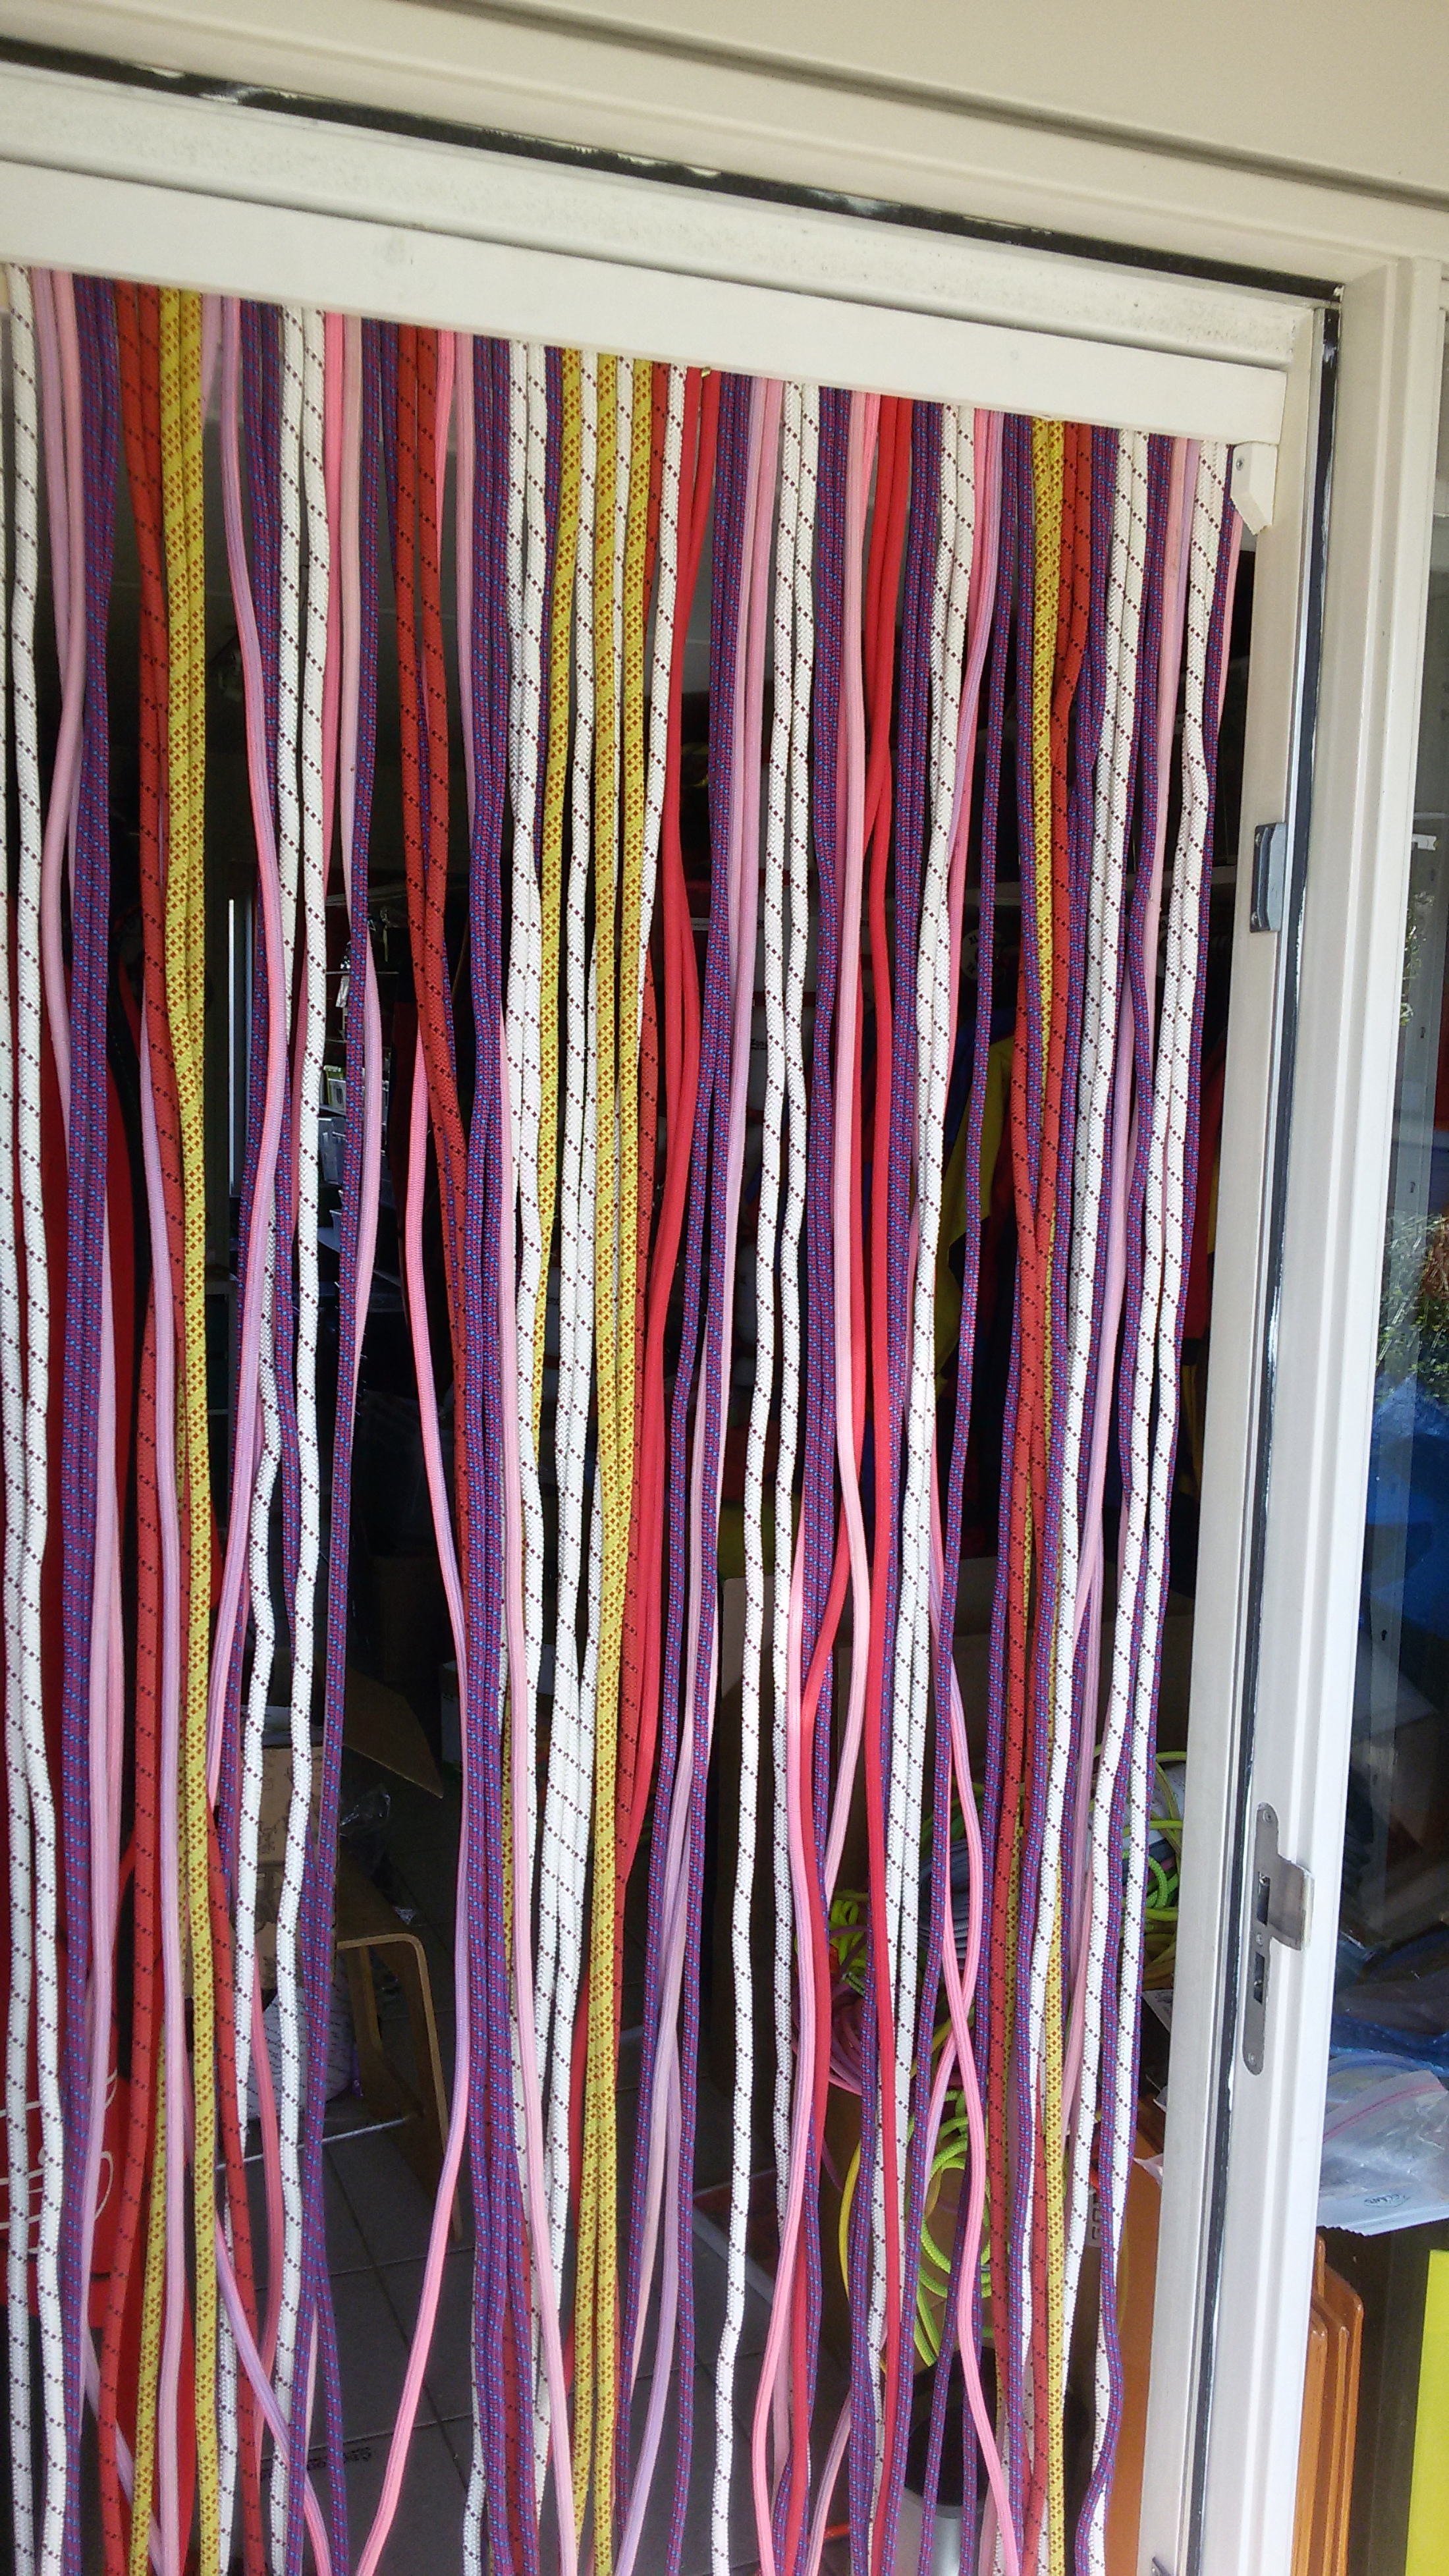
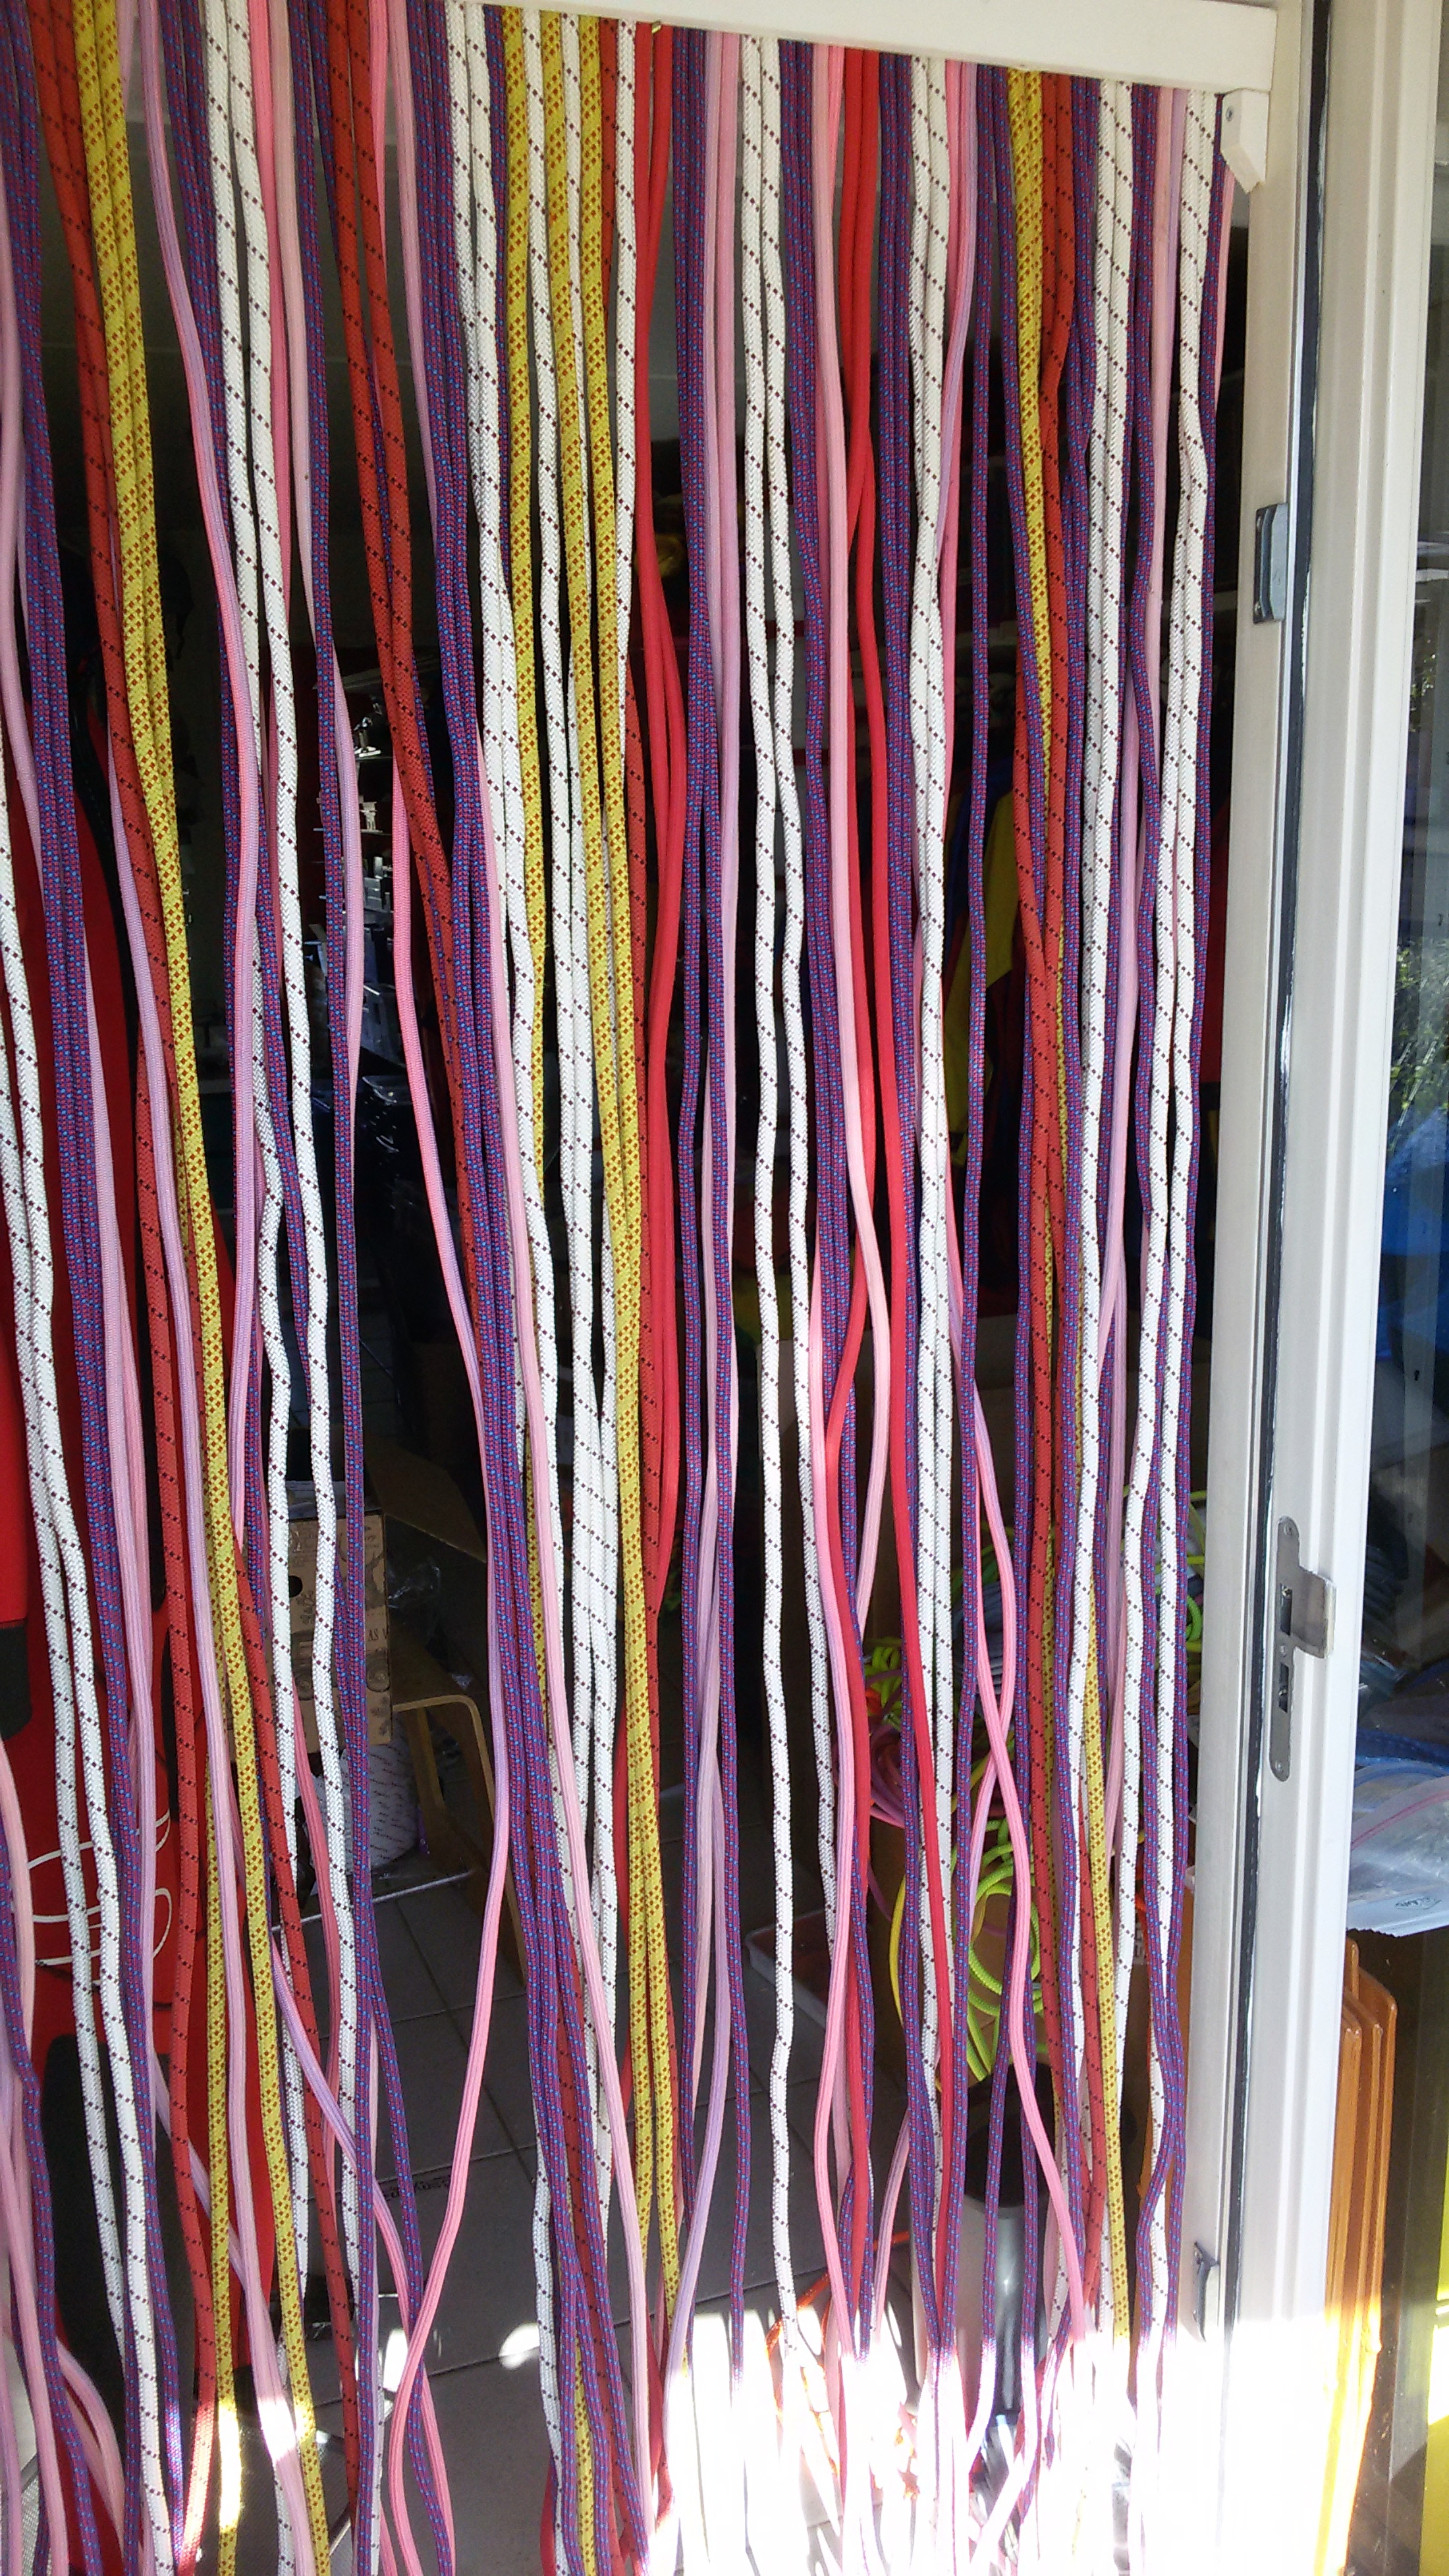
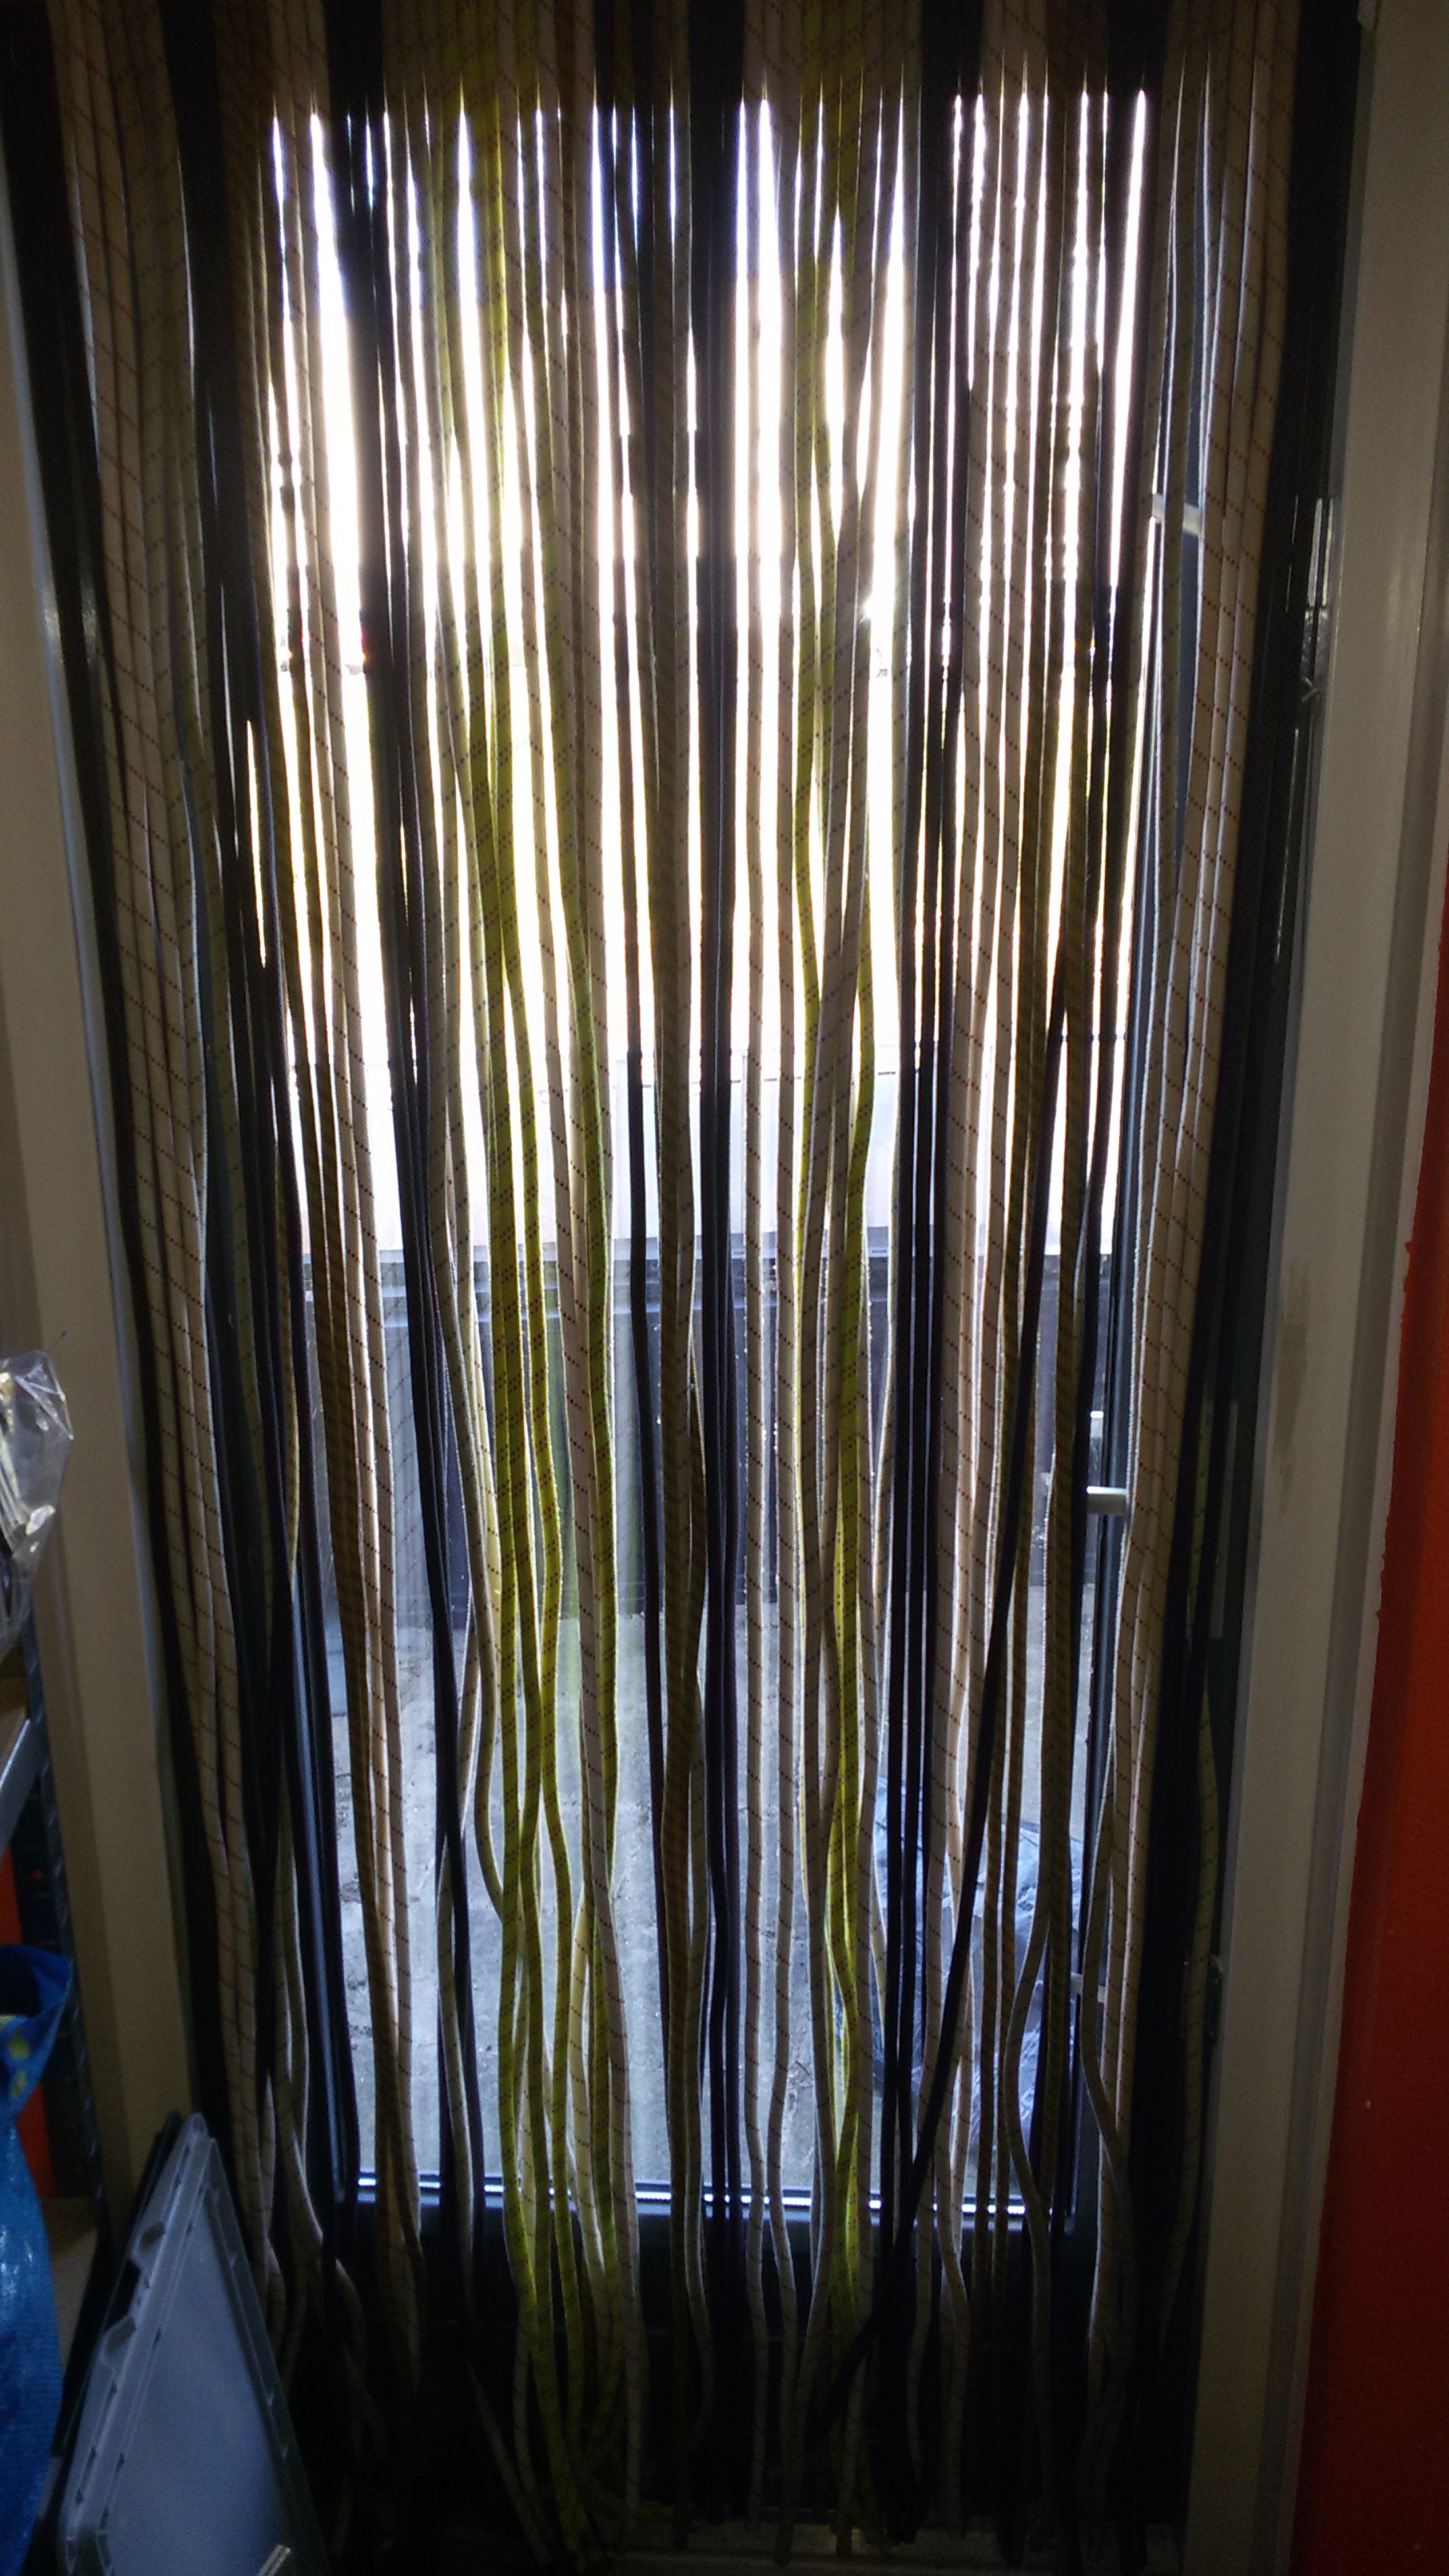
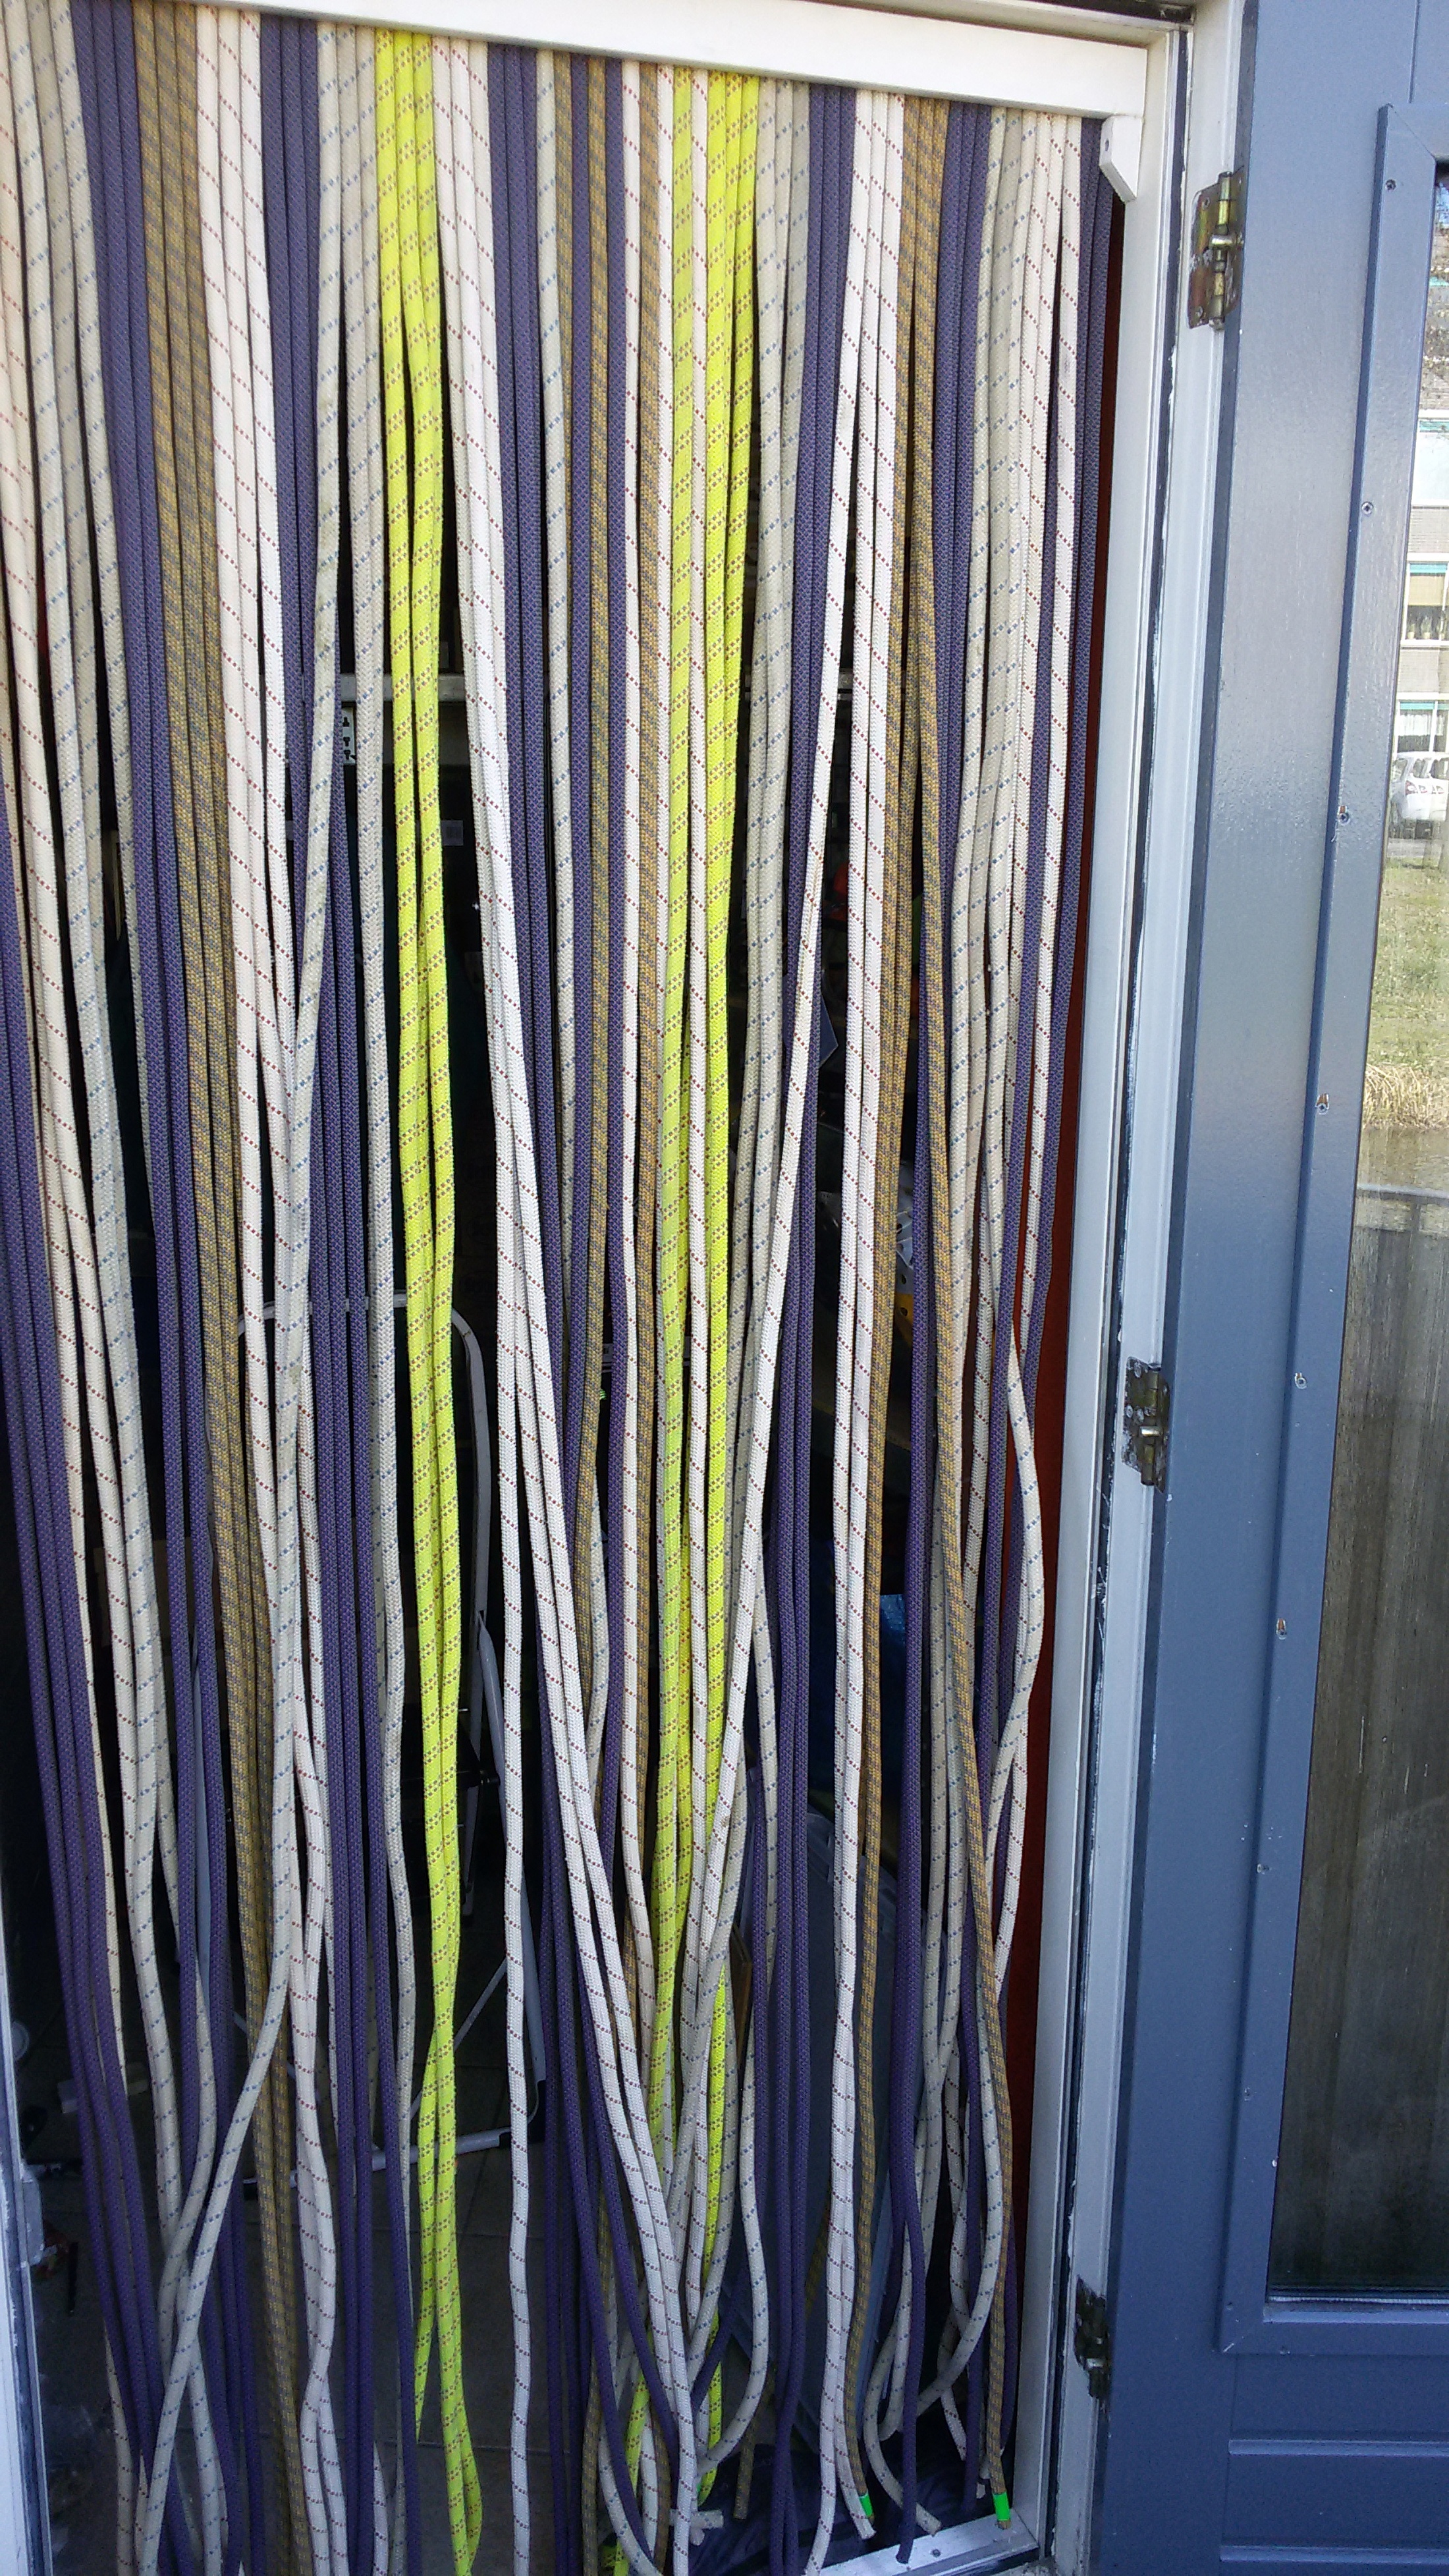
- a fly curtain
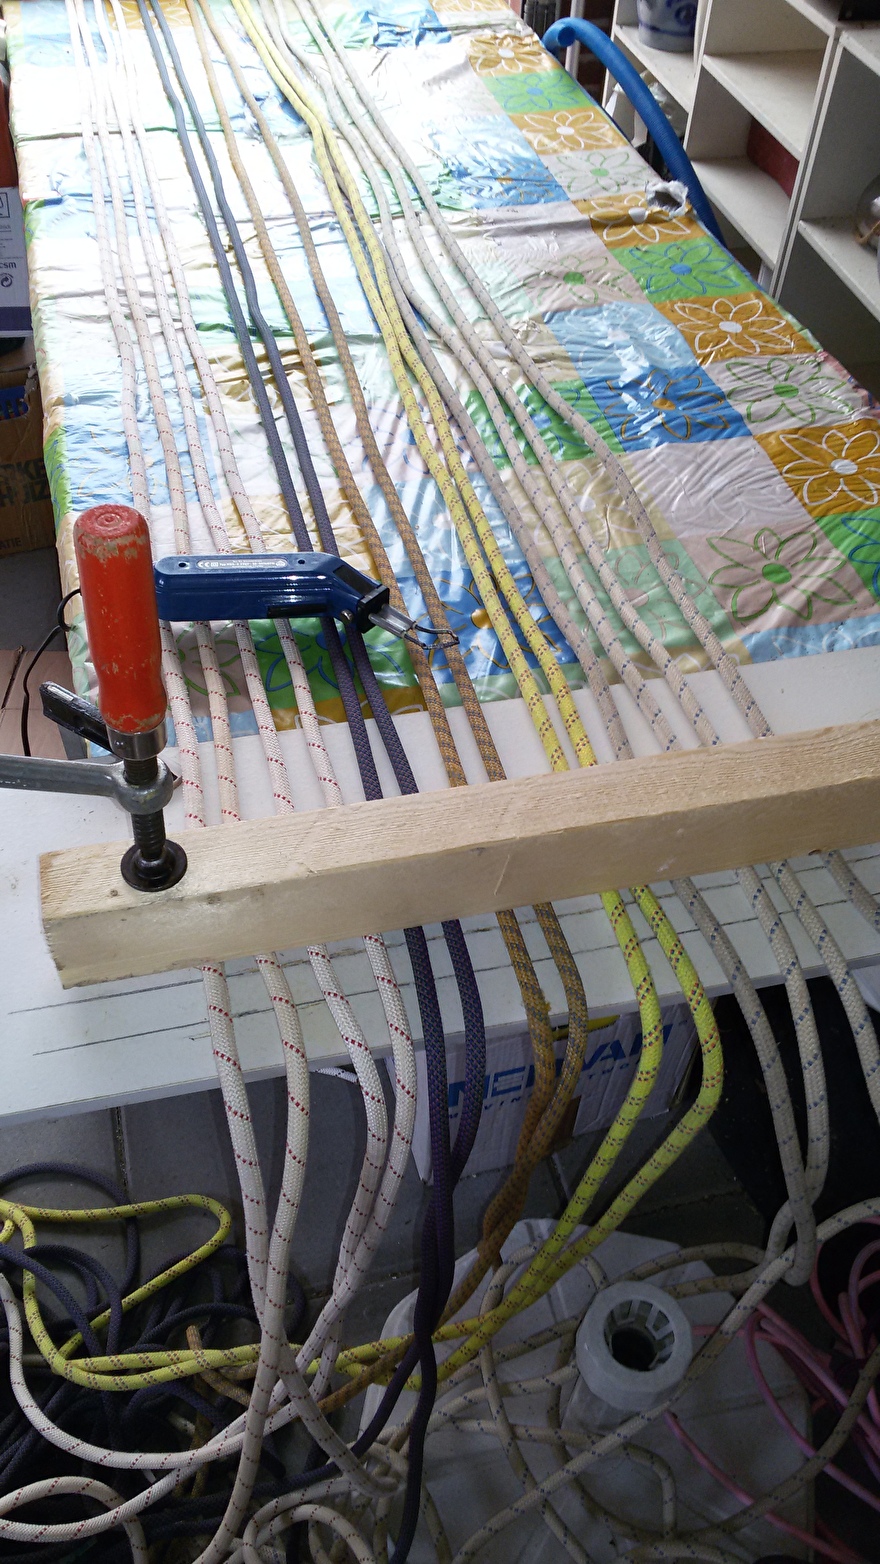
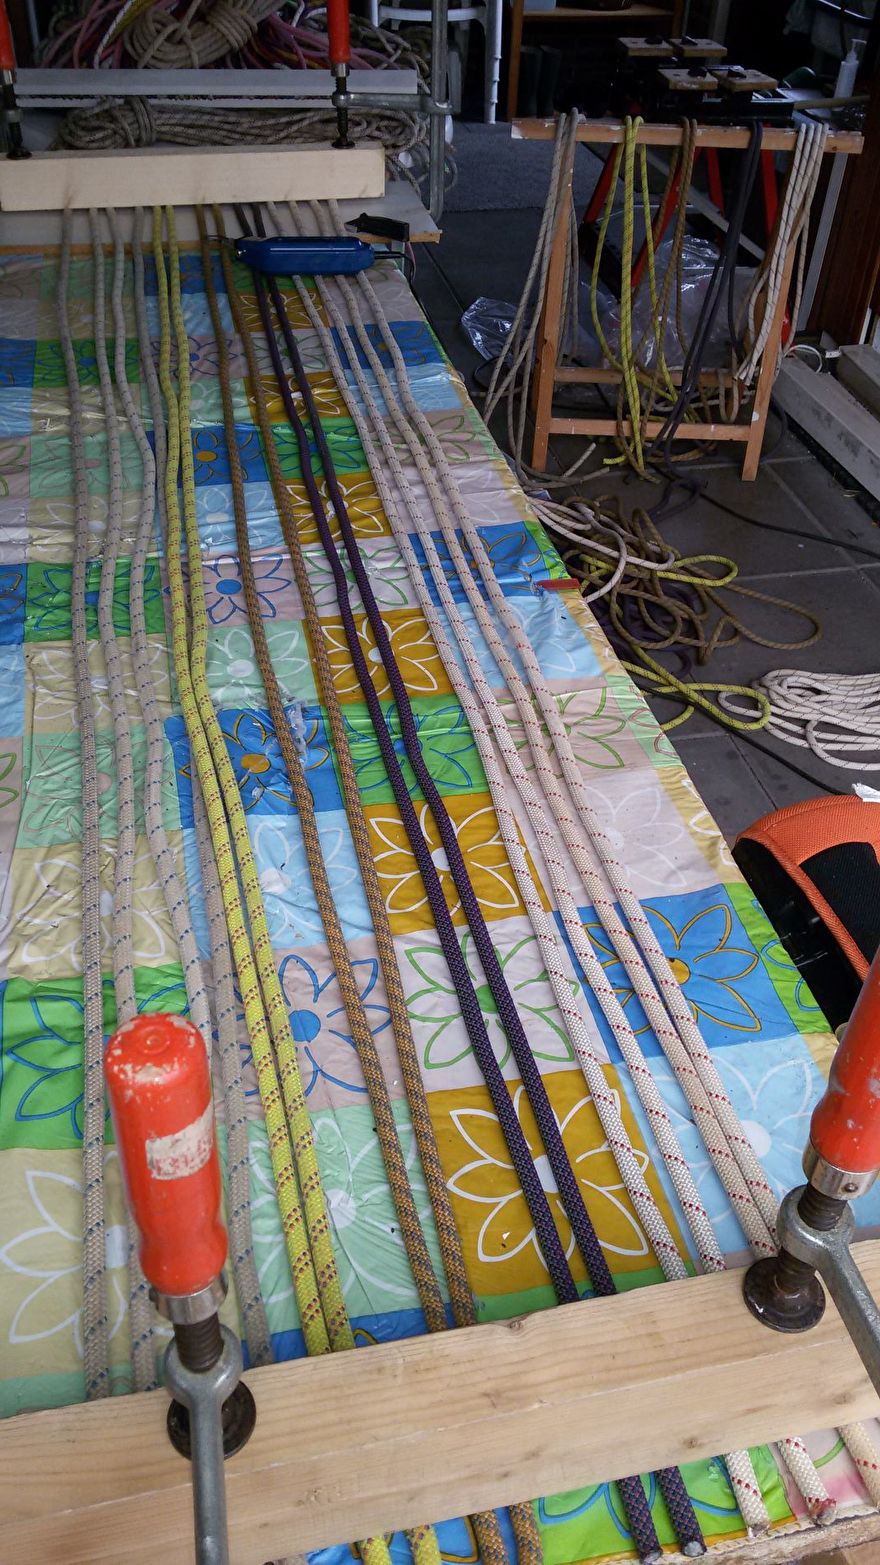
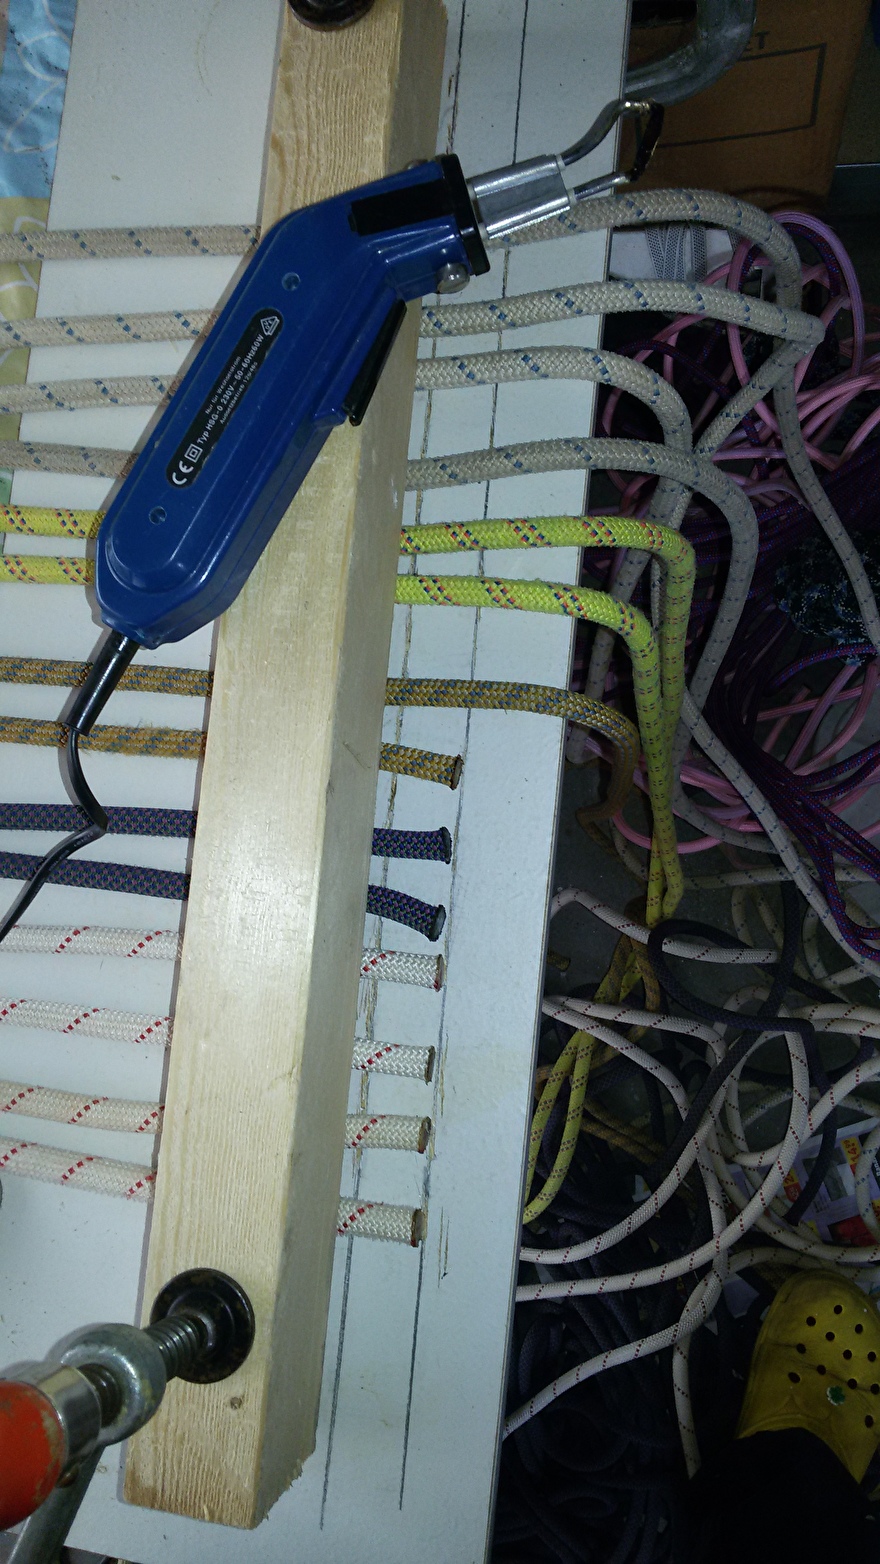
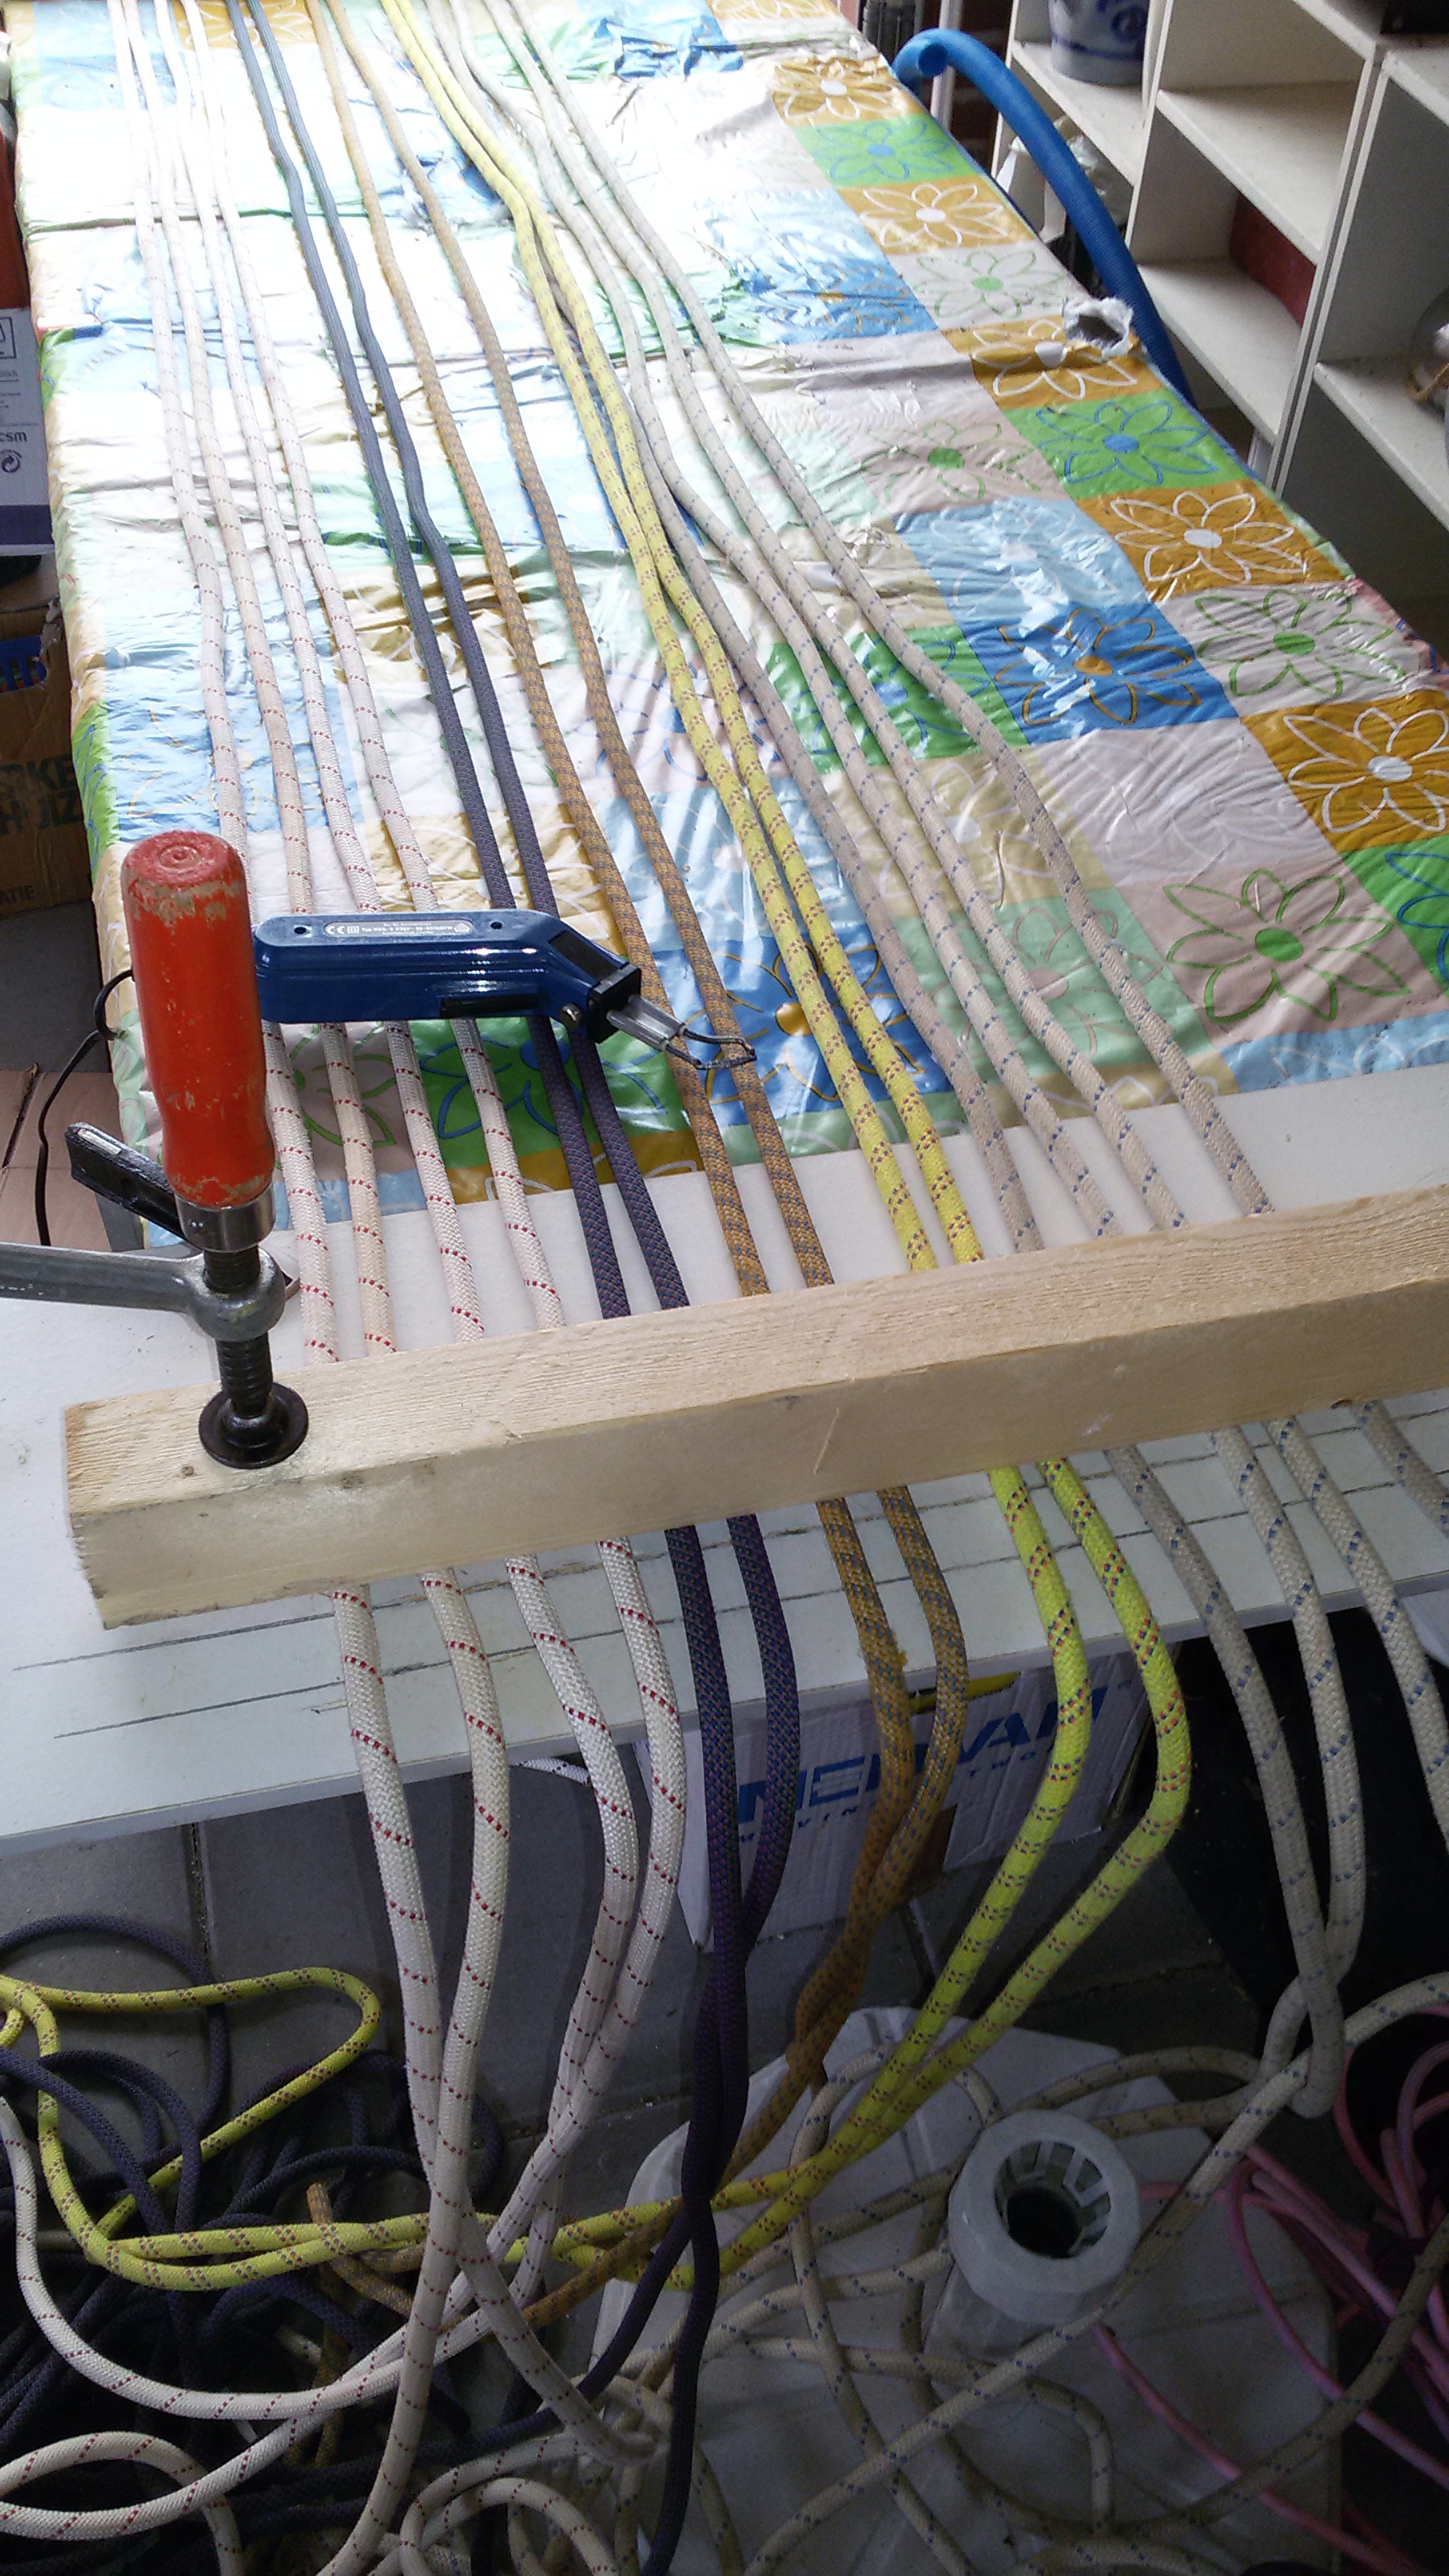
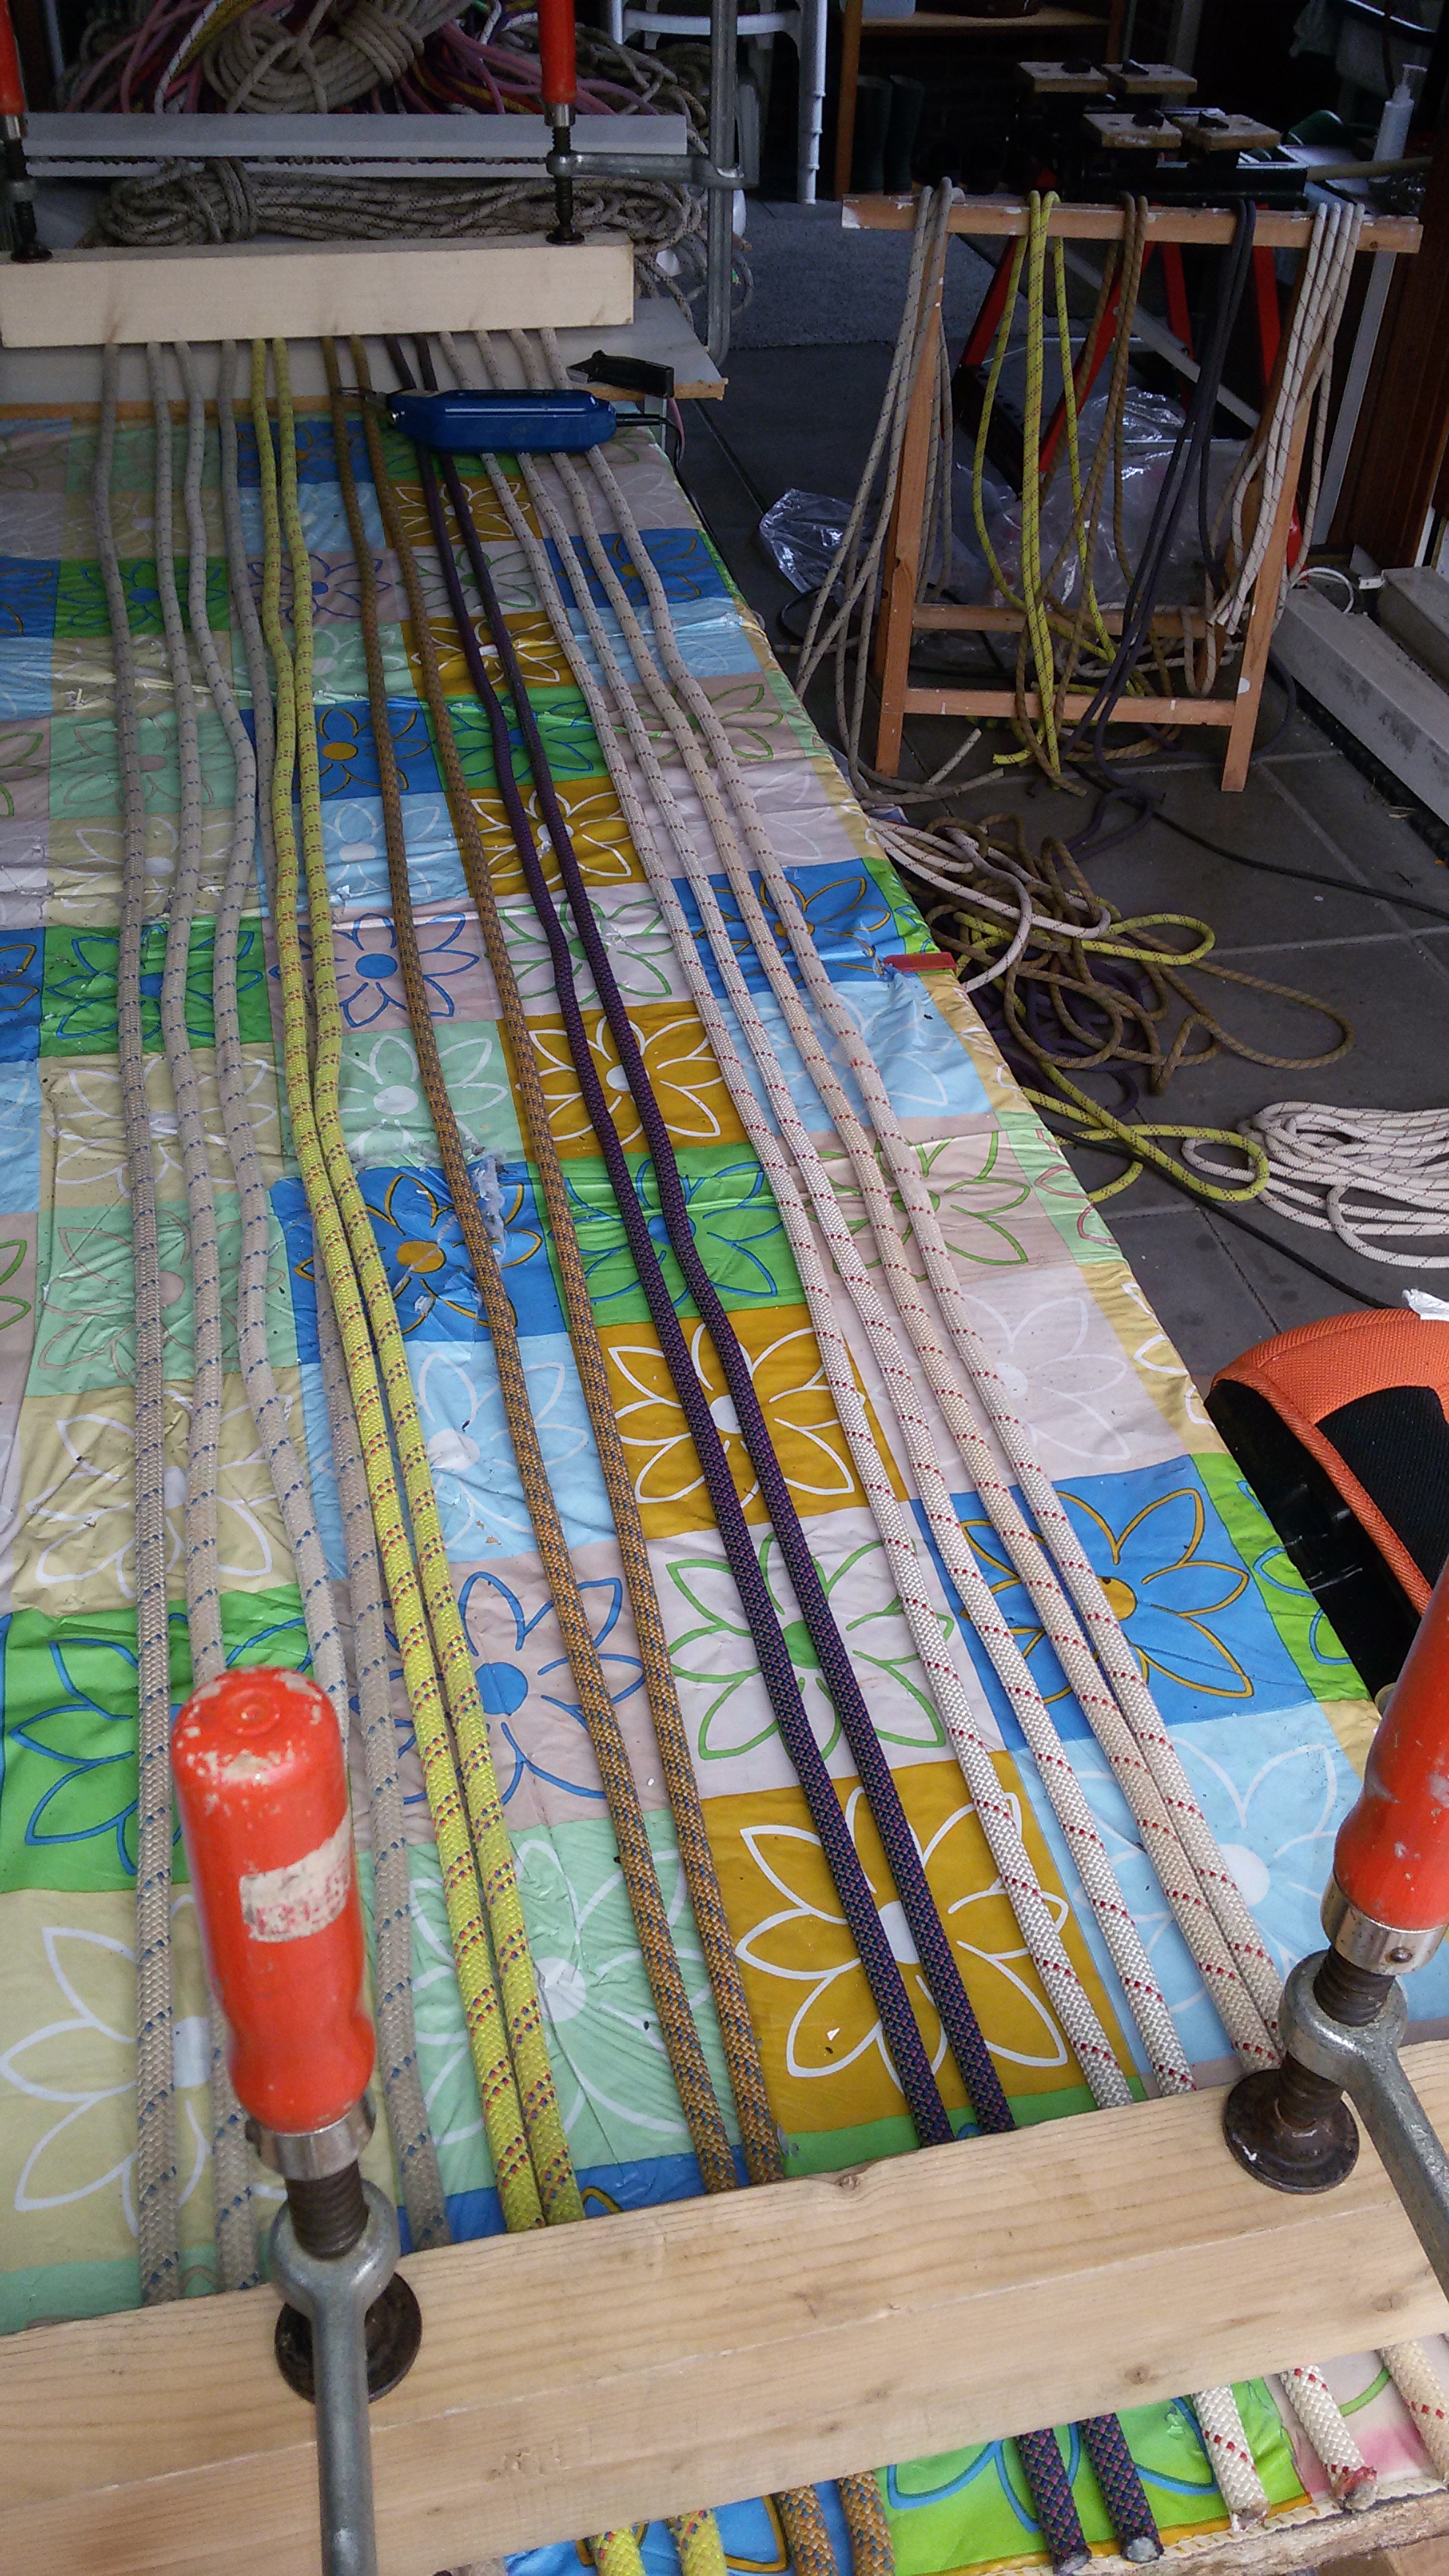
A global step-by-step plan is included below for making a fly curtain. See the slides below.
Global roadmap:
- Measure the width and height of the door
Curtain should fit between the door frames and just hit the threshold. - You now know the height and the width. Height +/- 208 and width 90 cm (is a door size in the Netherlands)
- Determine the approximate number of rope lengths you need
With a rope of +/- 10mm that is about 90 lengths. - Take the weight into account. With a rope weight of 60 g / m, this becomes:
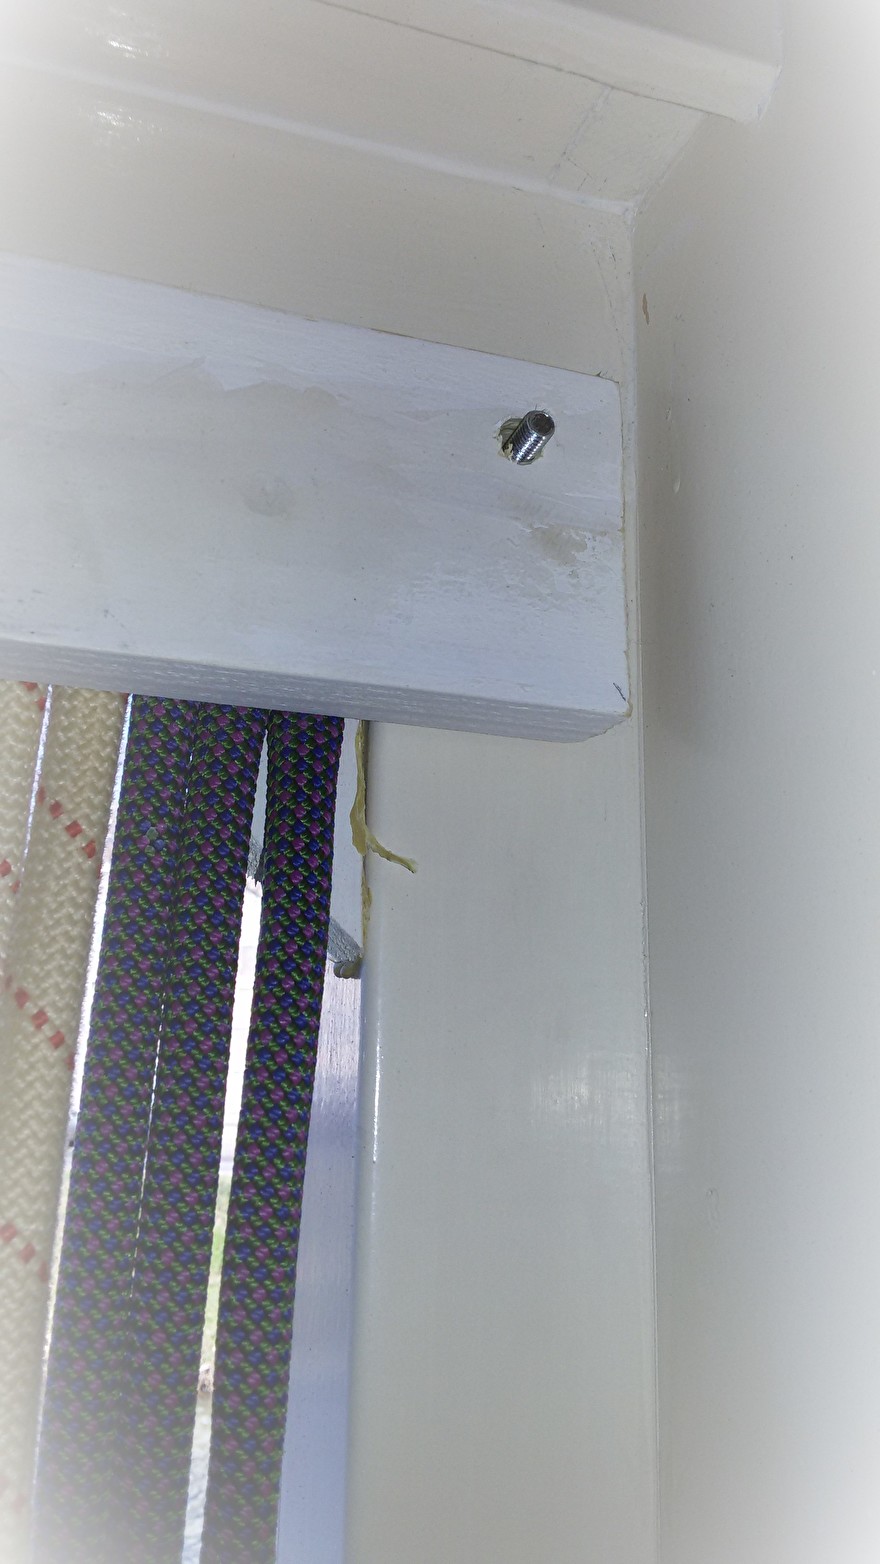
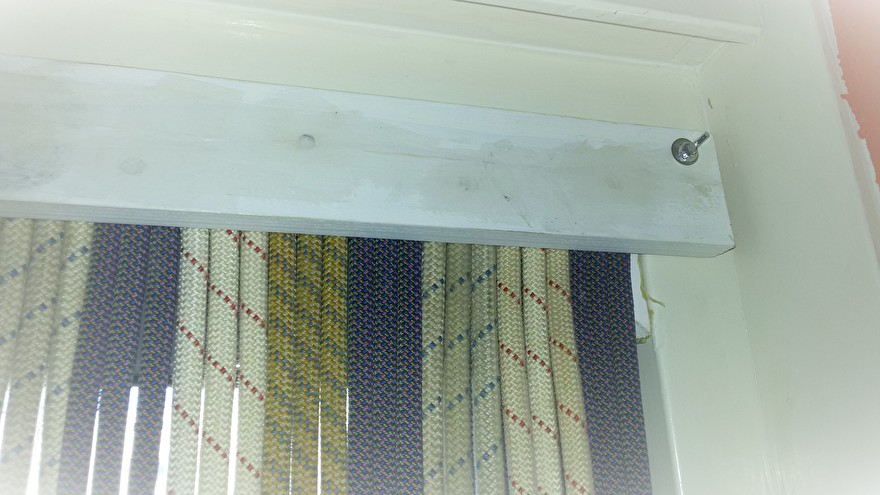
60 g / m x 2.08 x 90 = 11.23 kg - The attachment must therefore be firm, e.g. 2 battens between which the ropes can be clamped and fixed between and on the frames. (slat 1: 18 x 44 mm, slat 2: 18 x 69 cm)
- Cut the 2 slats to size and make supports for the slat to which the rope is attached, paint them.
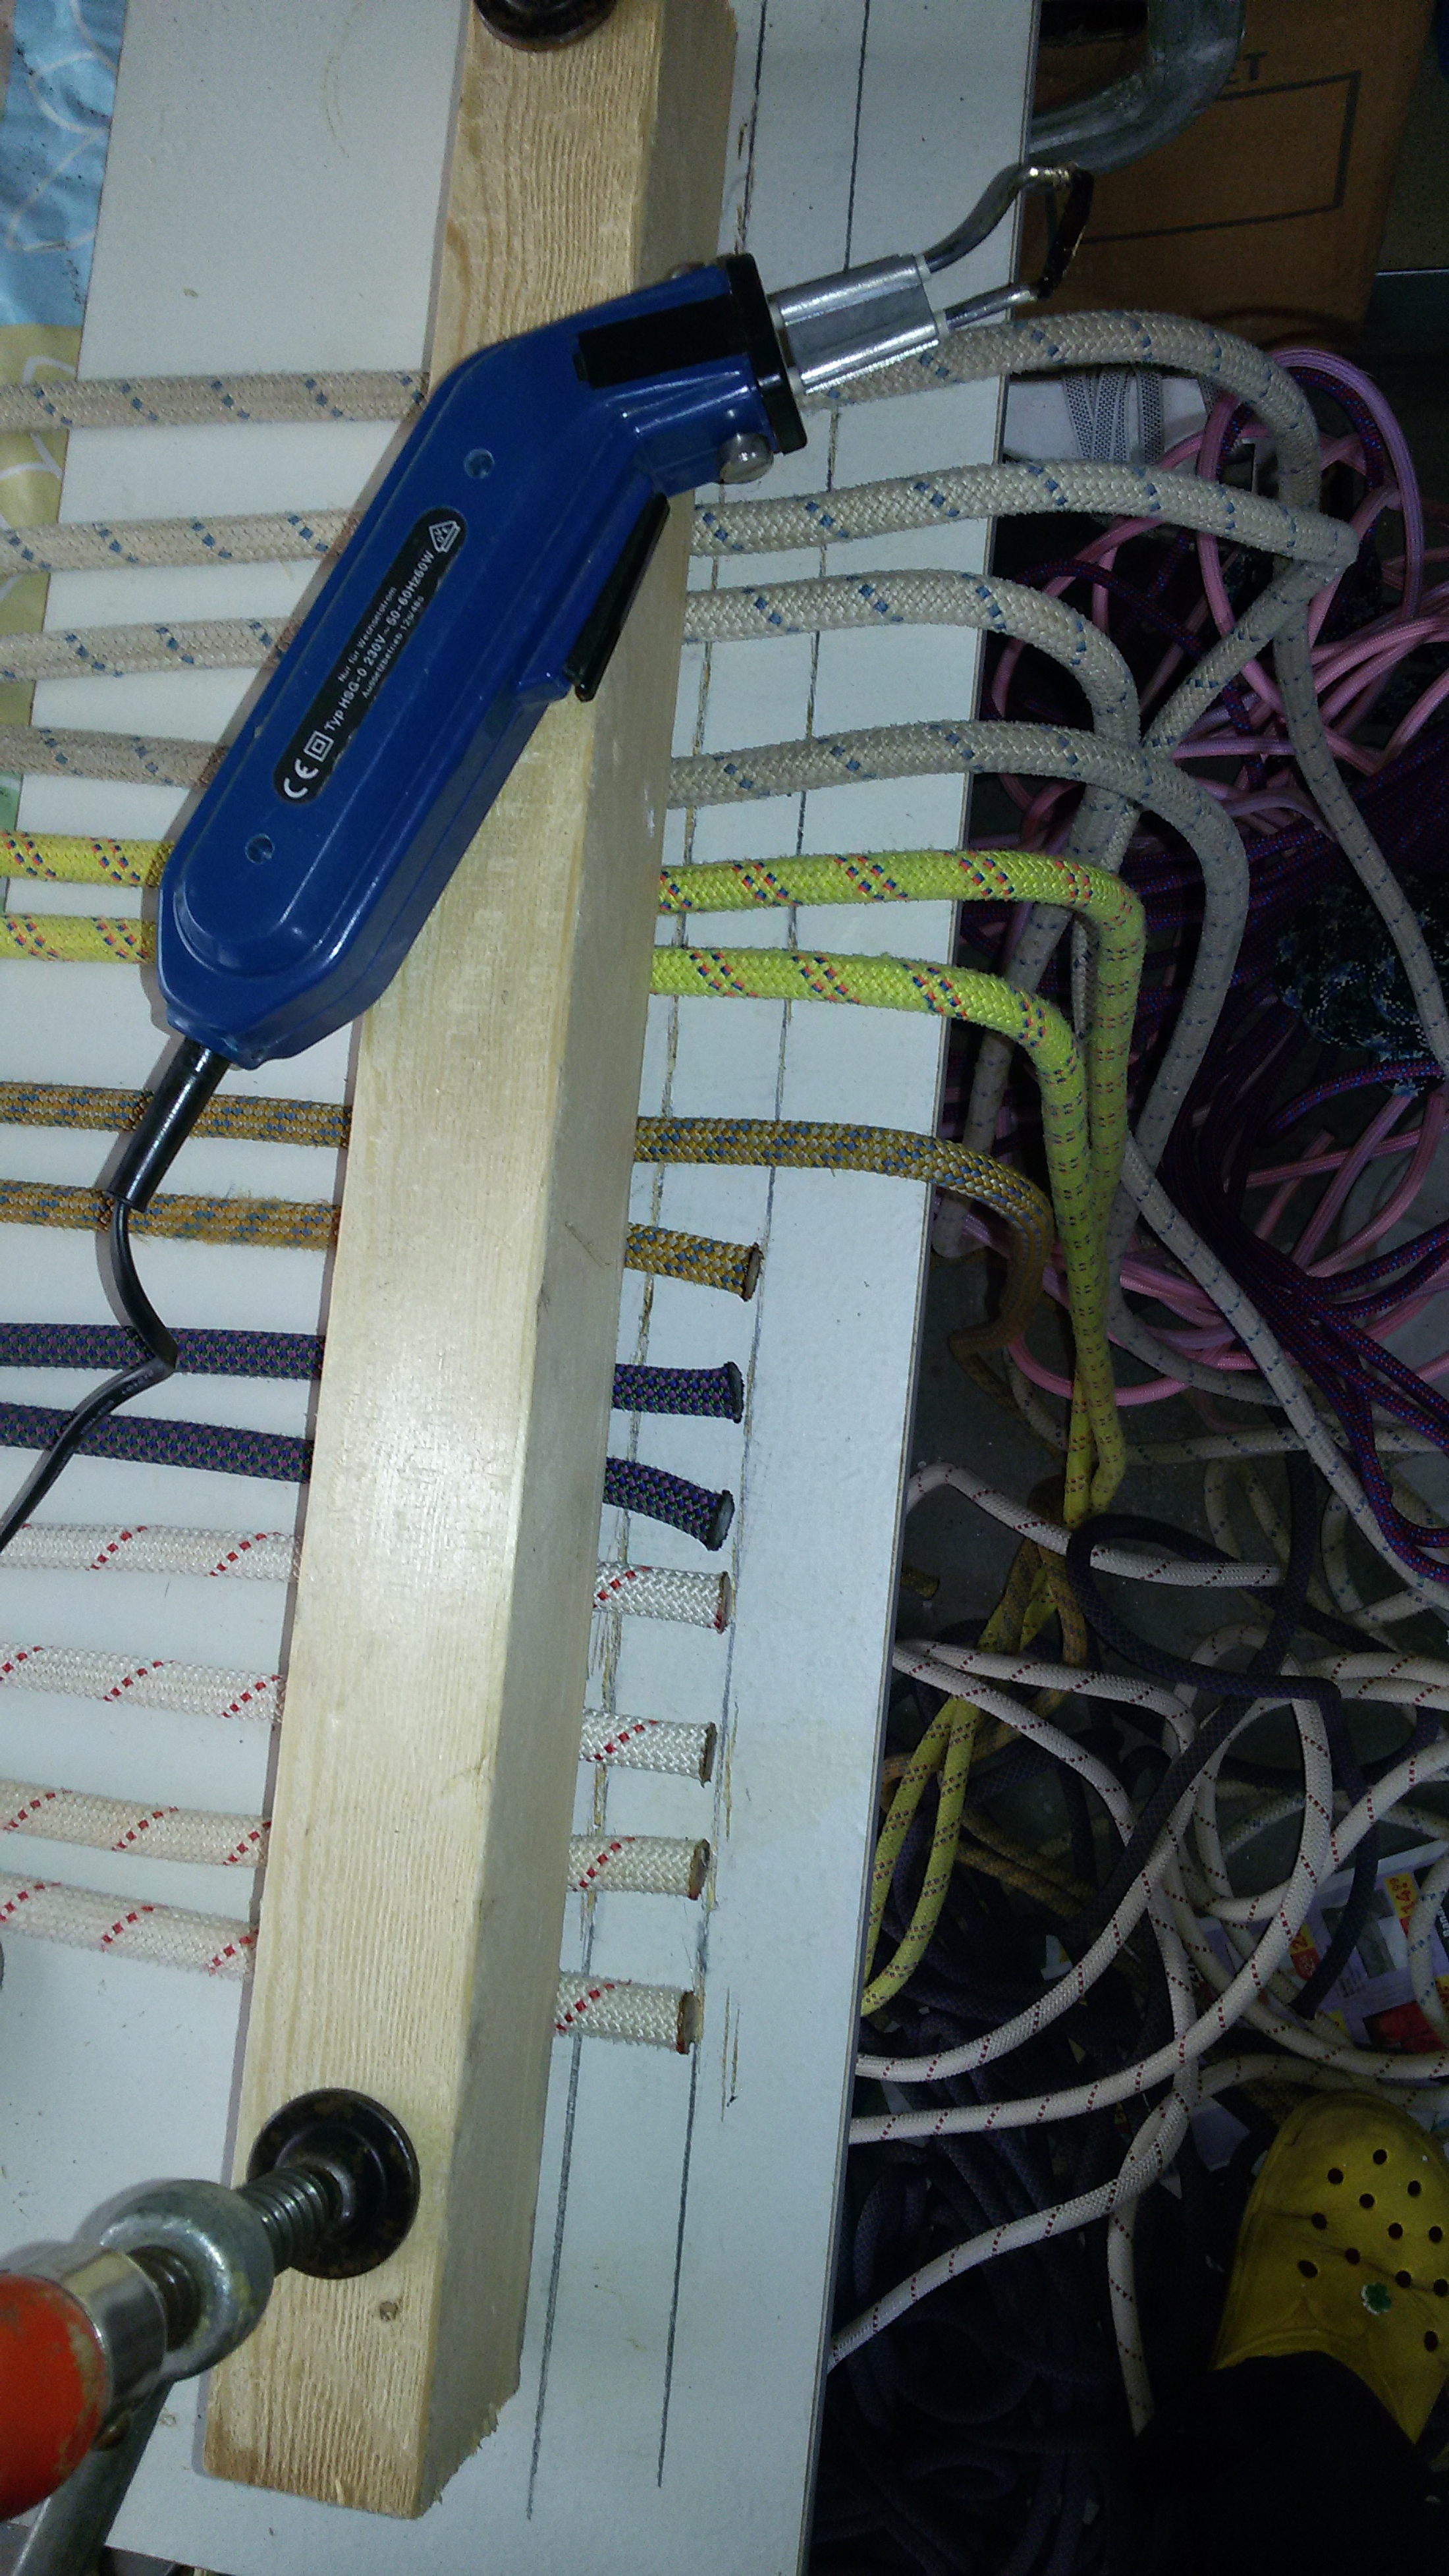
- Make the required number of rope lengths.
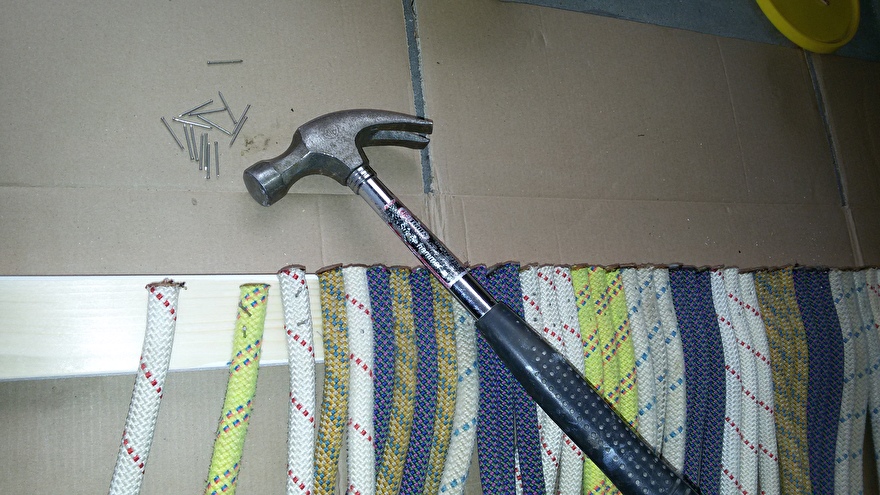
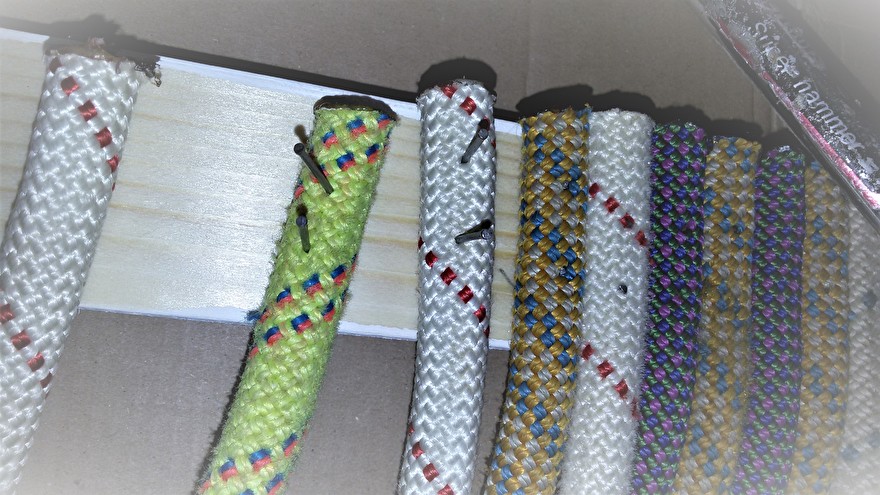
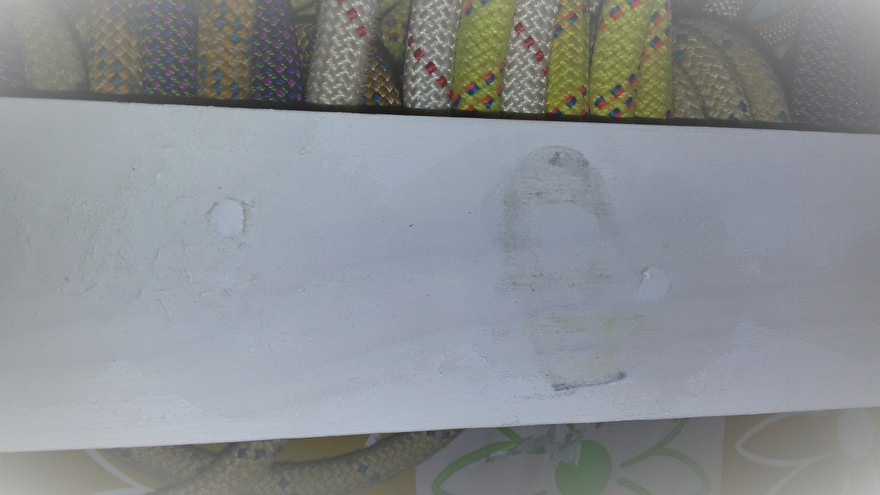
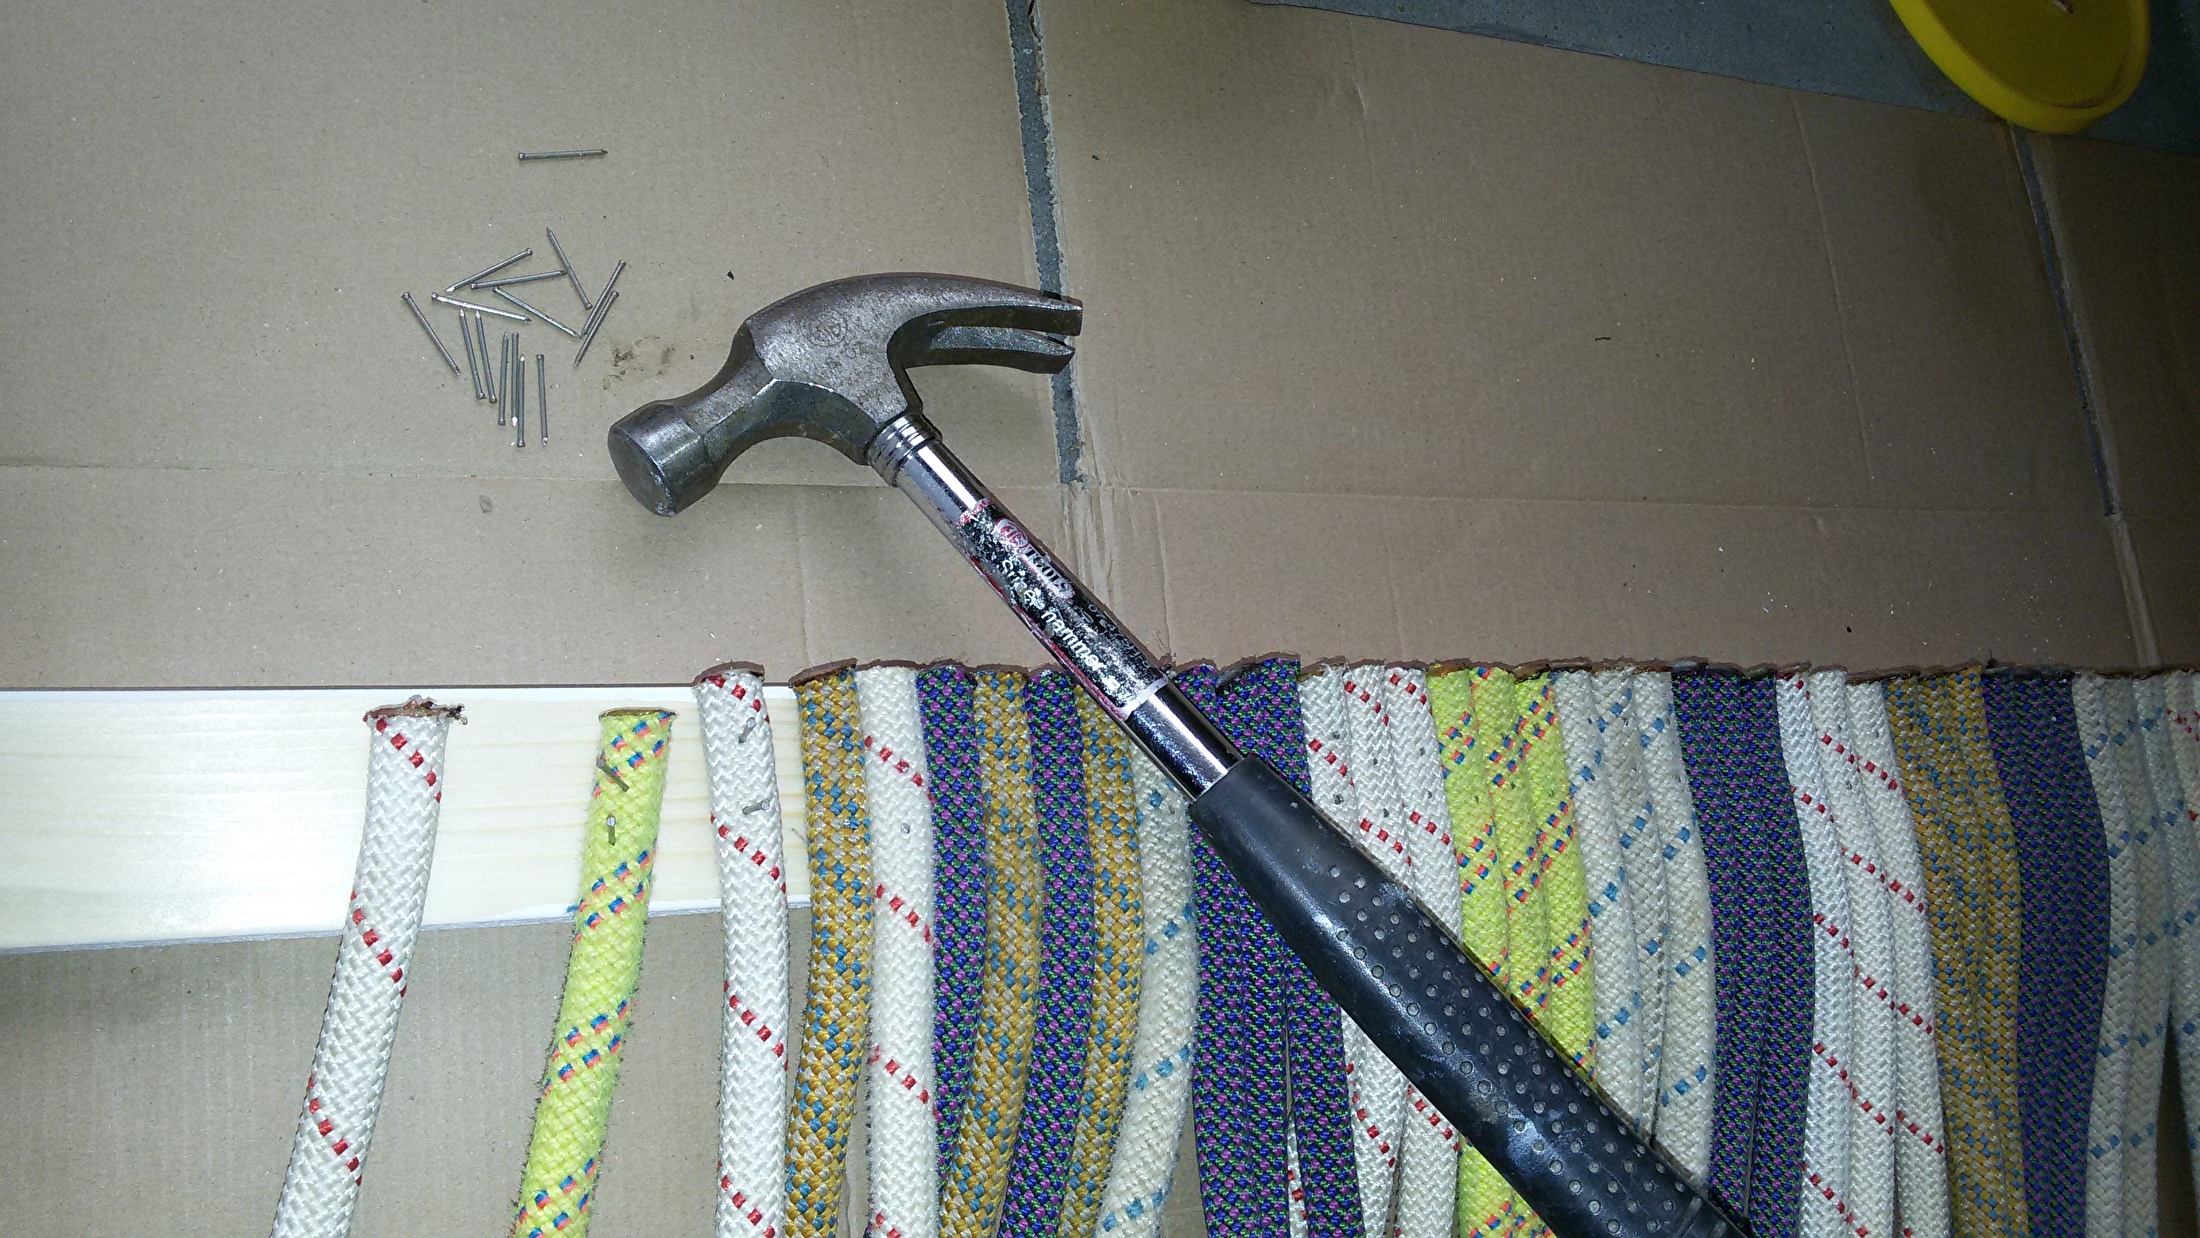
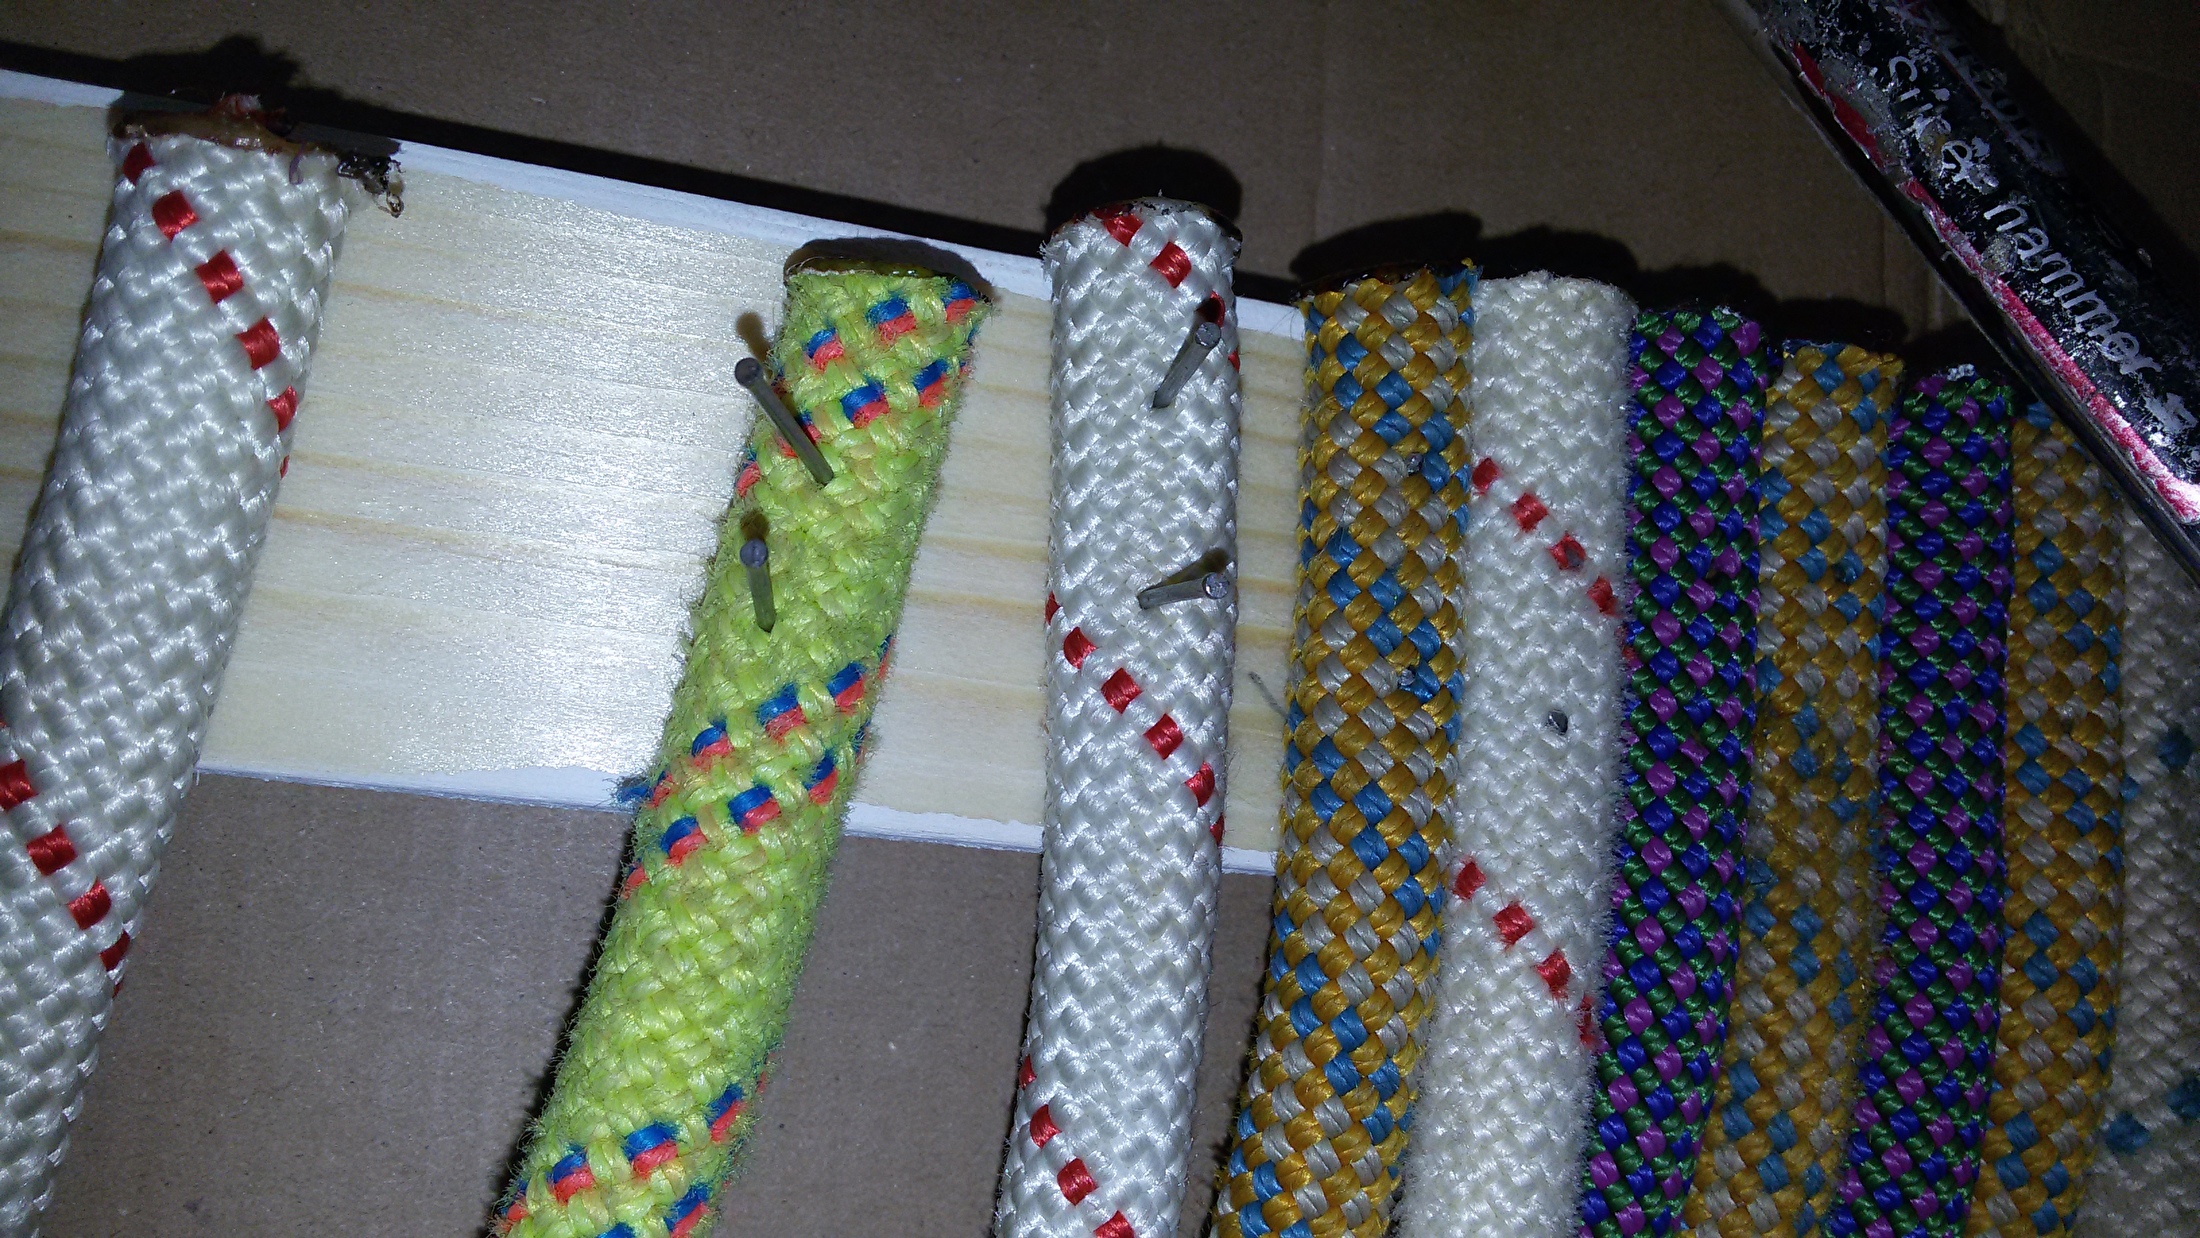
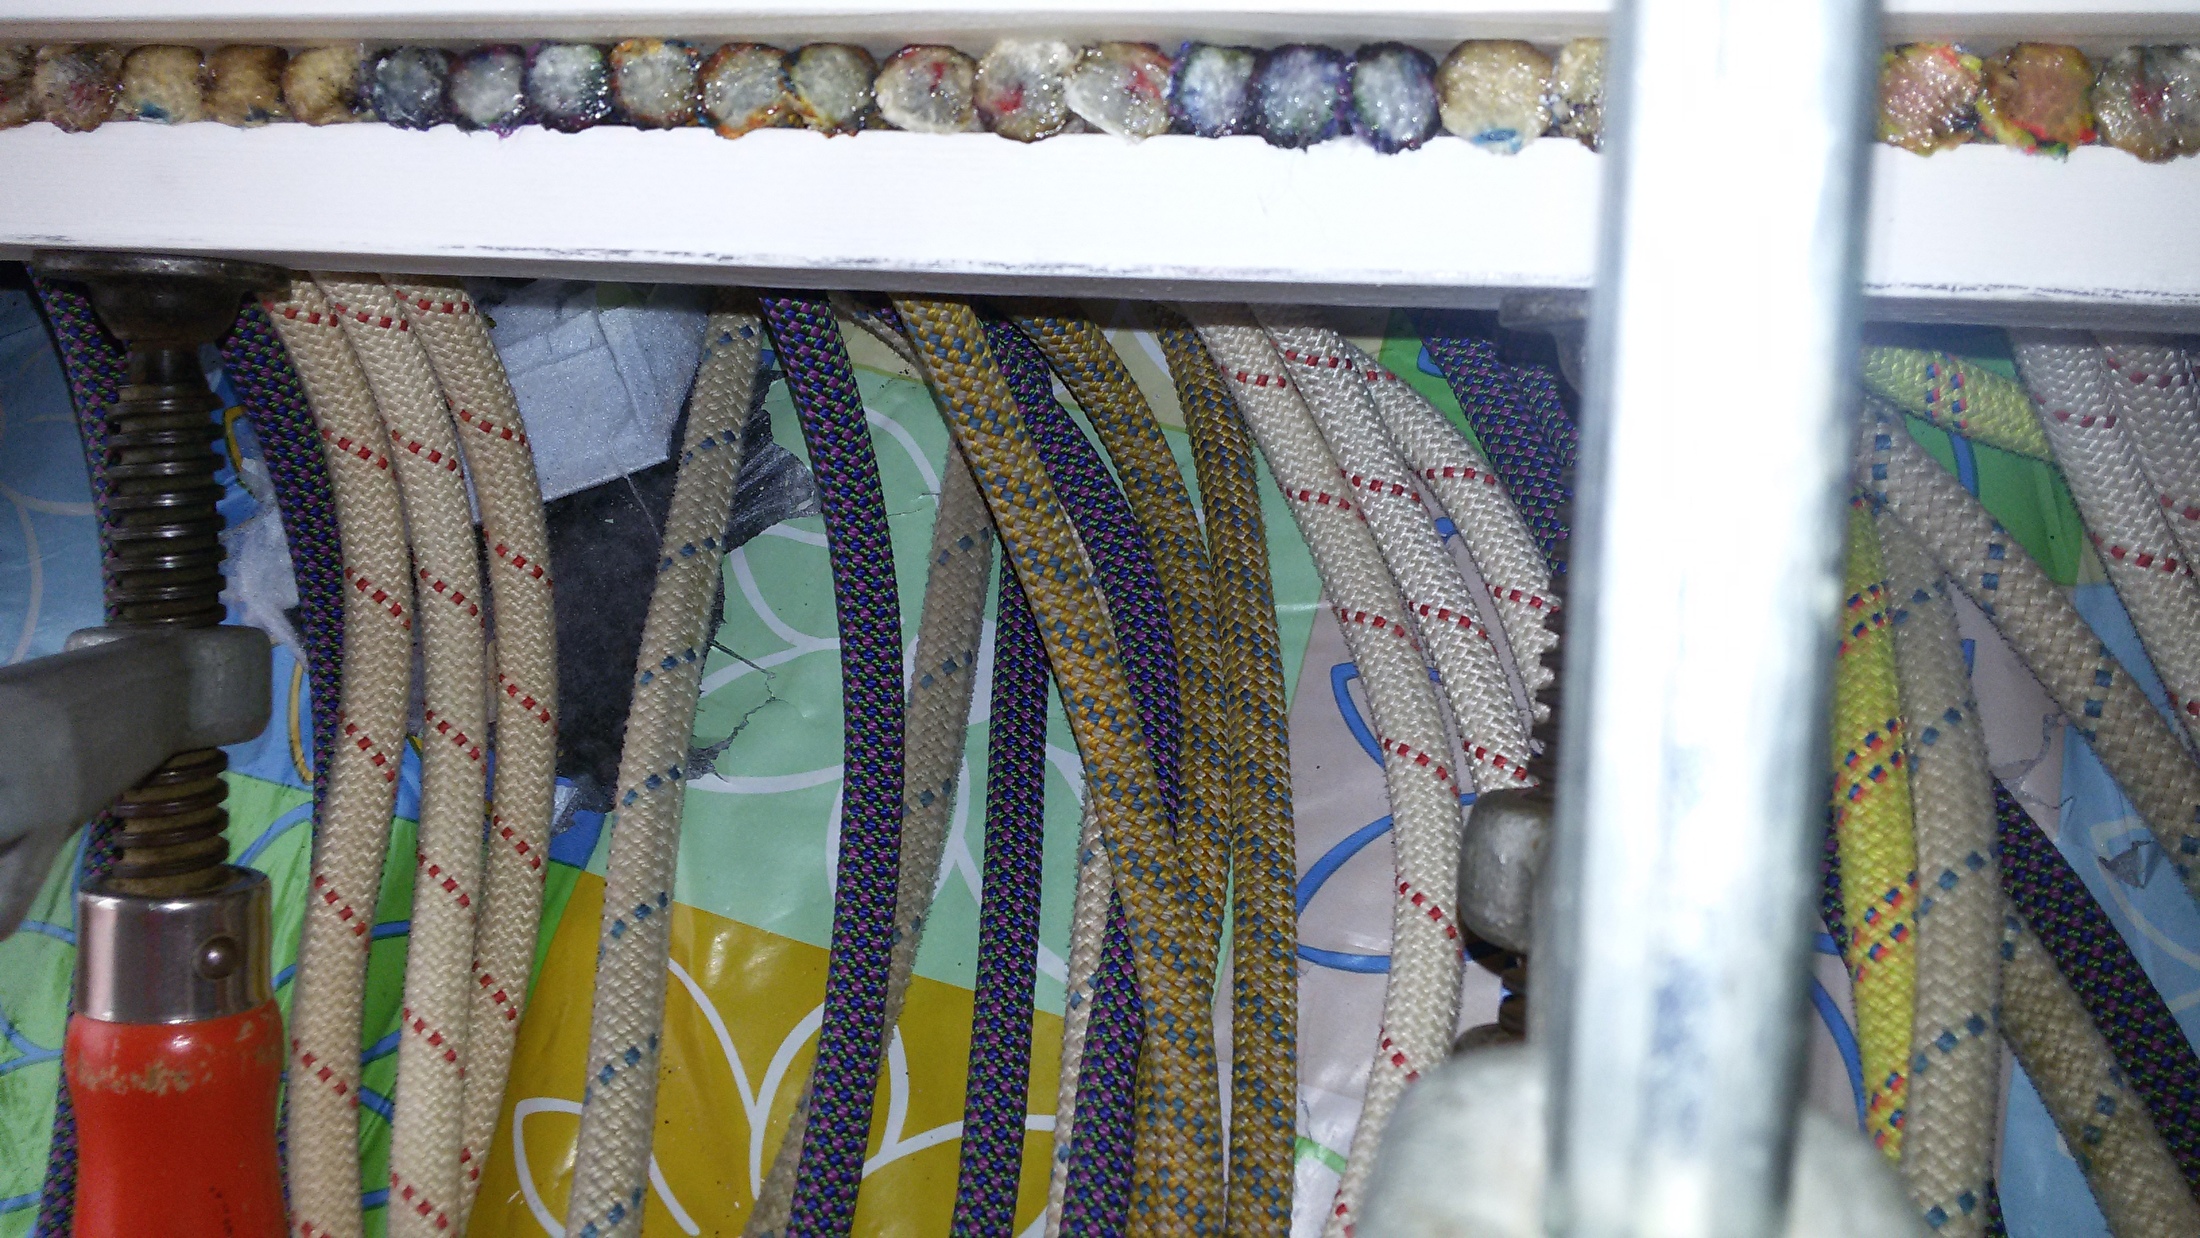
- Attach the ropes, with tacks, to the bar that comes between the door frames.
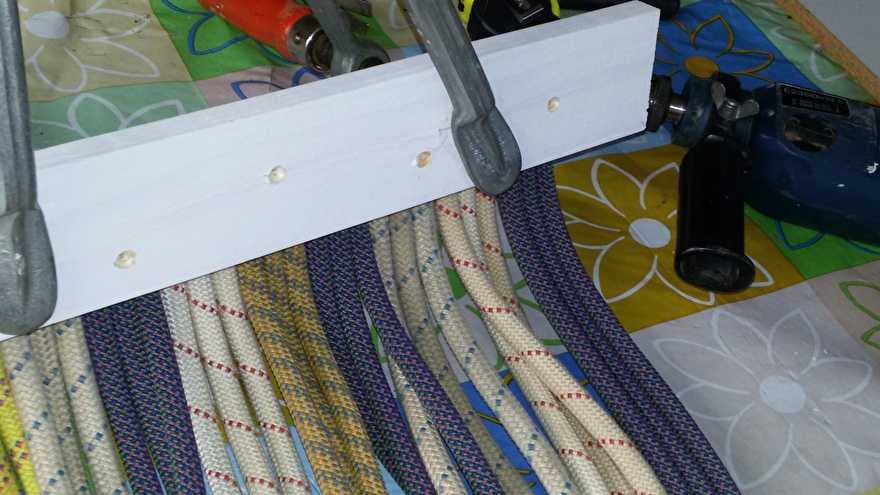
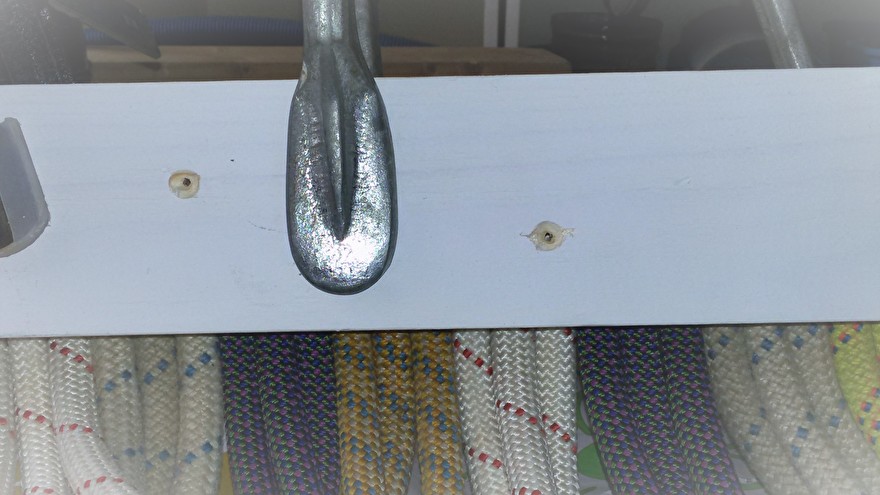
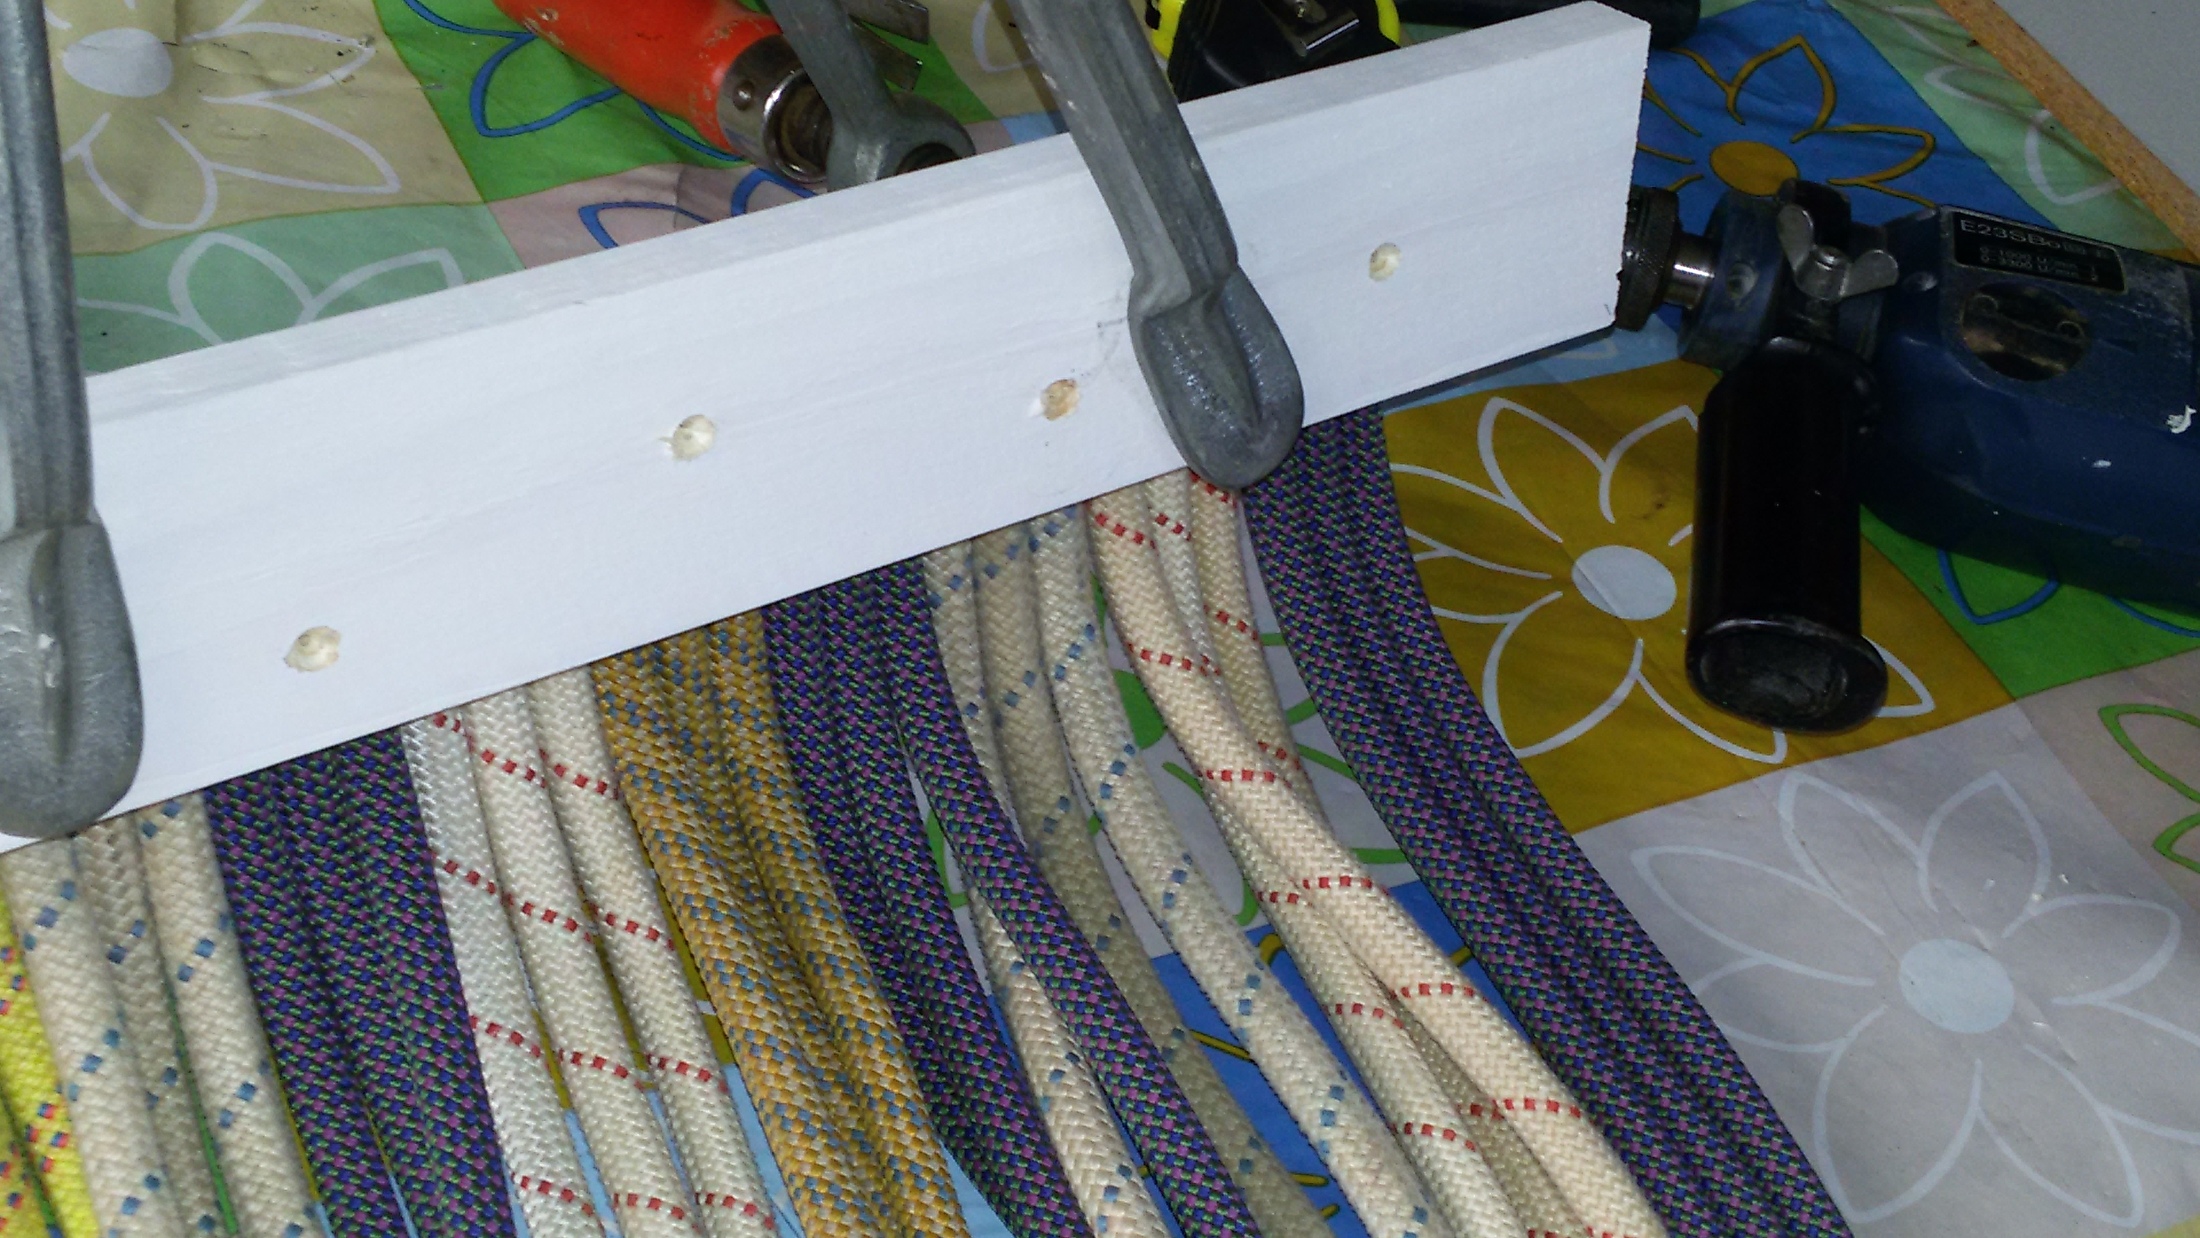
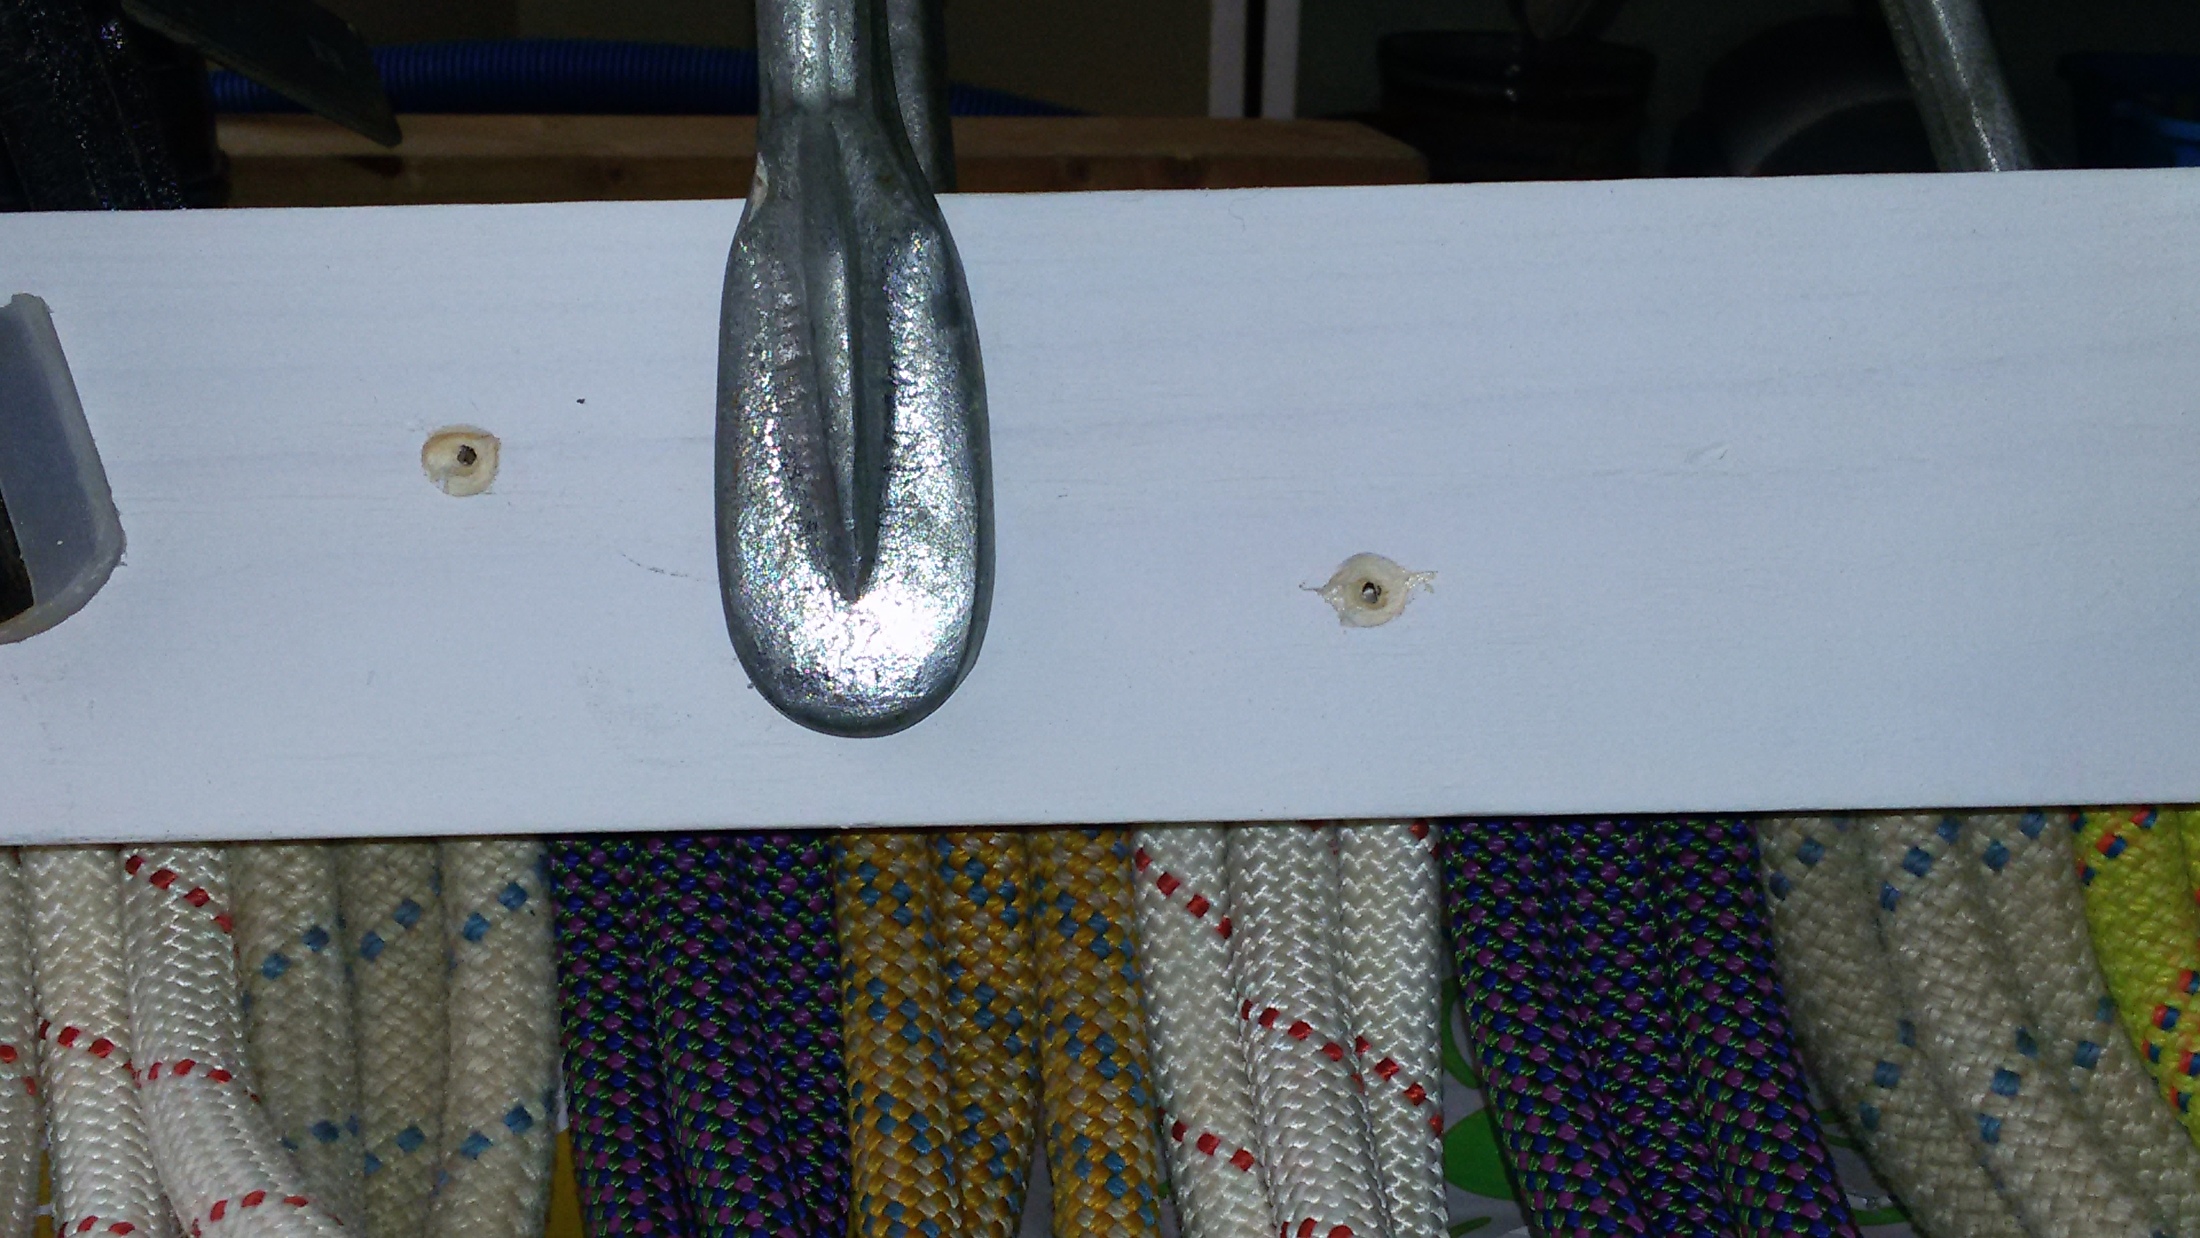
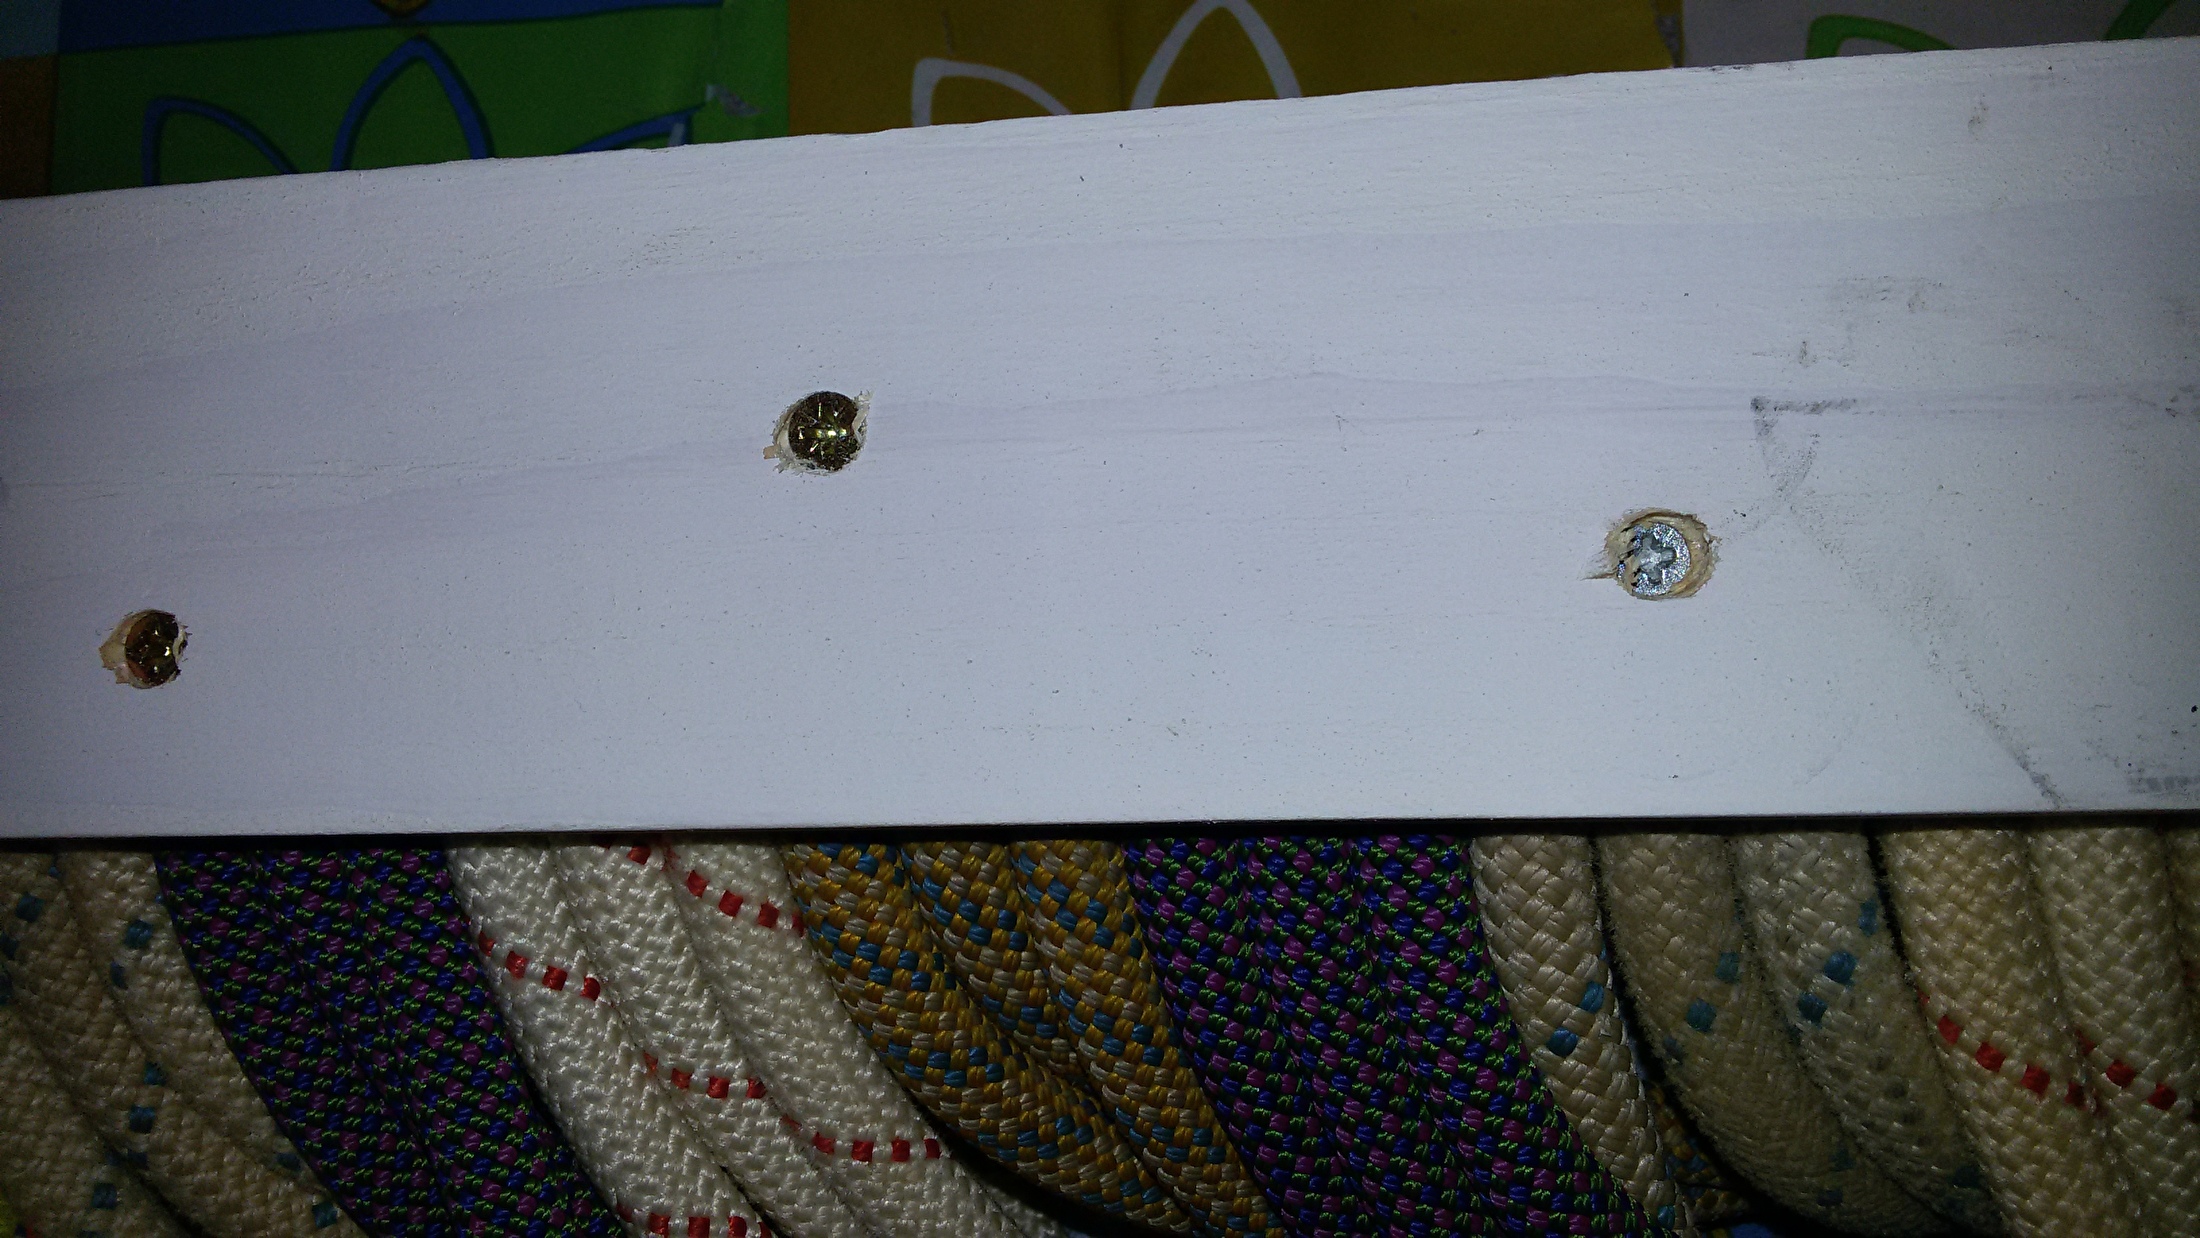
Press the ropes firmly together so that they cannot slide - Drill holes in the 2nd slat for the screws to attach to the slat with ropes (note pt 10)
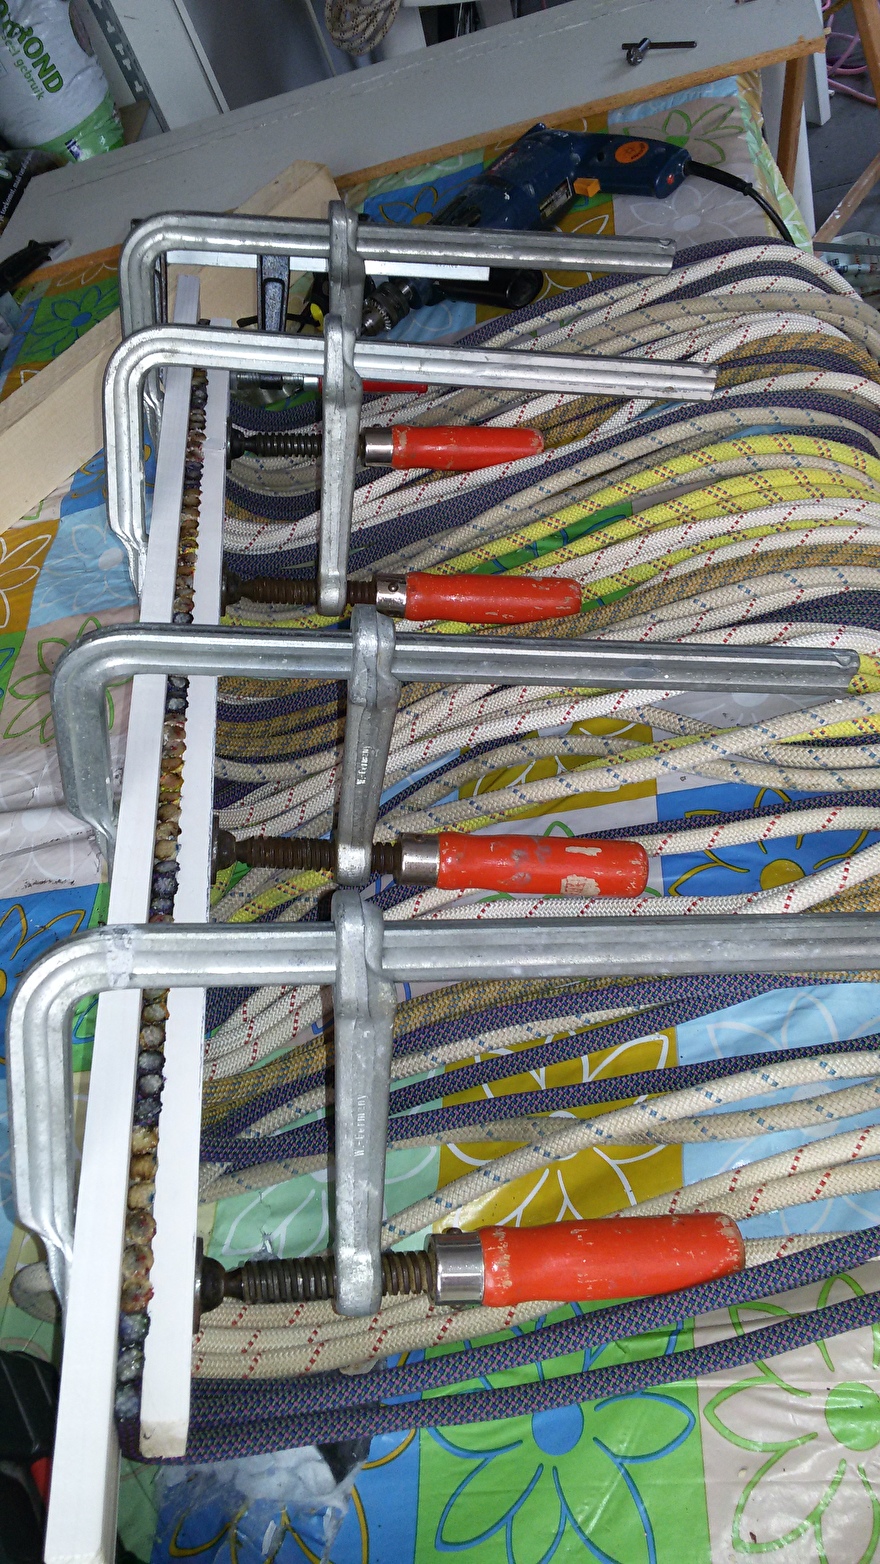
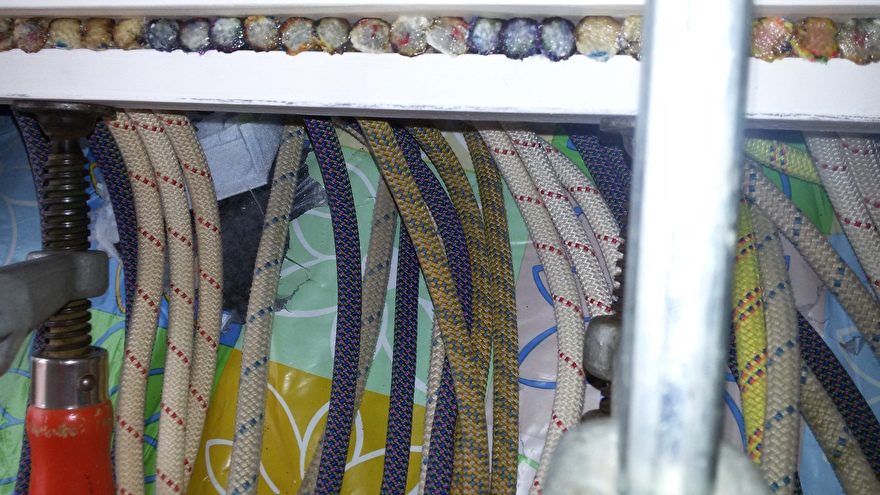
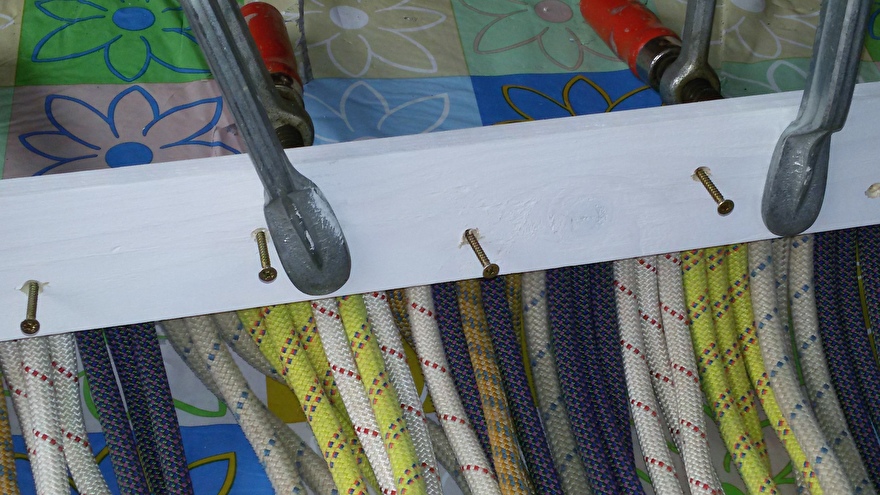
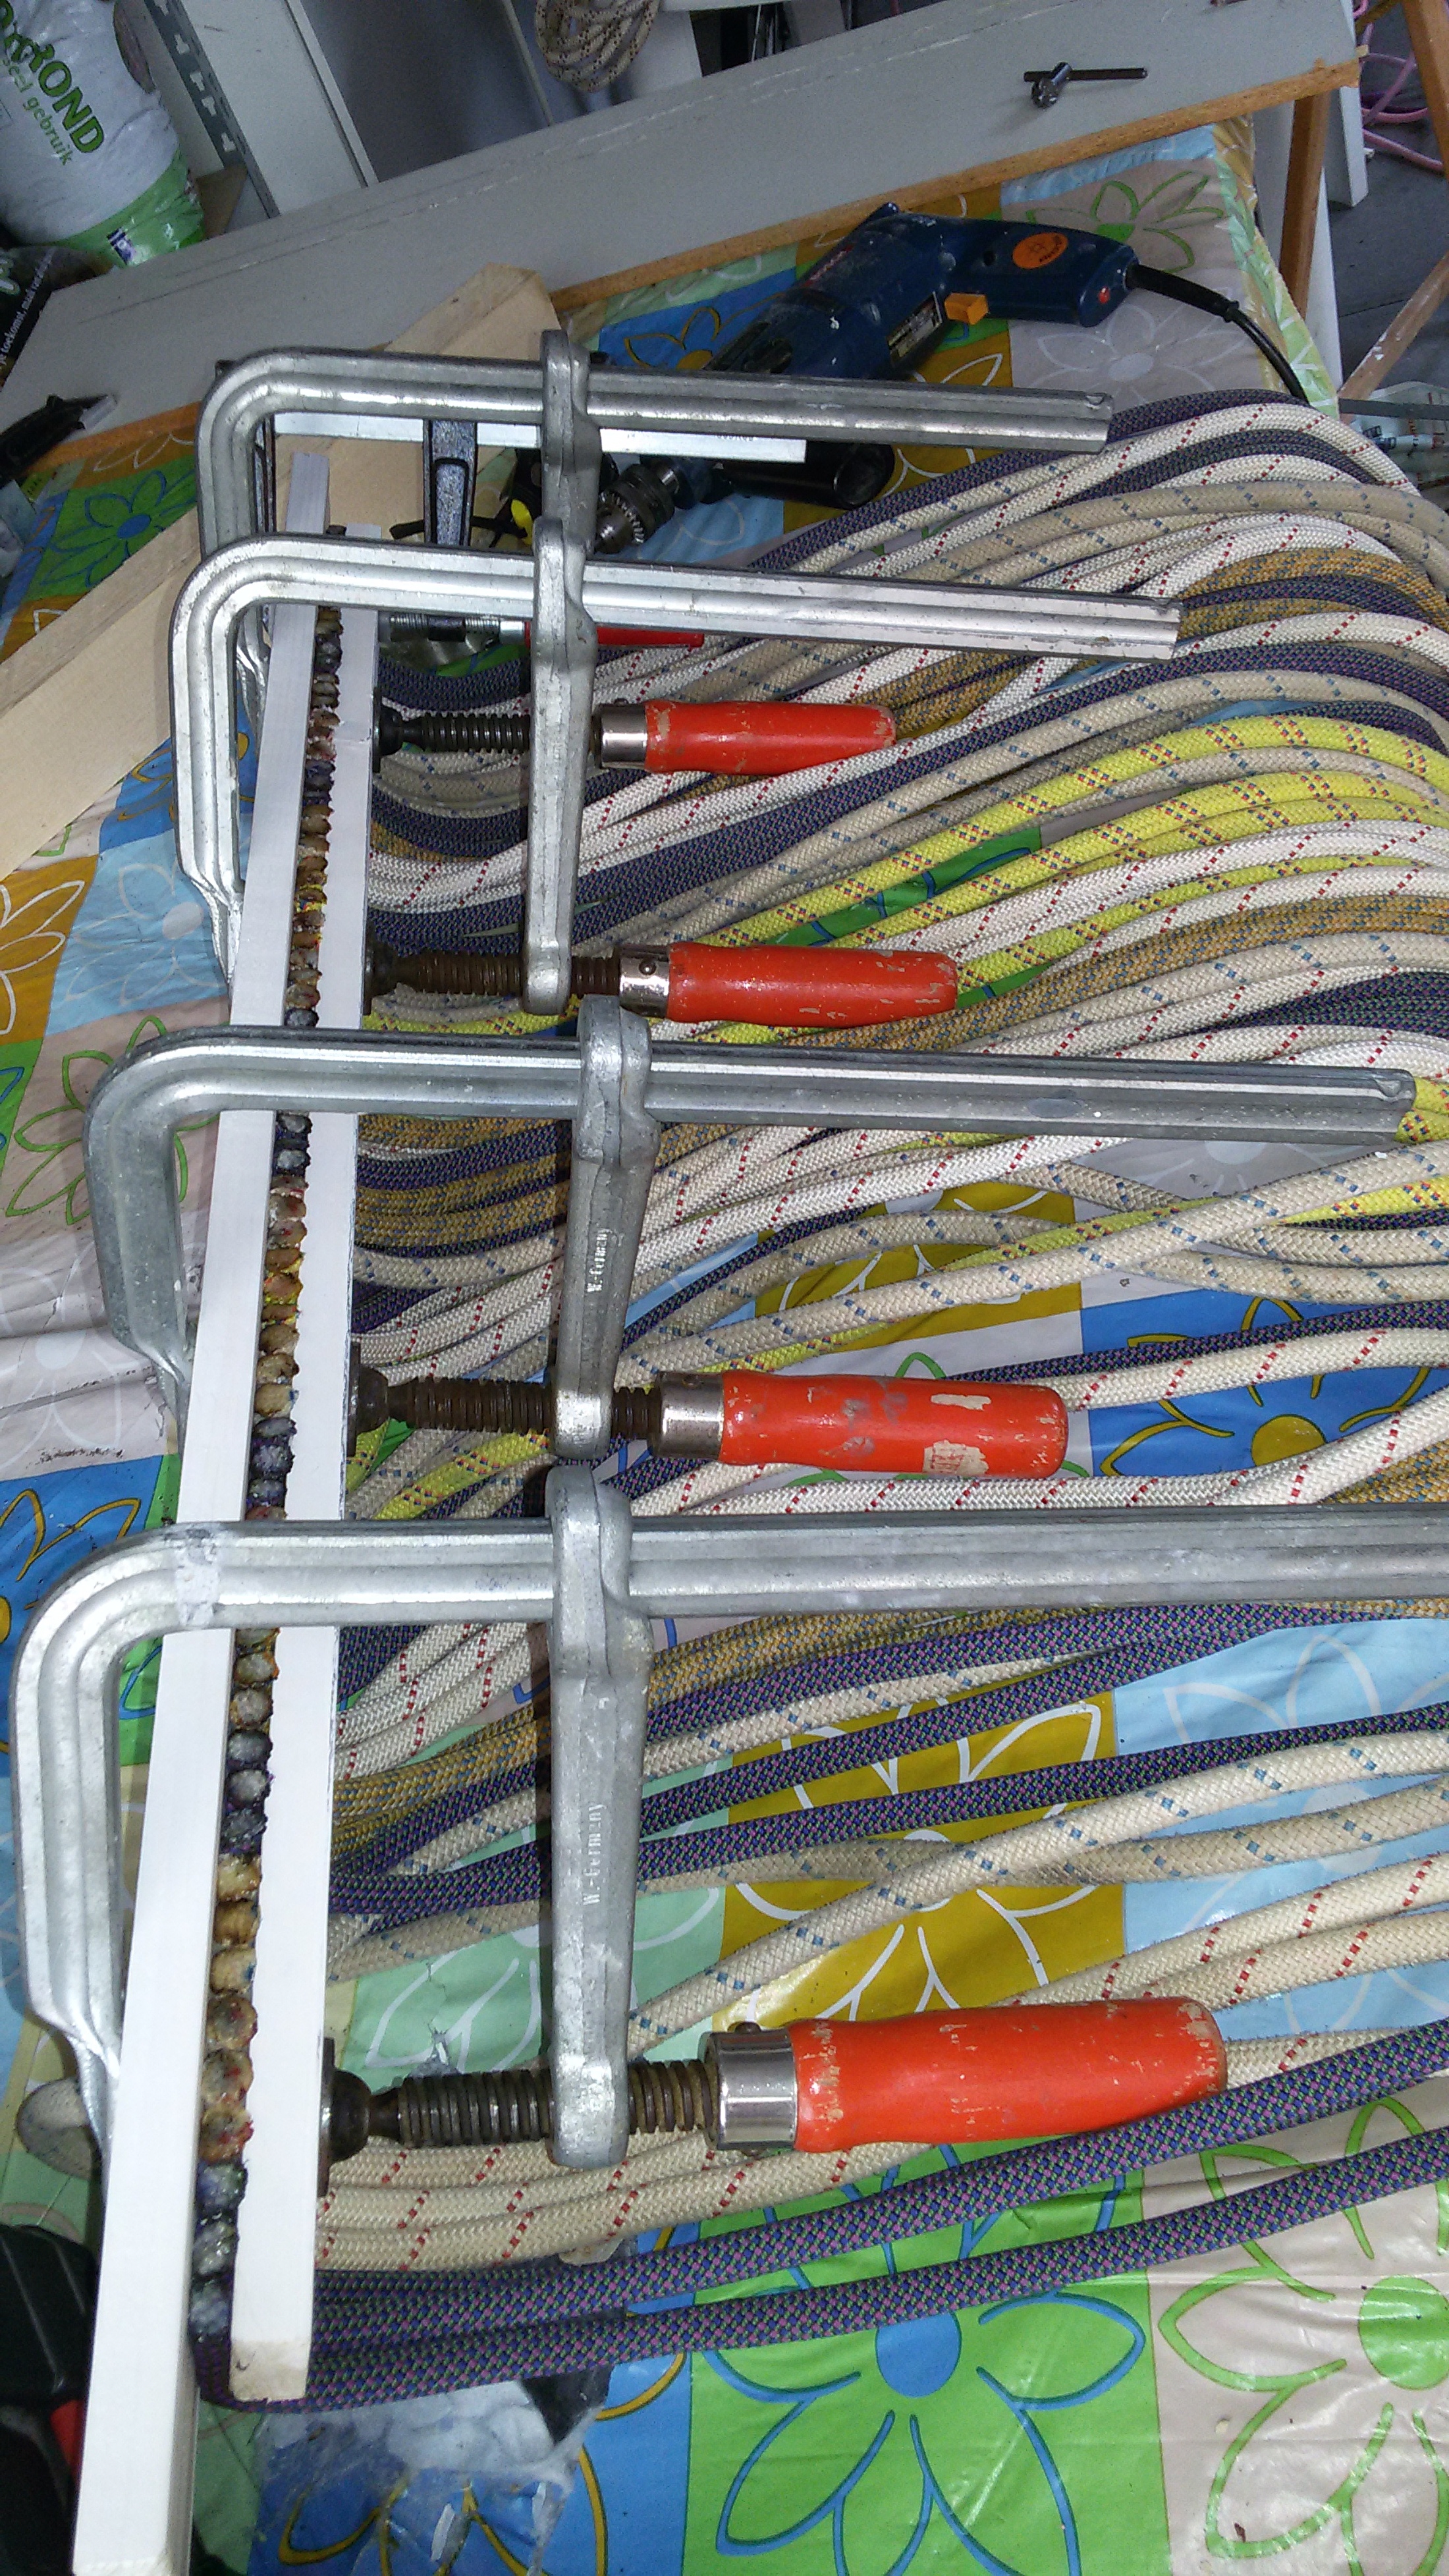
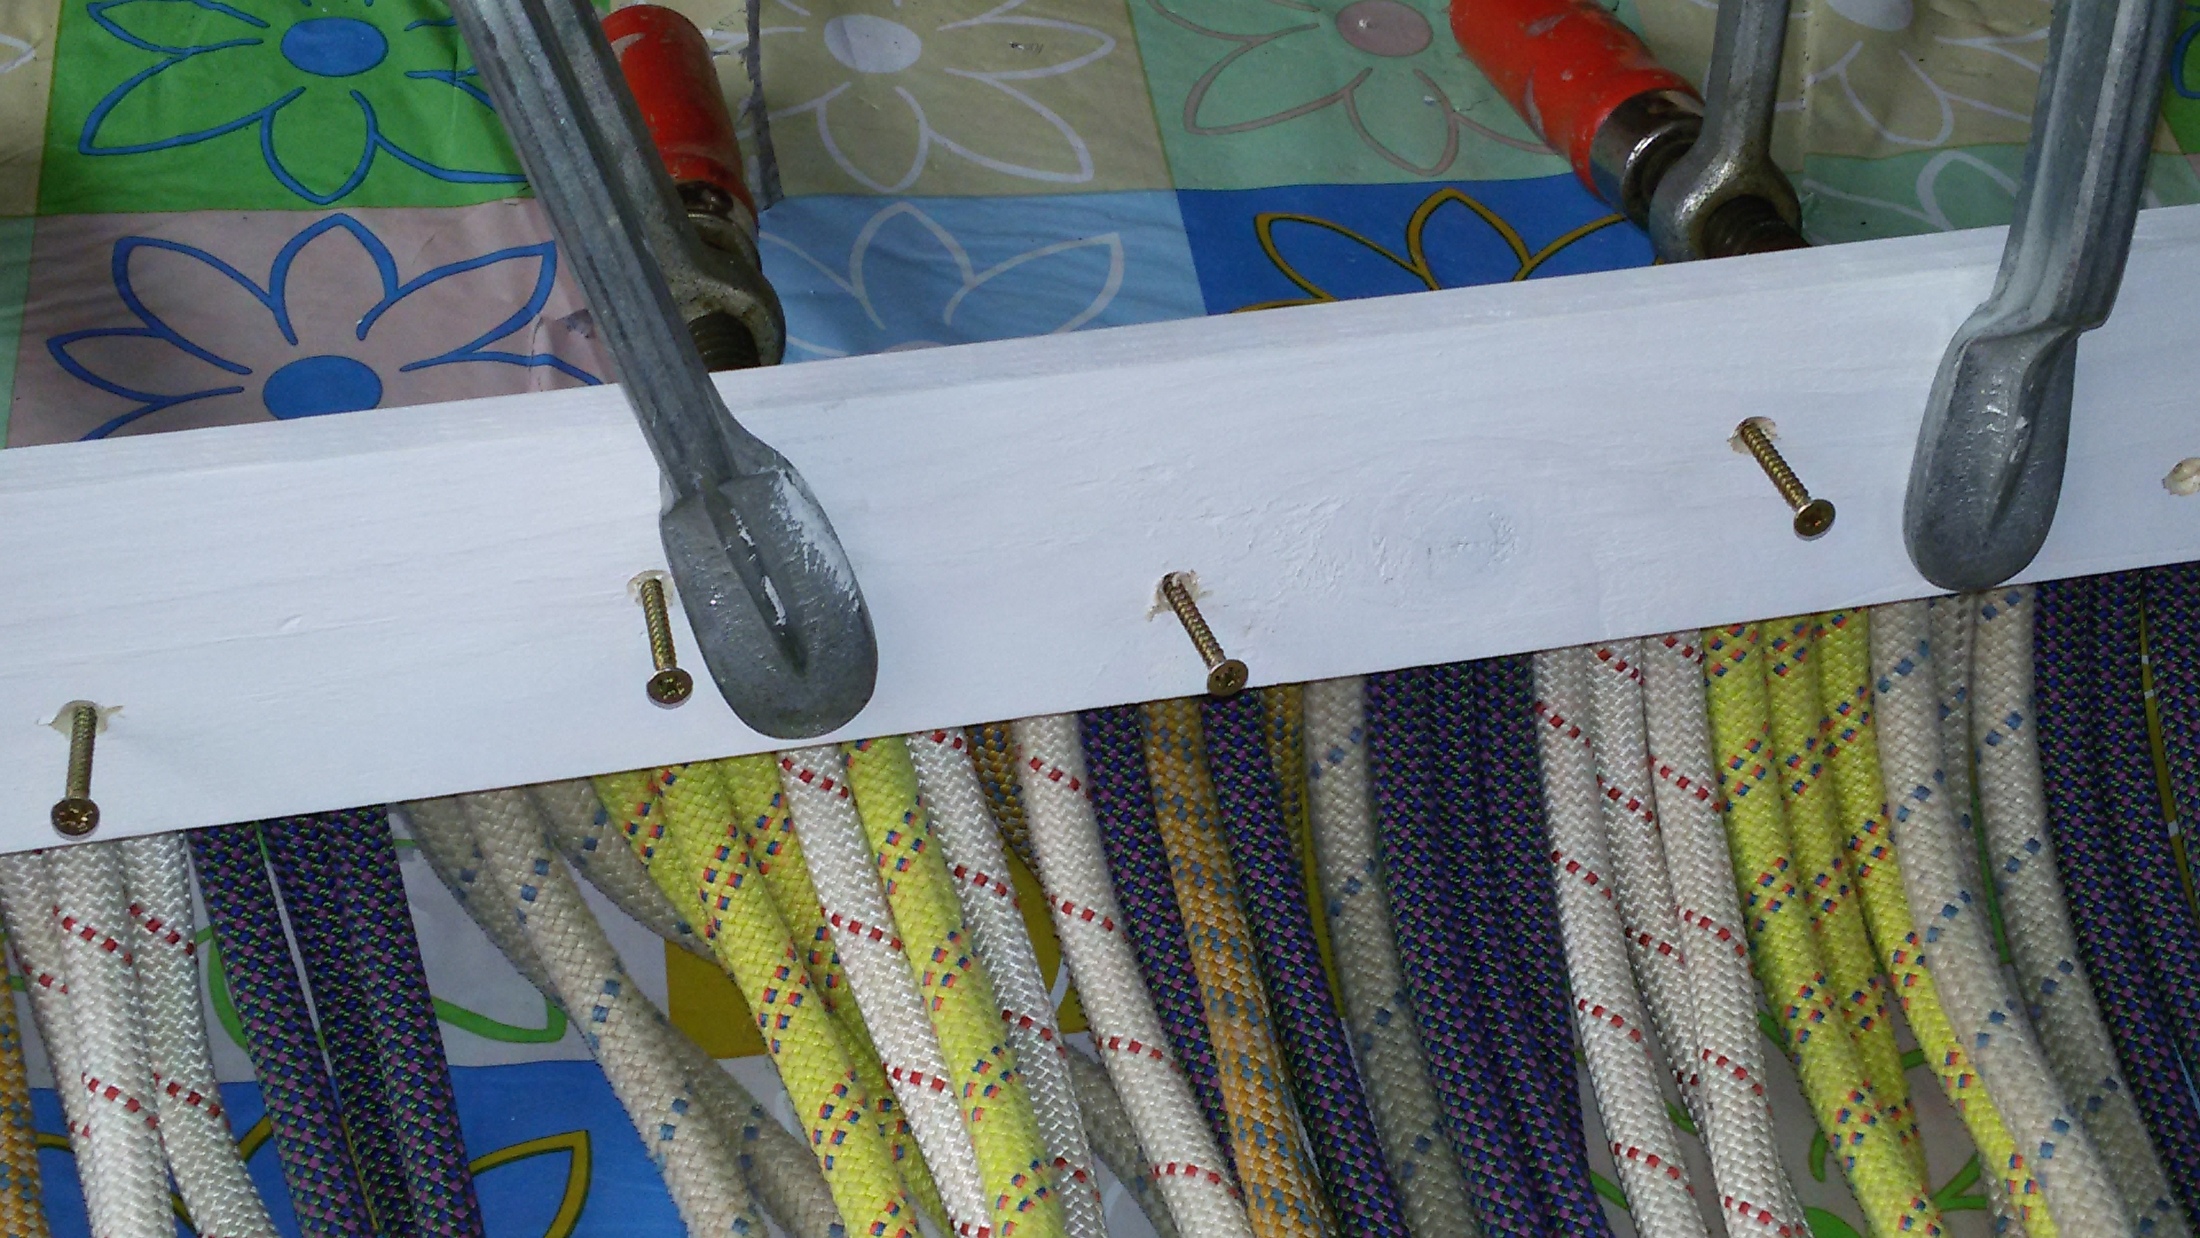
- Clamp the 2nd bar with the ropes with glue clamps. Make sure that the 2nd bar crosses slightly so that the rope ends are no longer visible. Tighten the glue clamps as much as possible.
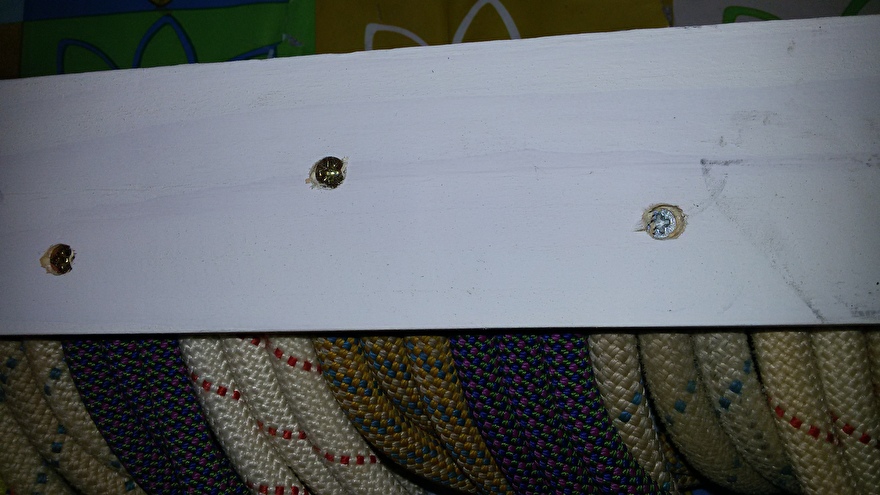
- Connect the 2 slats with screws (4 x35mm).
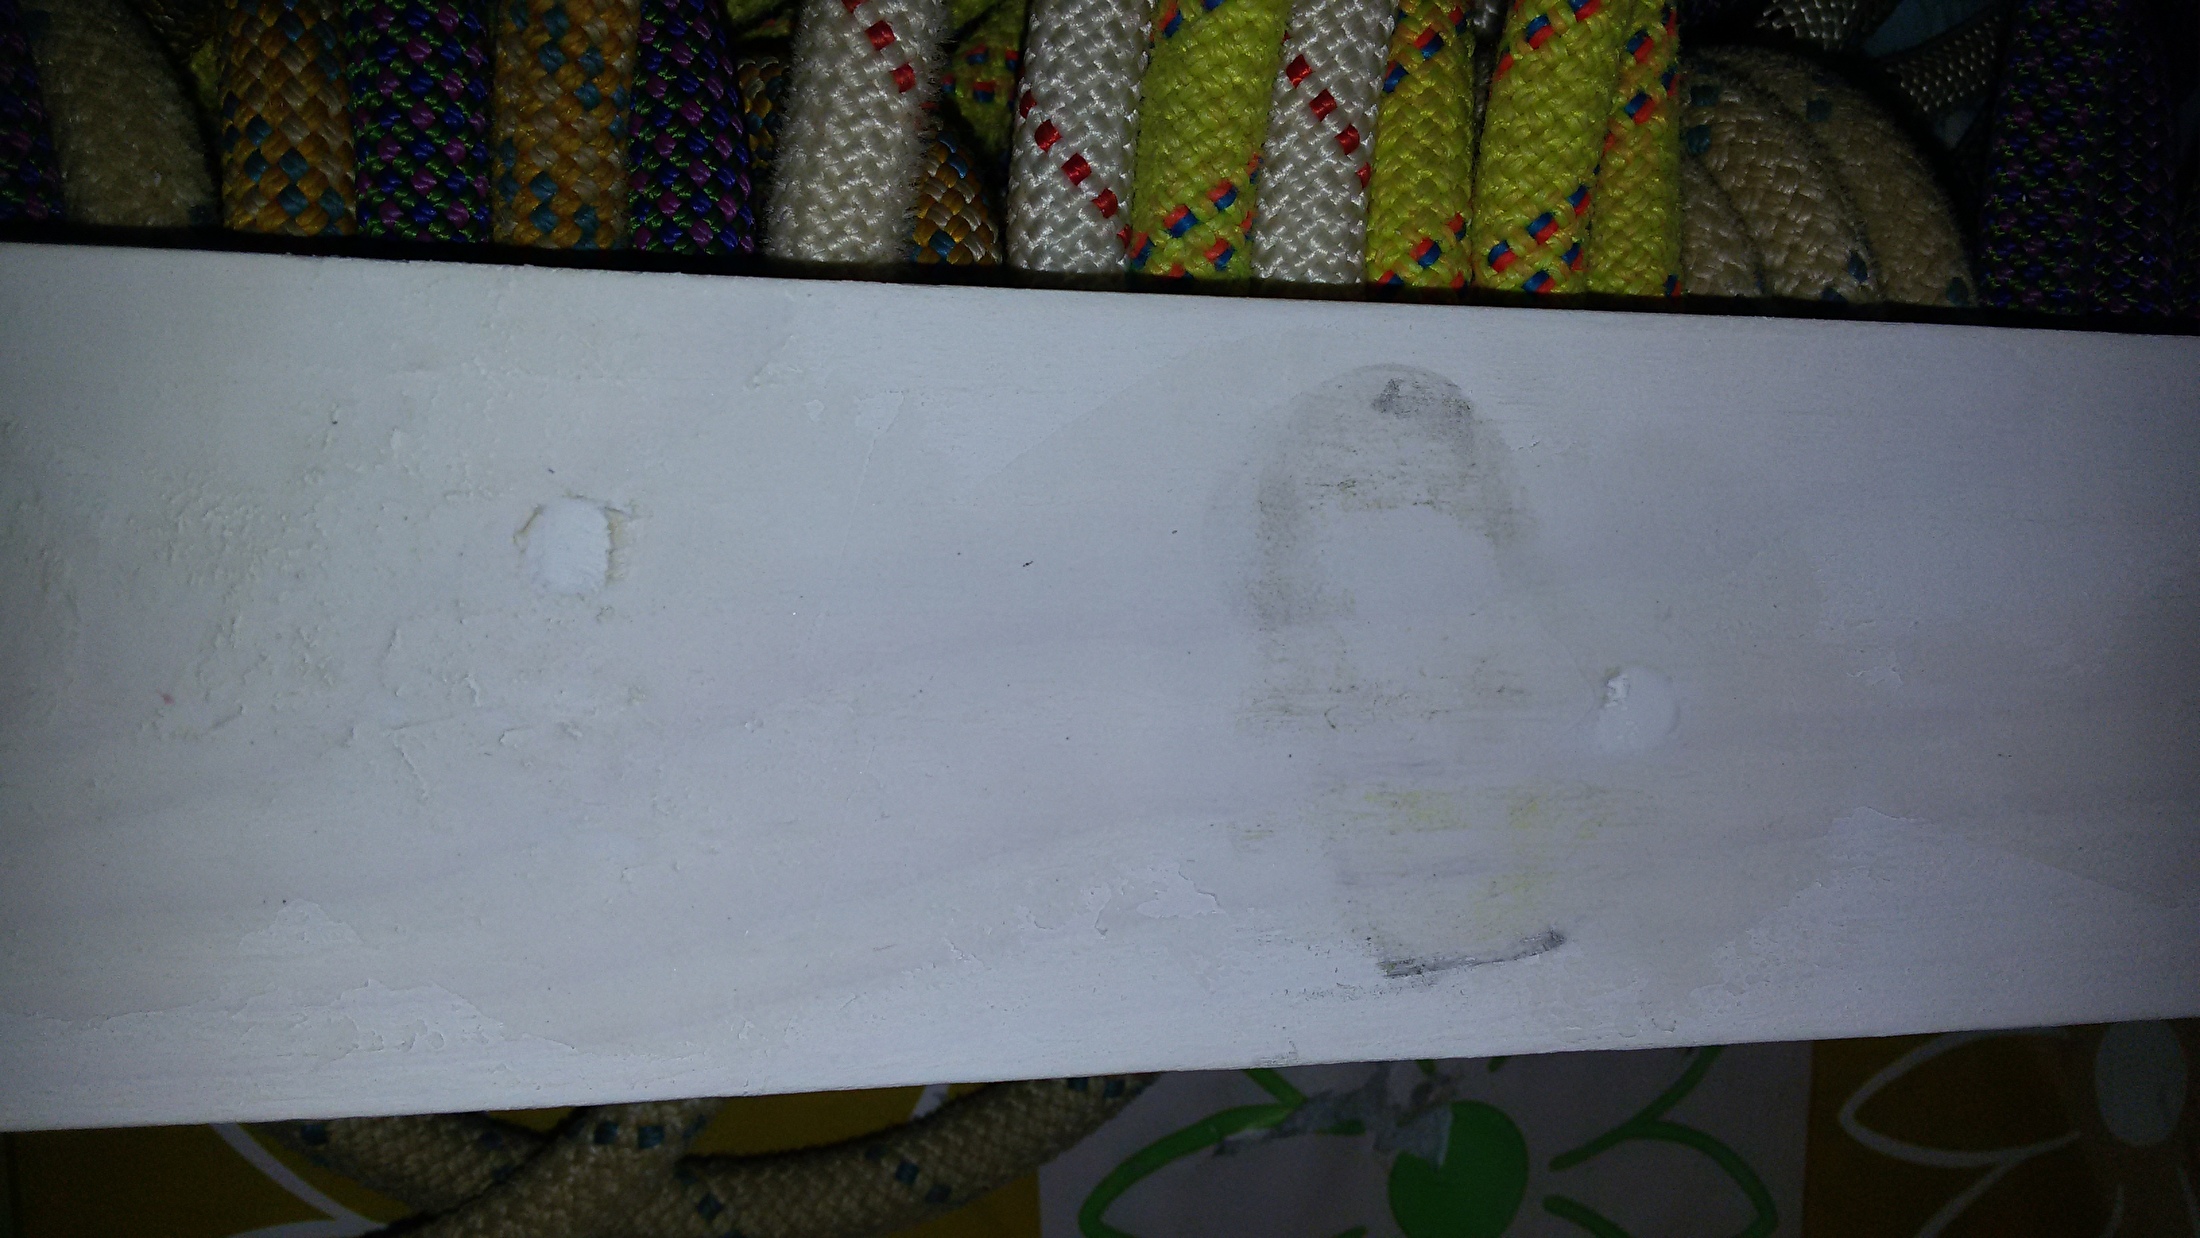
- Fill the holes of the screws
- The fly curtain is now ready to be hung.
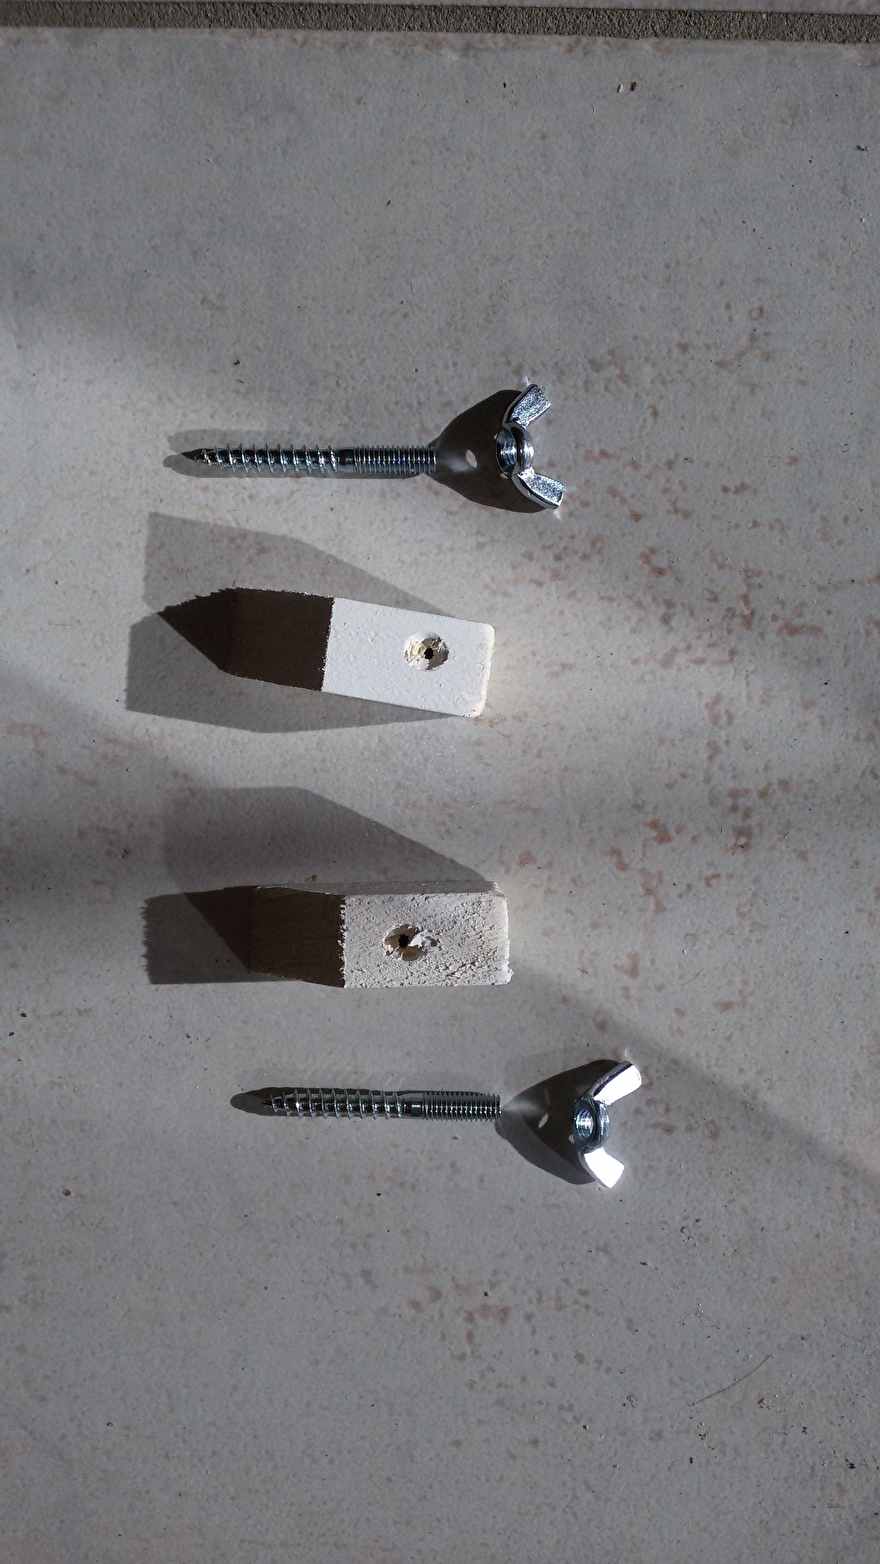
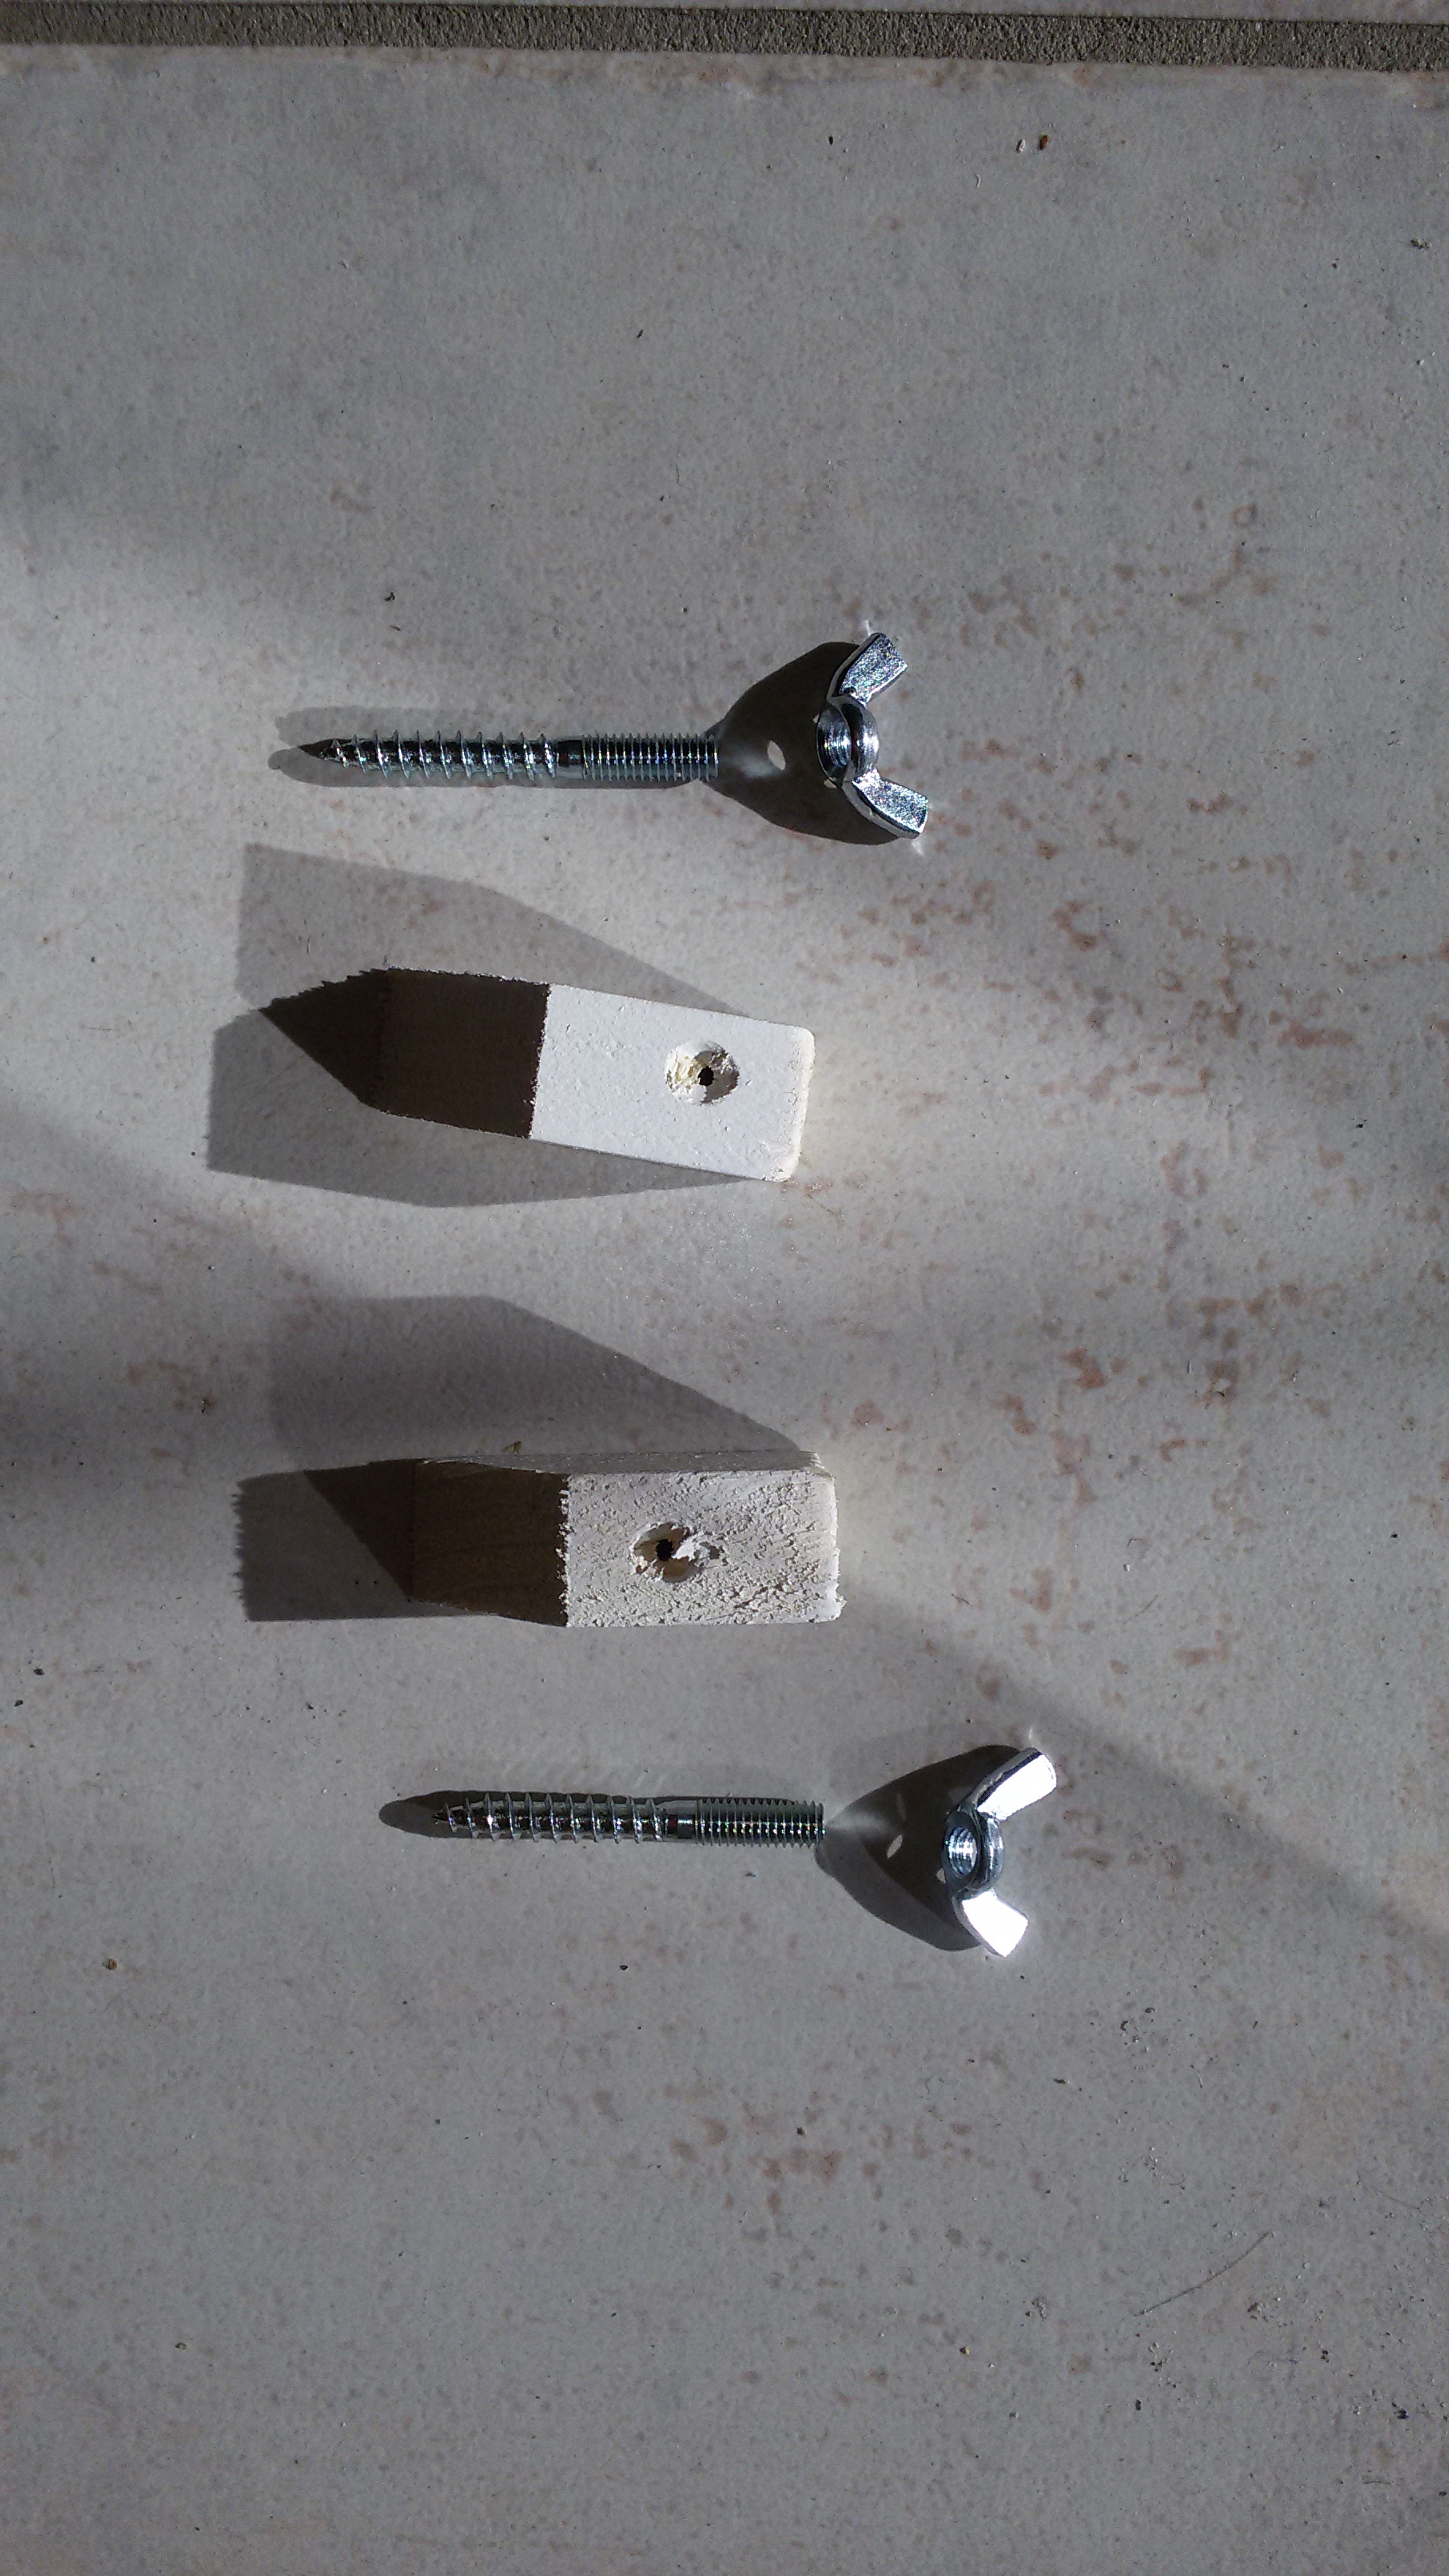
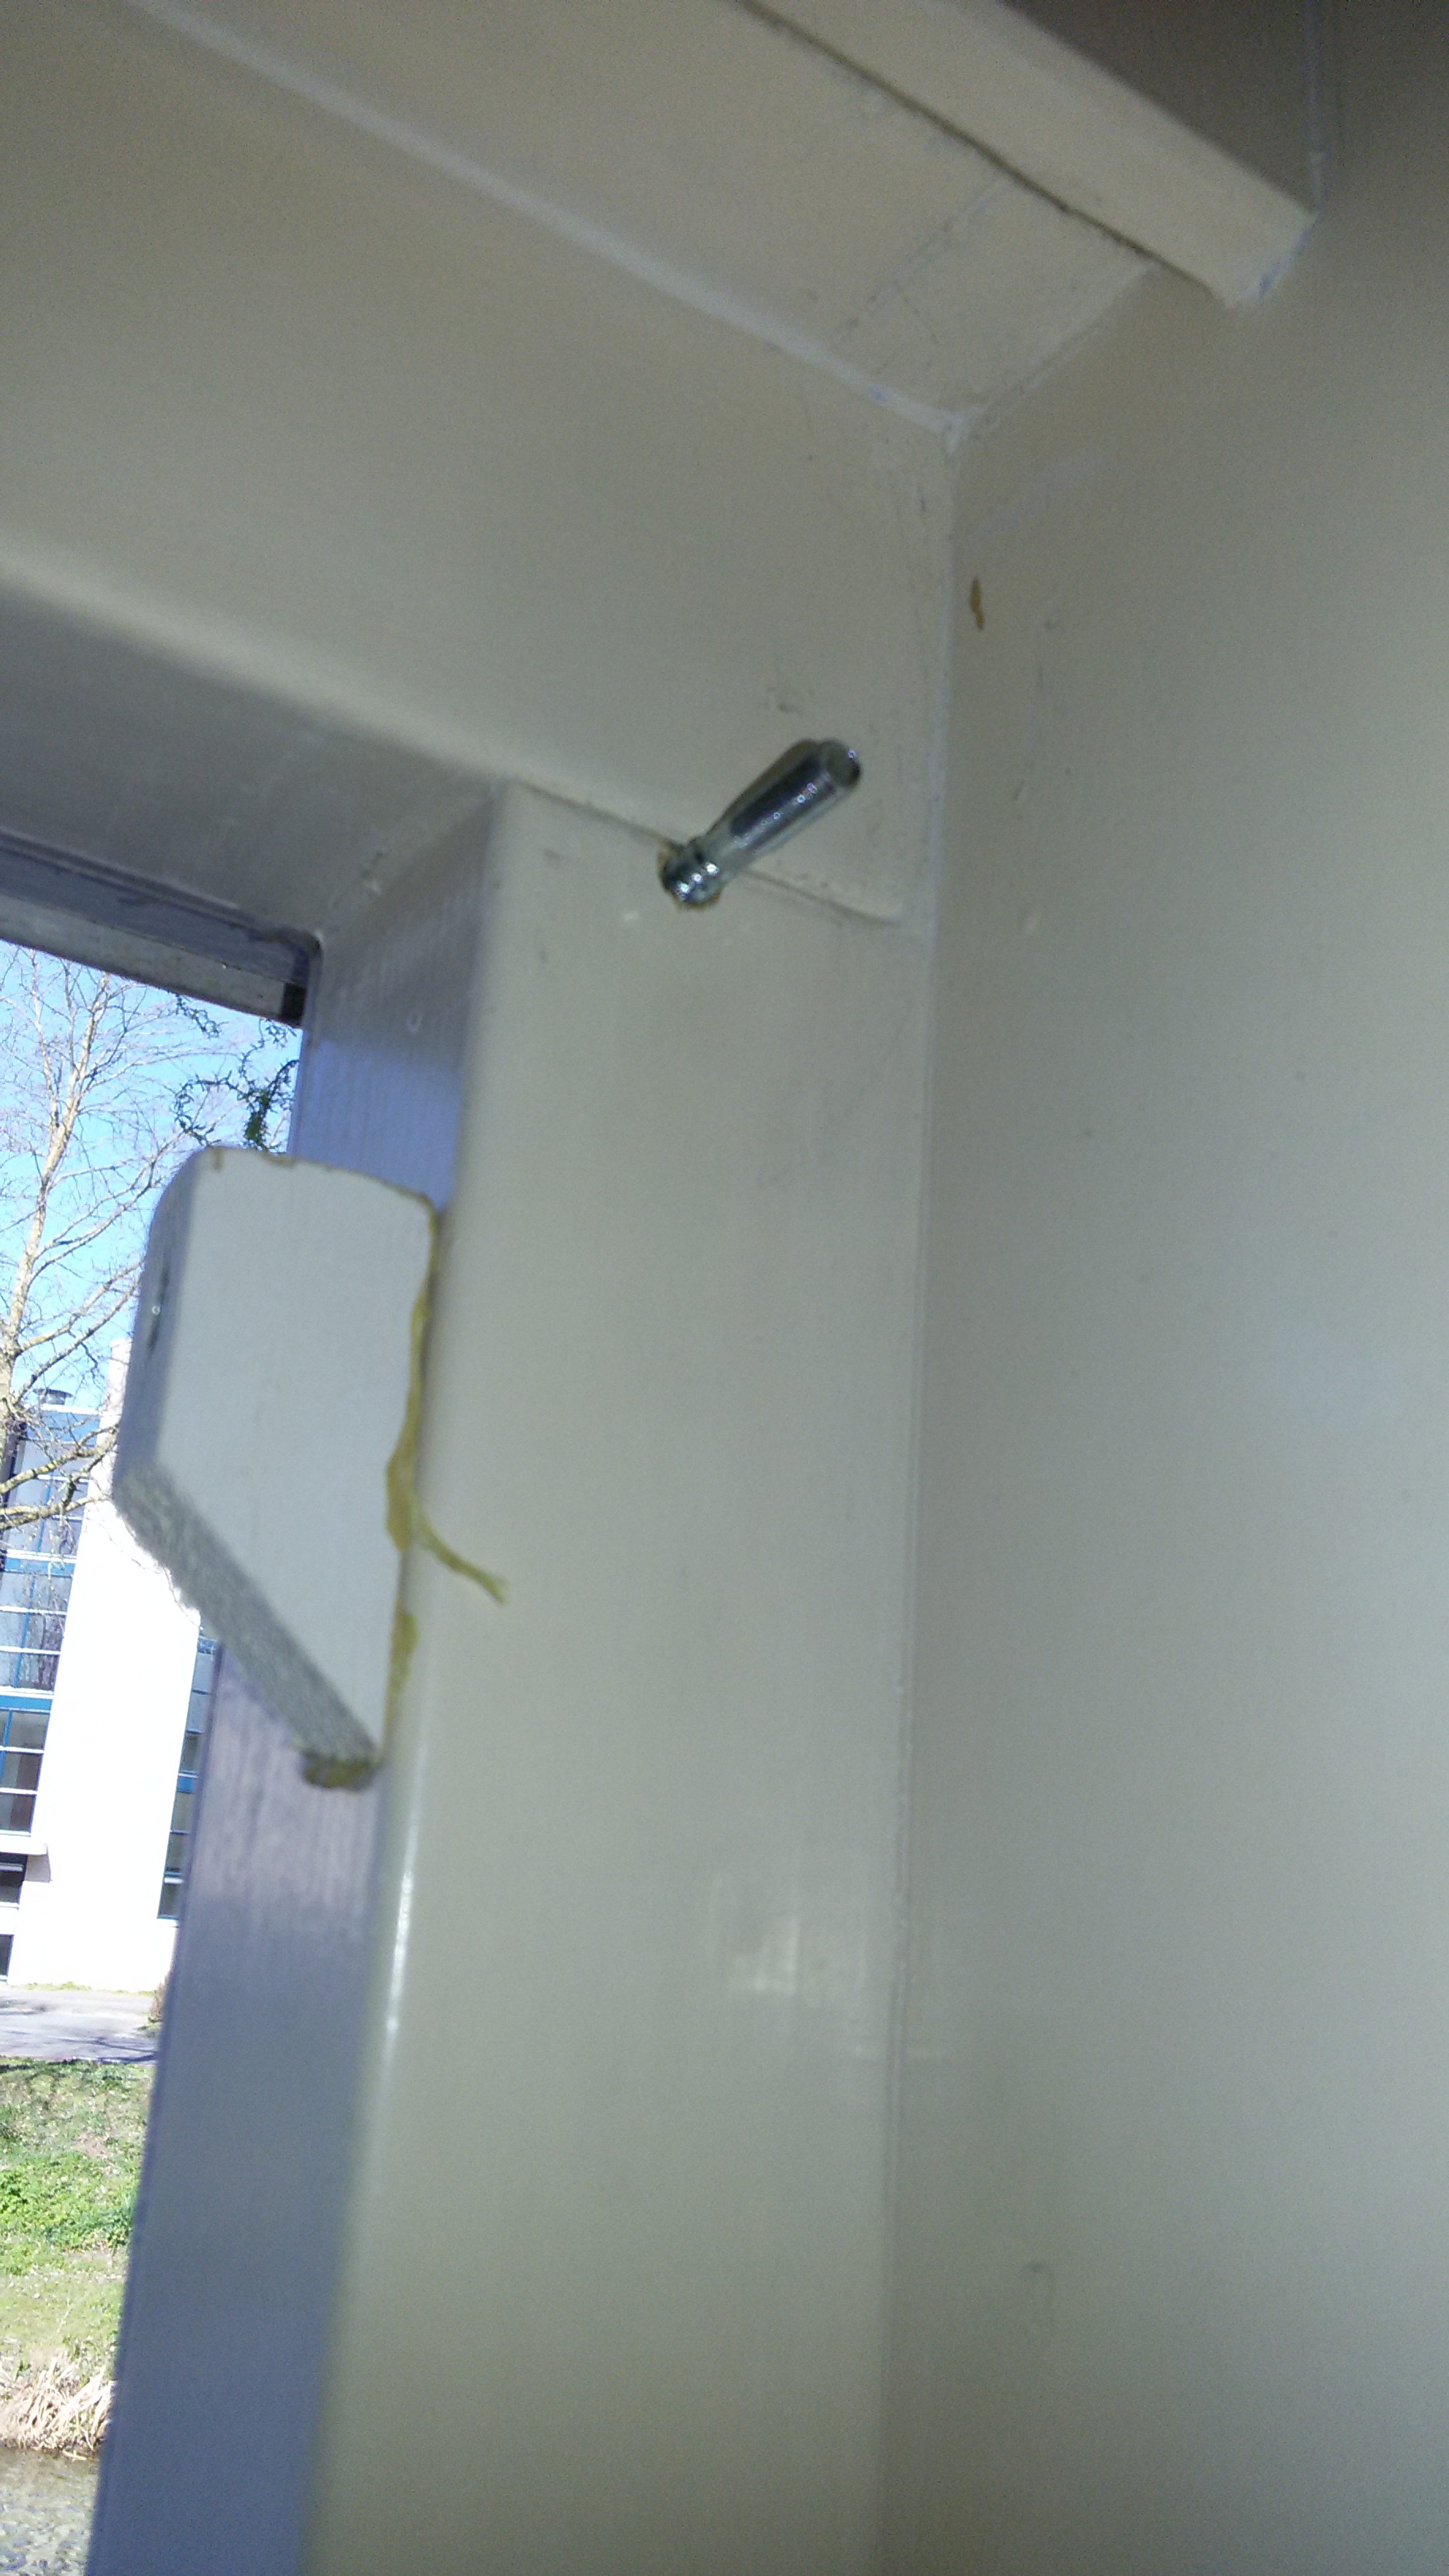
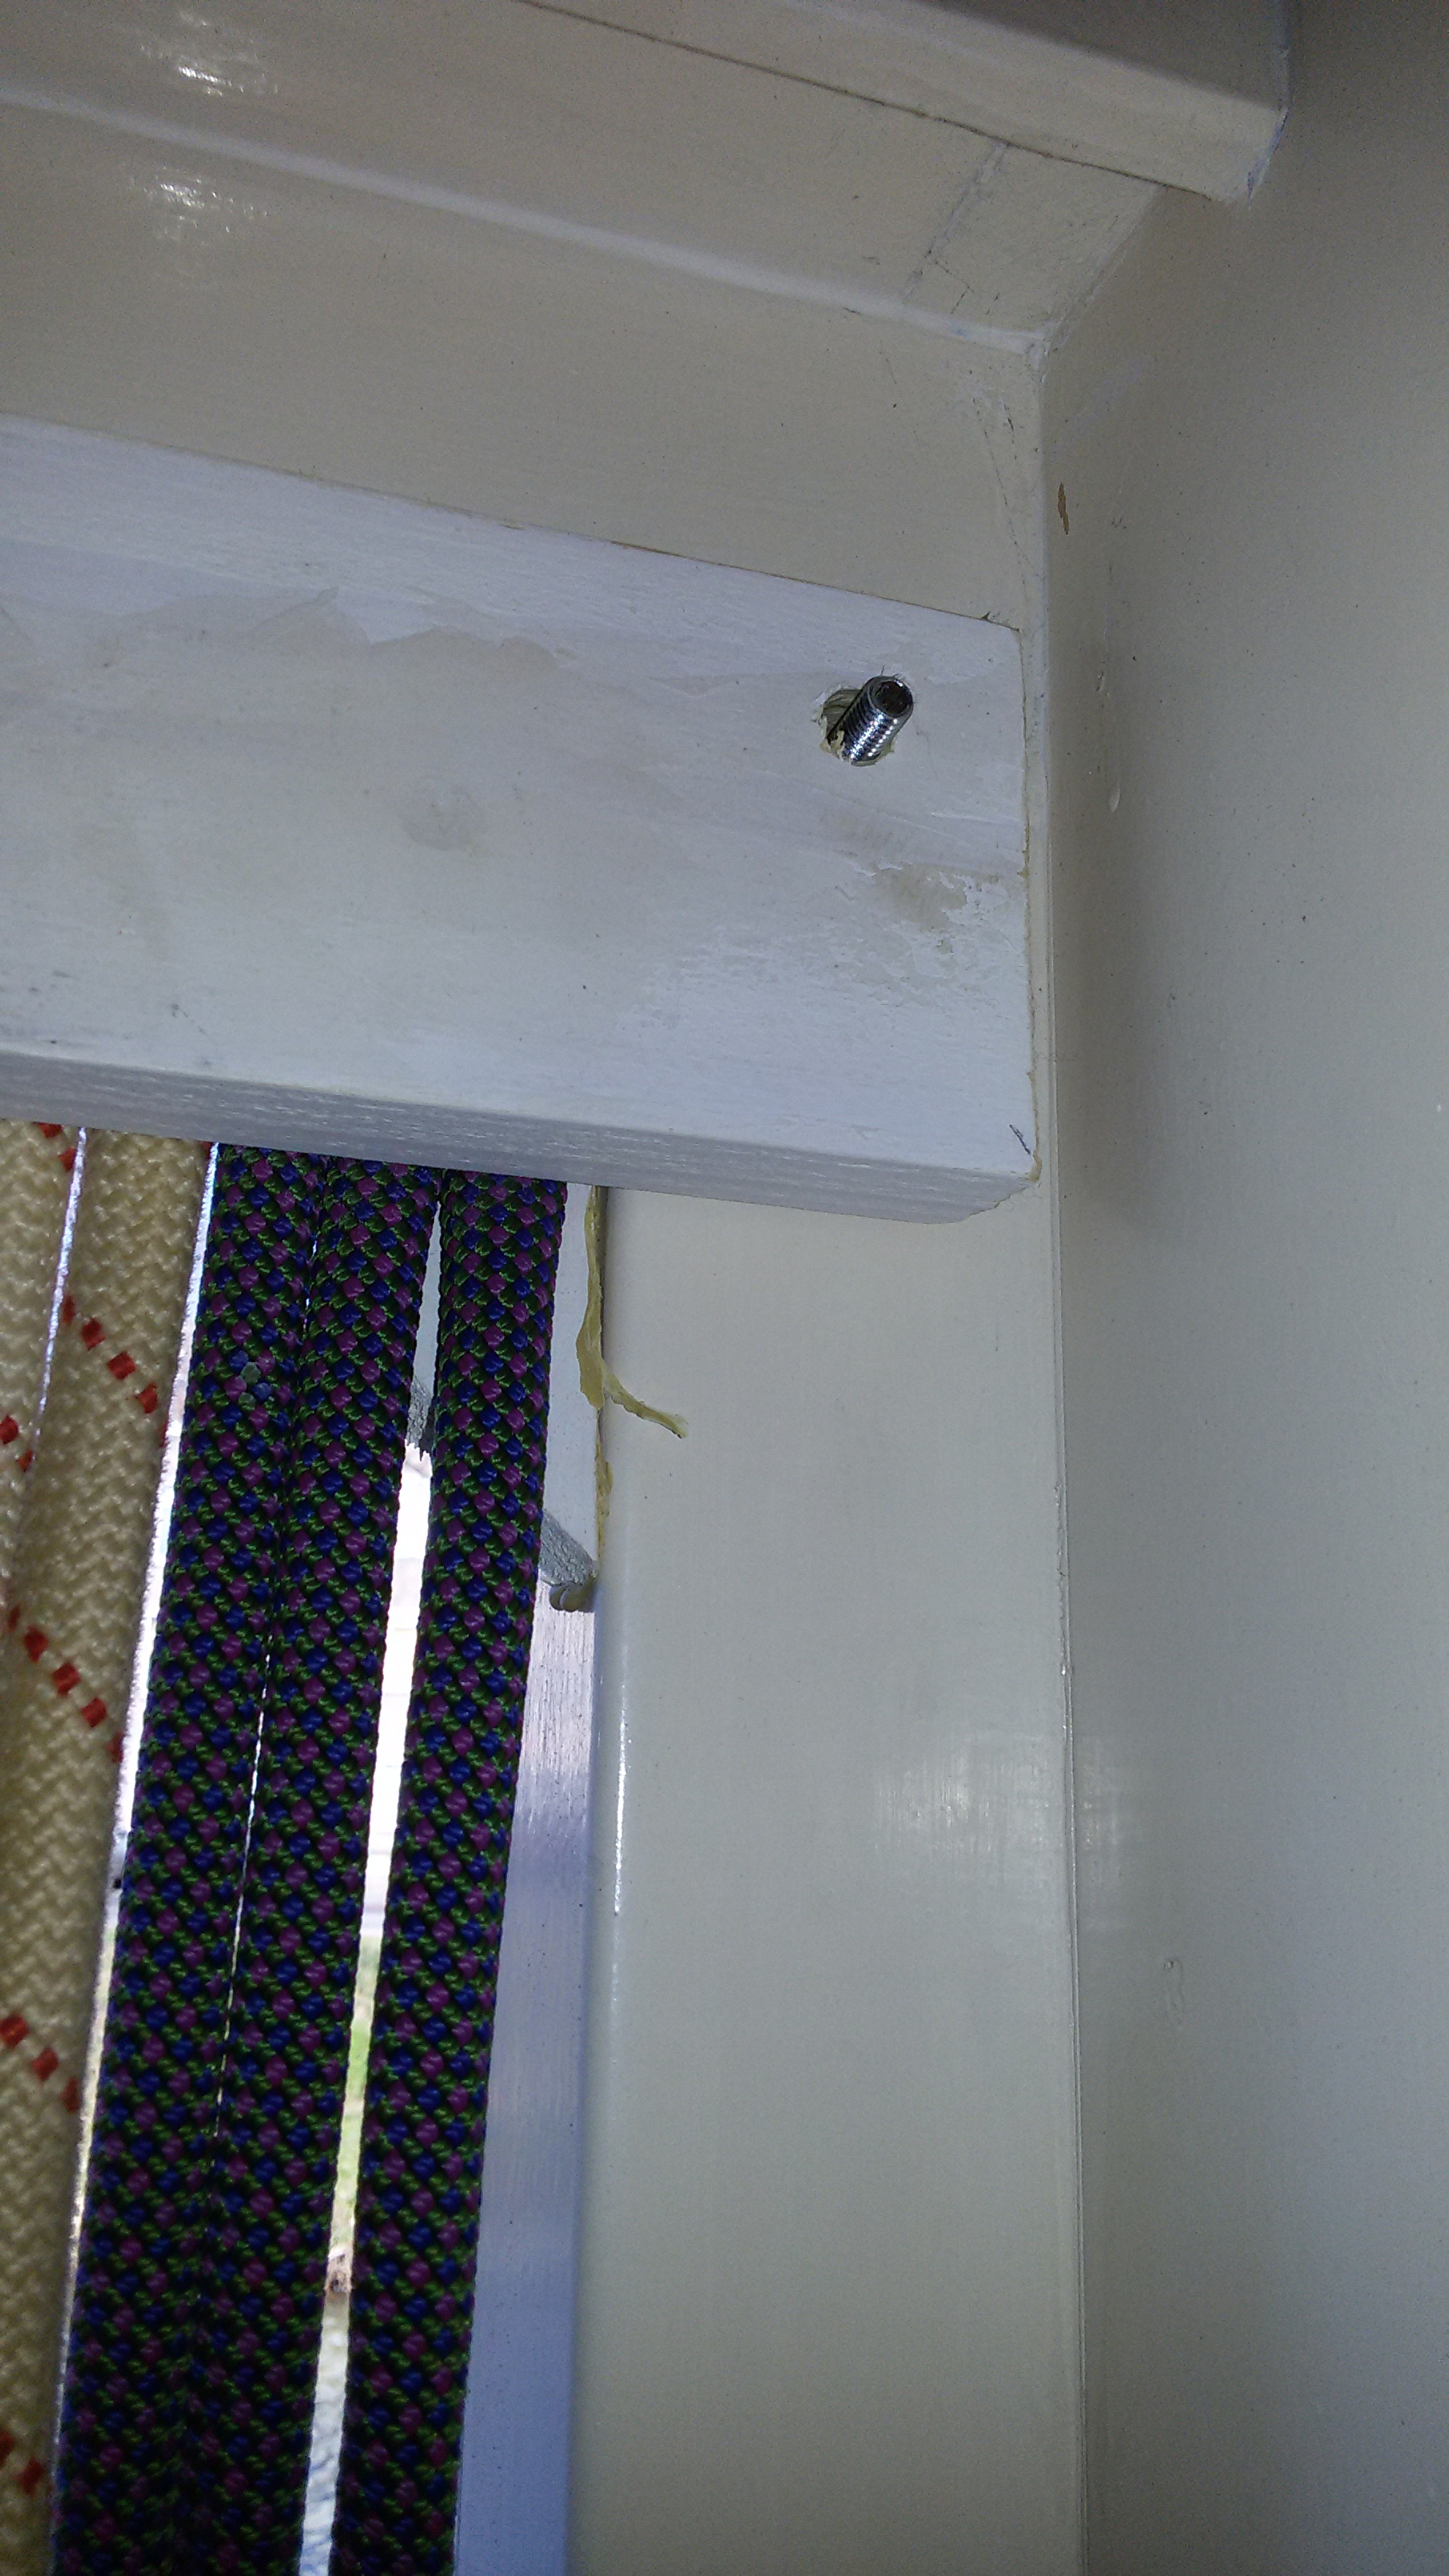
- Drill the holes in the 2nd slat through which the hanger bolts (M6 x 50) must be inserted.
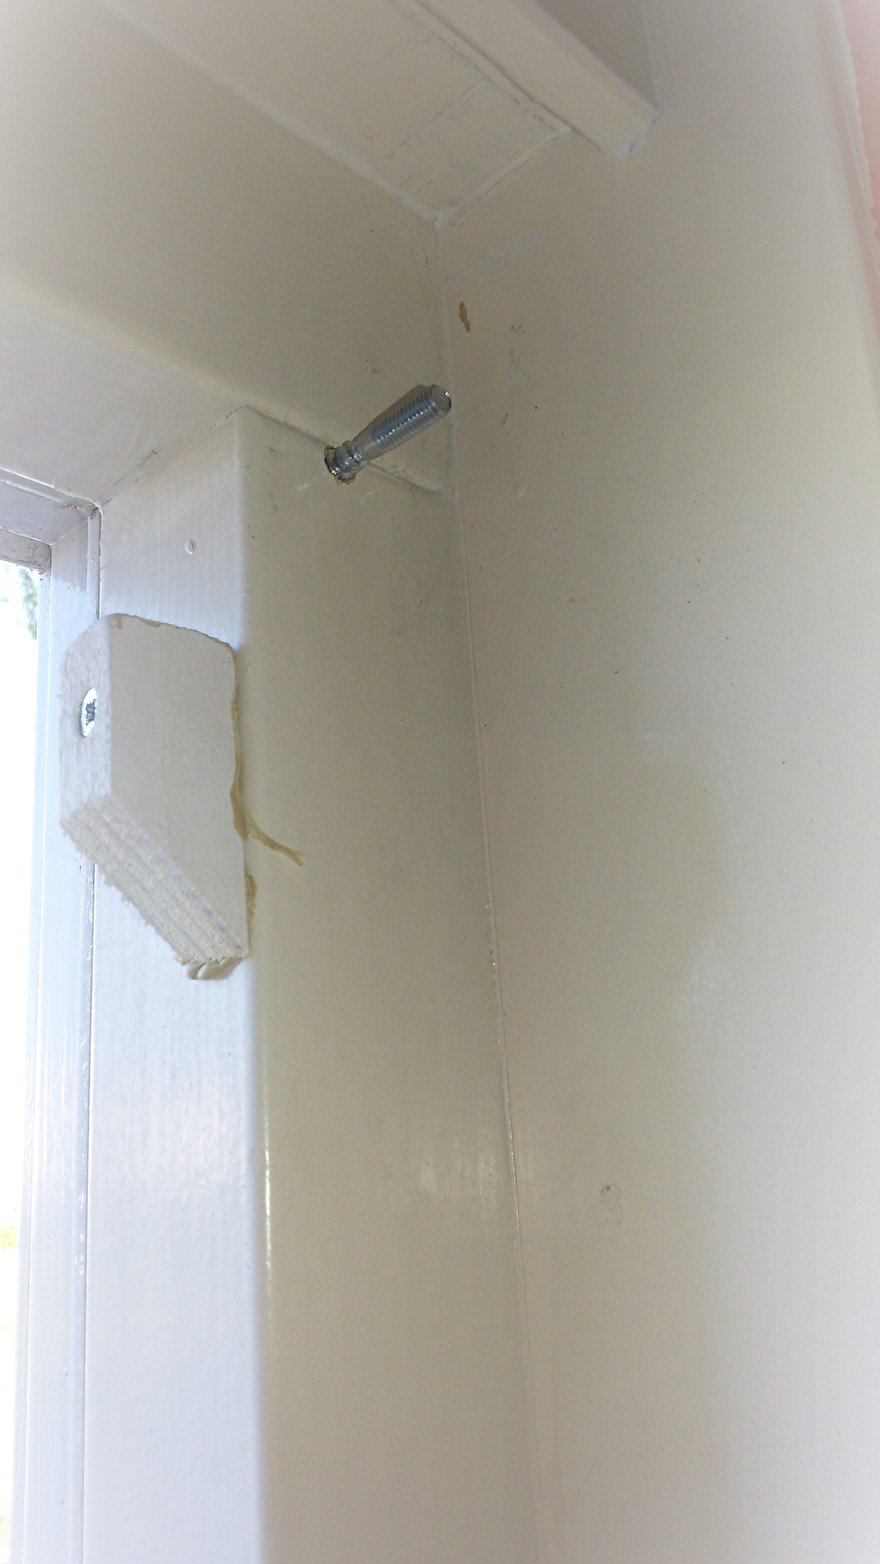
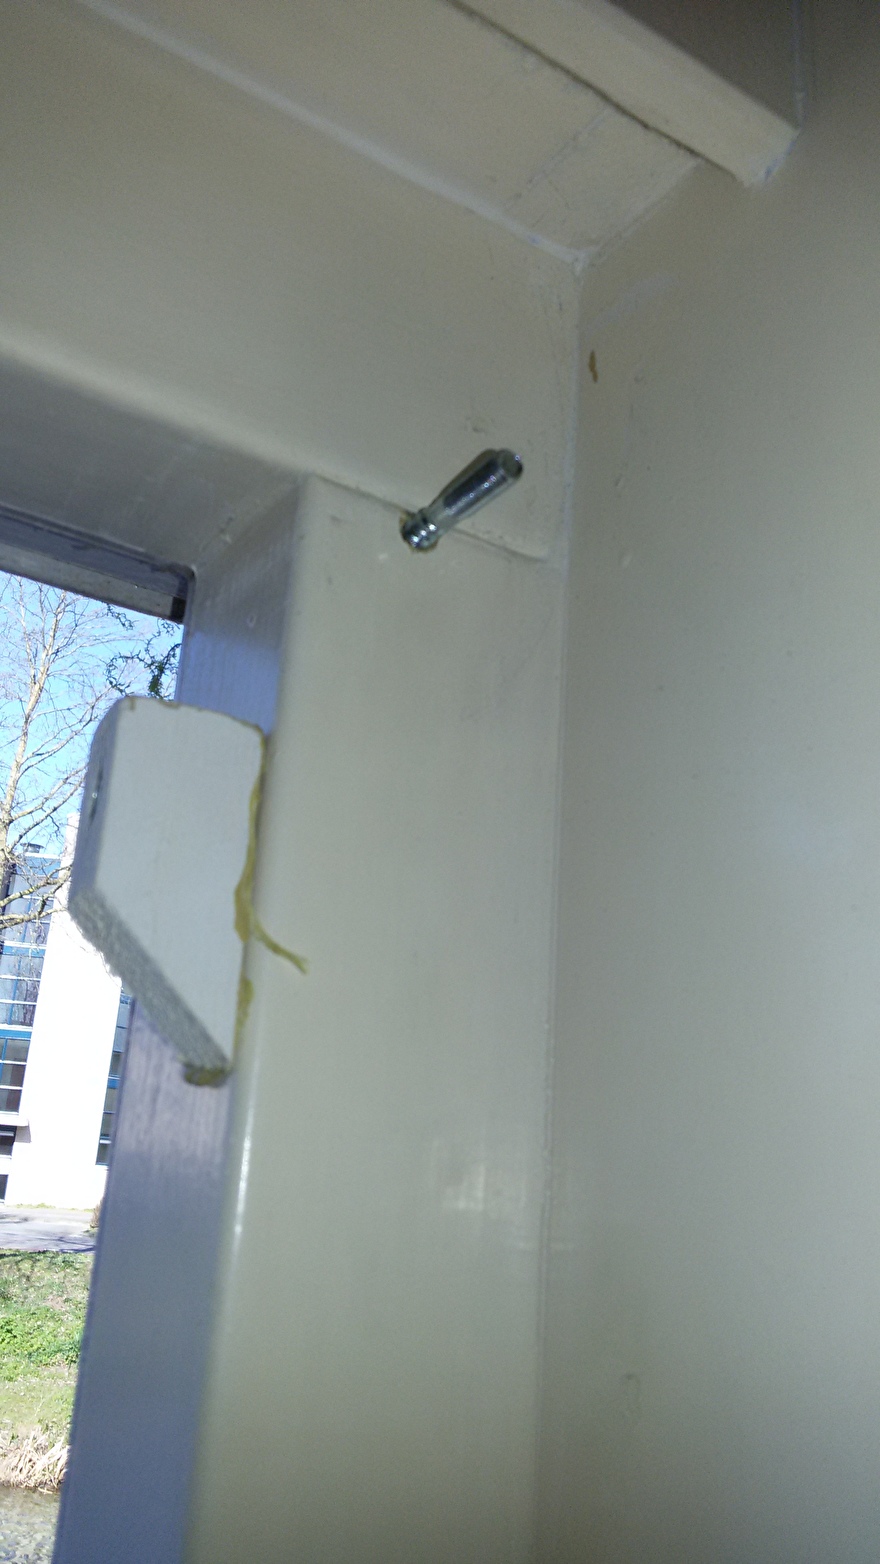
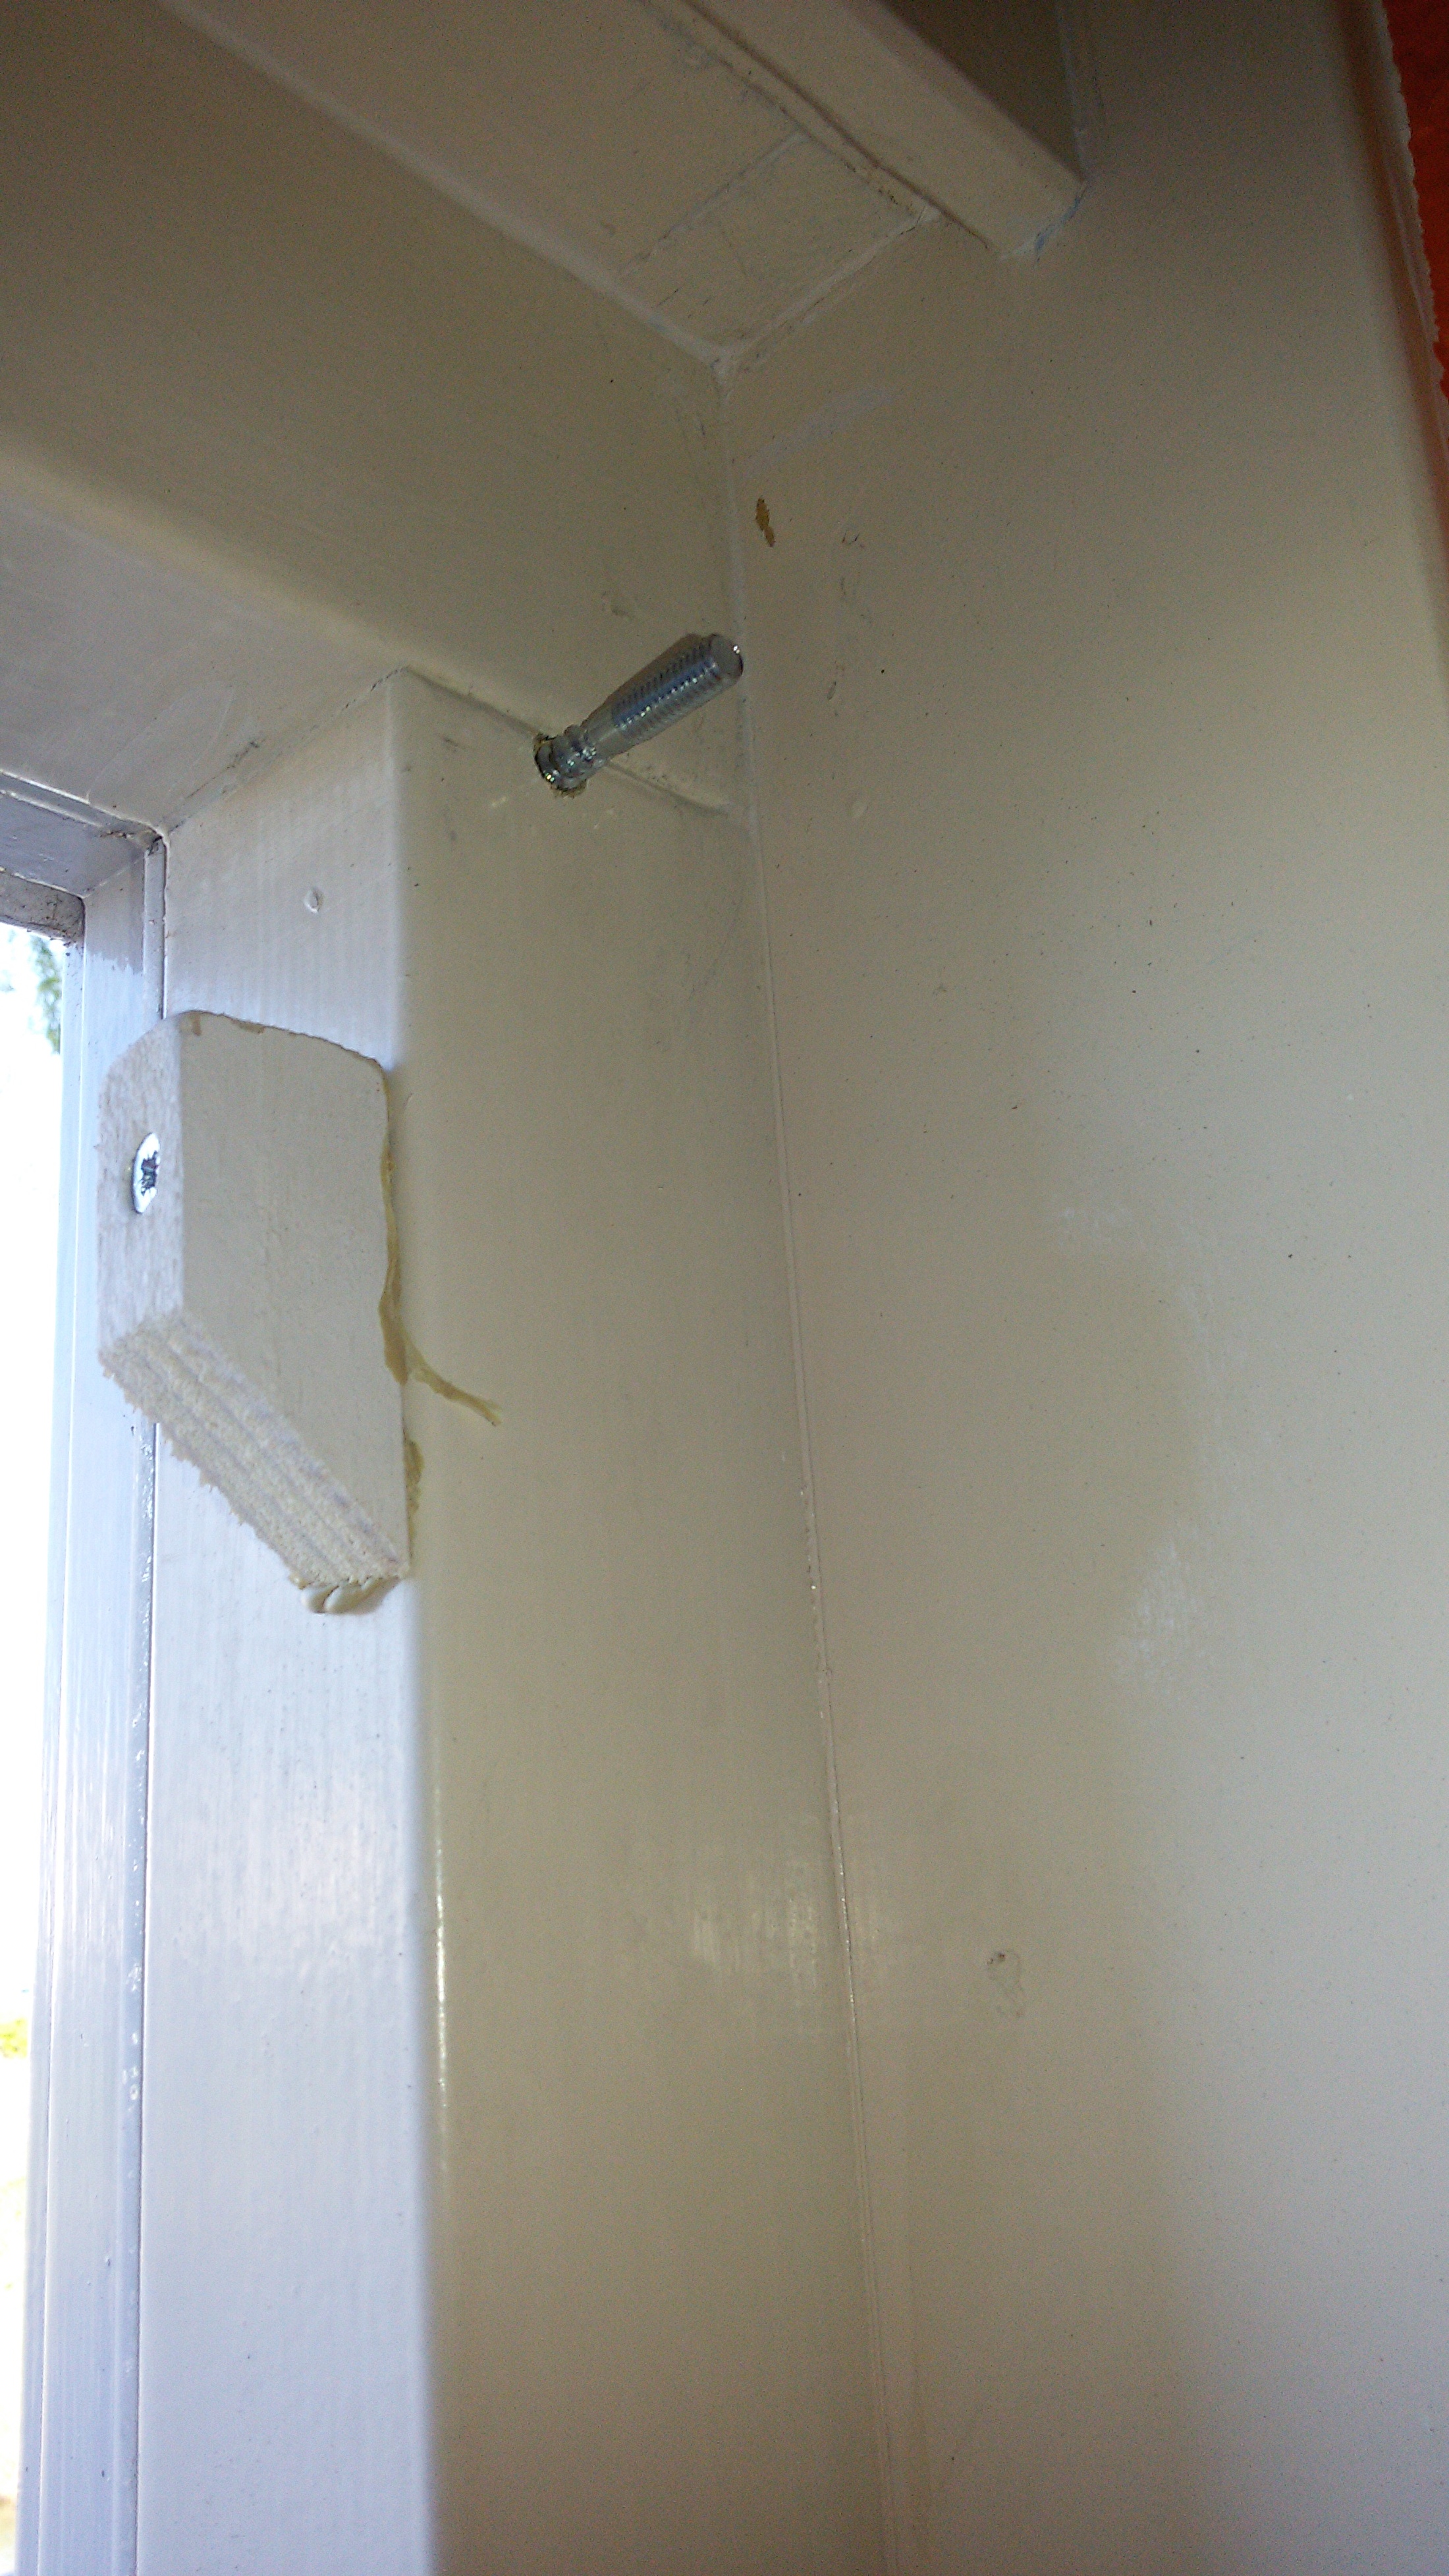
- Determine the location and mount the hanger bolts in the frame.
- Determine the location and fix the supports to the frames for the lath on which the ropes are attached.
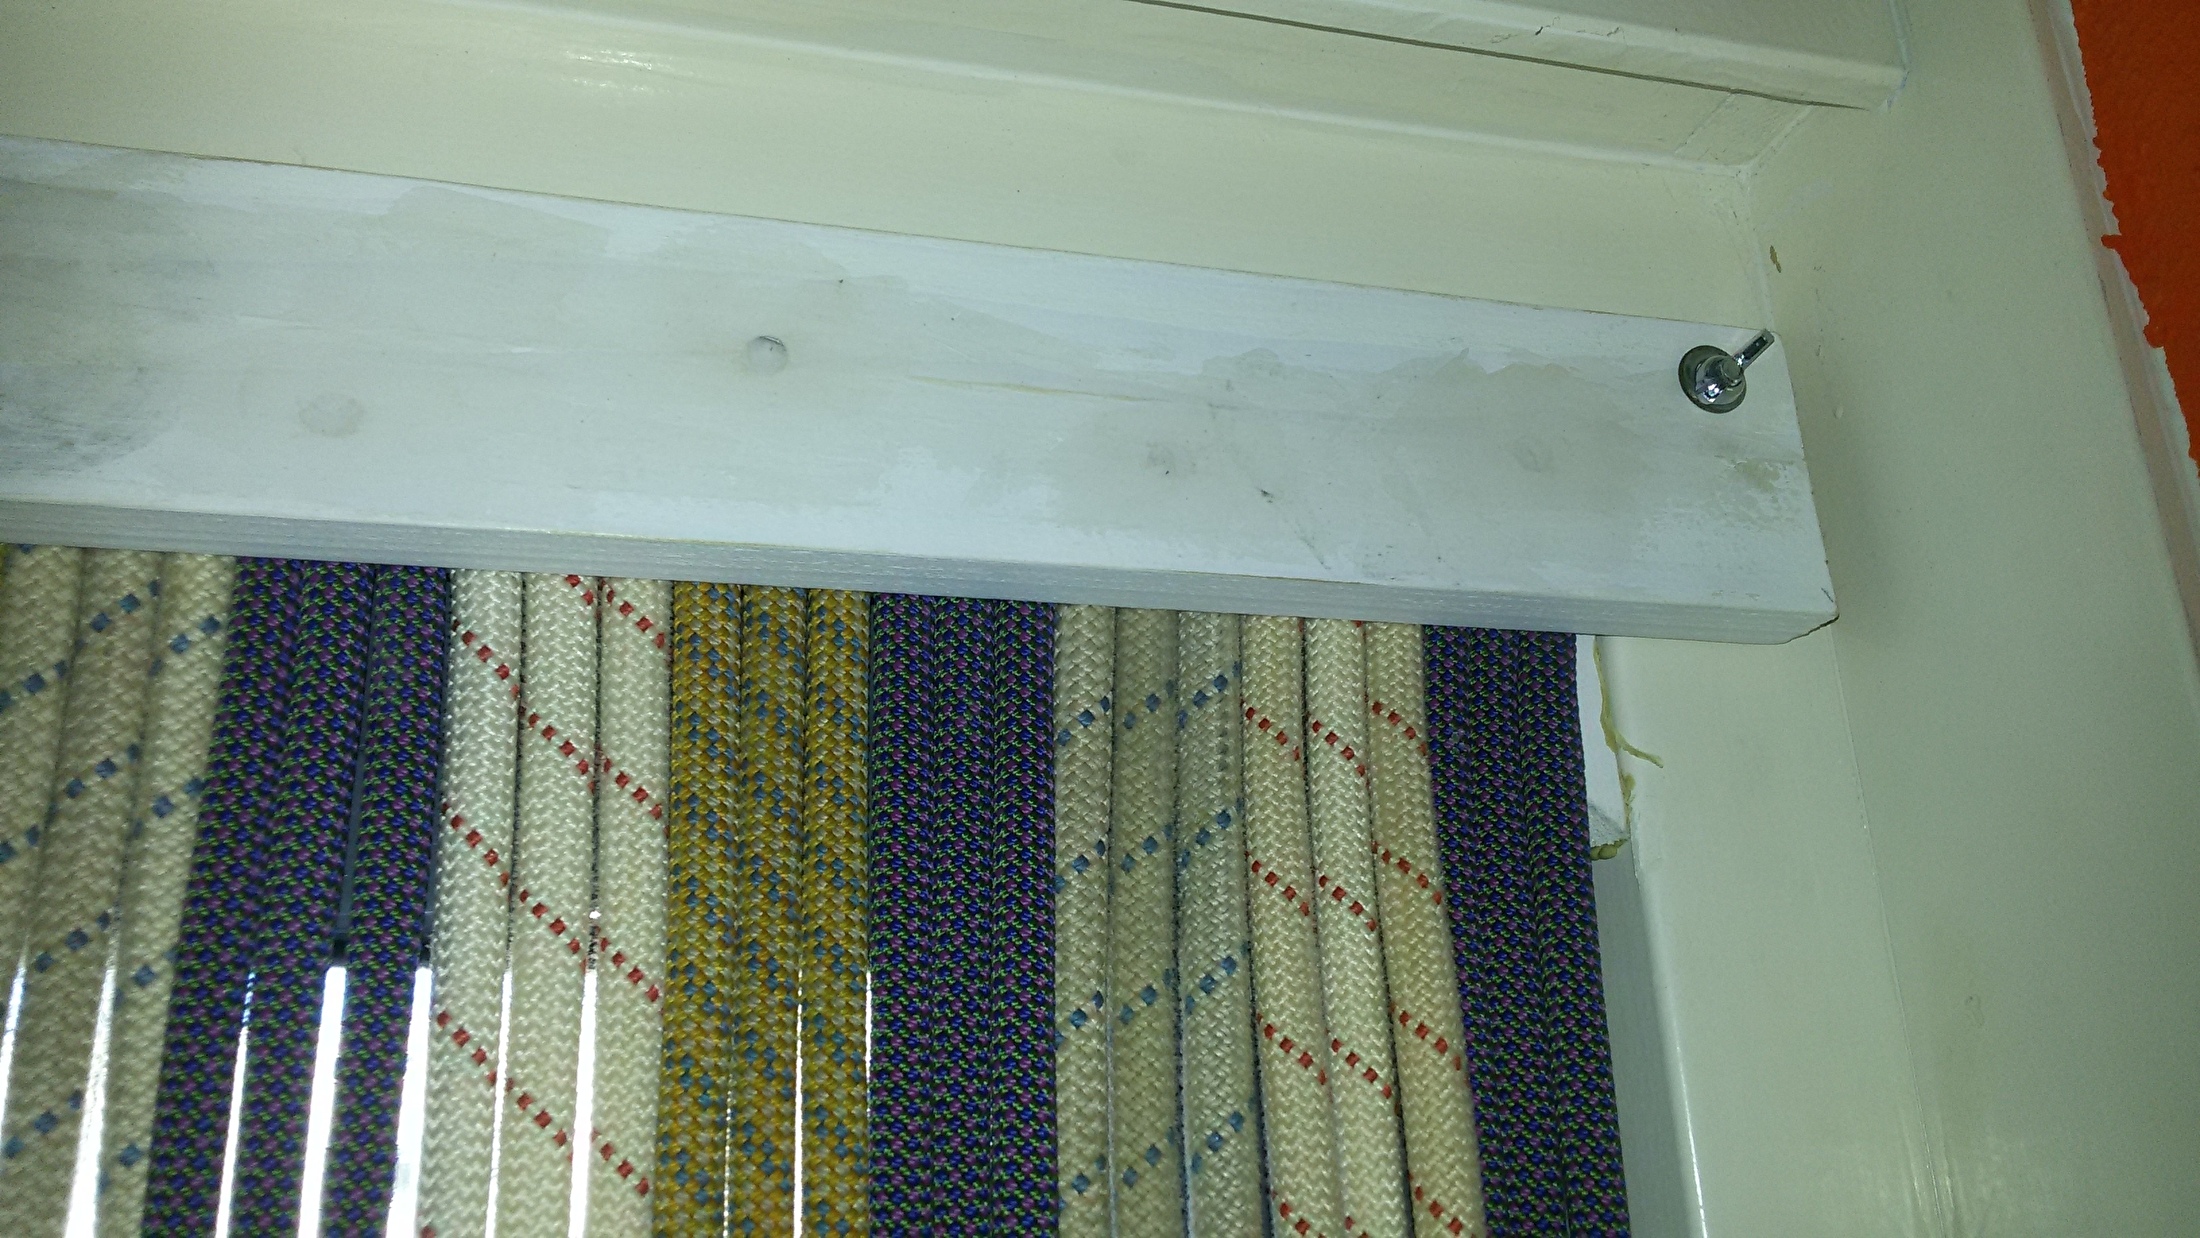
- Hang the curtain and secure with washer and wing nut.
This way you can still enjoy your rejected rope.
