How to seal the seams of your neoprene suit.
How to seal the seams of your wetsuit and prevent water from getting in.
Are you worried about sealing the seams of your wetsuit? And rightly so. The seams are one of the most vulnerable parts of your suit, and it is of great importance to keep them in good condition. If you neglect them... prepare yourself for leaks, the cold, pieces coming loose, and increasingly damaged neoprene. And then, yes, it is time to say goodbye.
We explain step-by-step how to seal neoprene seams so that they are strong, waterproof, and professionally finished.
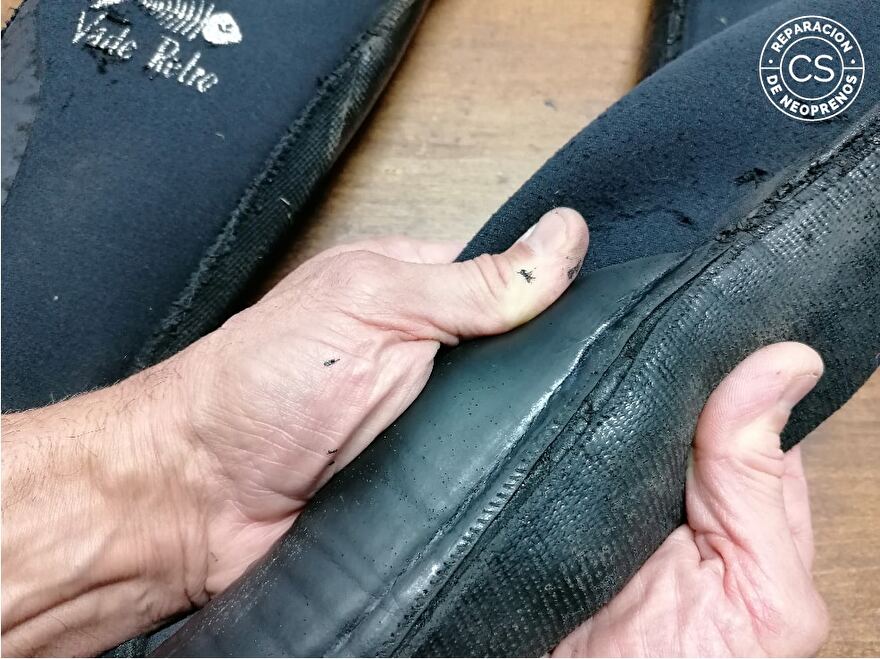
Why is it so important to seal neoprene seams?
Because improper maintenance can cause the protective coating (the outer layer) to peel off, exposing the thread. Without protection, this thread wears down and eventually comes loose. The result: the neoprene pieces separate and water seeps incessantly.
But don't rush! Before applying a coat of varnish to seal the seams of your neoprene, make sure they are properly glued and stitched. Otherwise, you will only be masking the problem instead of solving it. And then it will be much harder to repair.
The 3 most important steps to sealing your neoprene seams
With a little patience, you will achieve ultra-strong, waterproof, aesthetically pleasing, and watertight seams.
How to seal your neoprene seams?
To make it easier for you, a COMPLETE neoprene repair kit has been put together that you can use for these repairs together with Aquaglutene soft varnish for neoprene or Polyglutene liquid rubber 250ml.
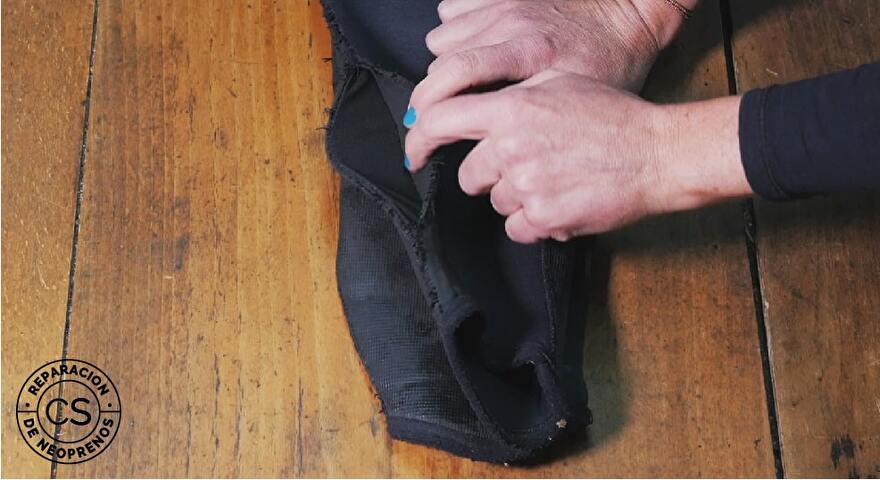
STEP 1: GLUE THE PARTS CORRECTLY
- First, ensure that the parts are glued together properly. If you notice parts coming loose or detaching completely, it is time to glue them! Neoprene glue is essential. Gluing is the first and most important step; it ensures that the pieces stay together and prevents water from entering.
- Apply an even layer of our neoprene adhesive to both surfaces to be joined and wait 10-20 minutes for the solvents to evaporate (this depends on ambient conditions).
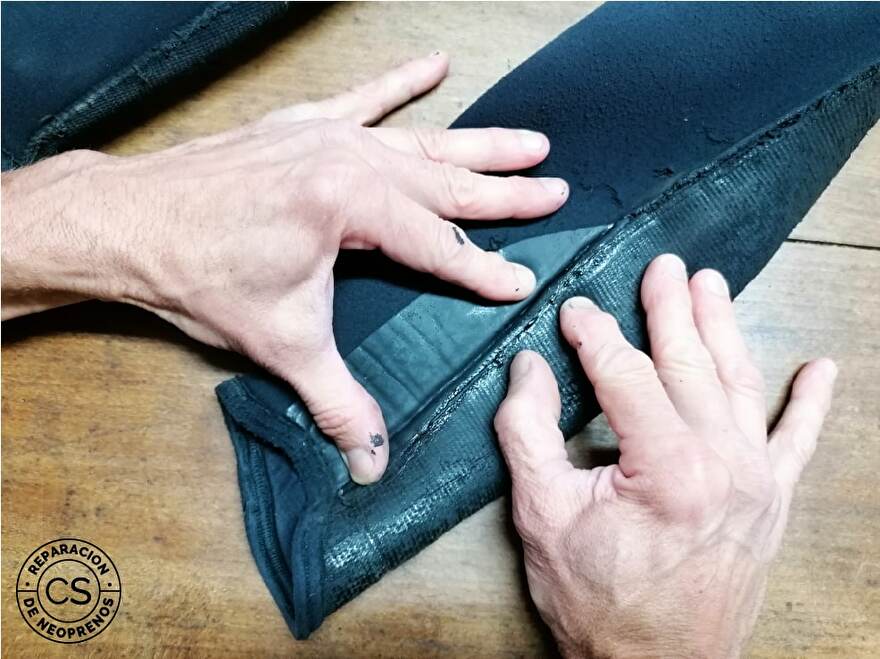
- Join the pieces together and press them firmly to prevent air bubbles, ensuring they adhere well and are sealed.
STEP 2: SEW THE NEOPRENE FOR REINFORCEMENT
After the pieces have been glued together, you must sew the neoprene. Sewing is a very important step; do not skip it. Although the pieces are glued, the stitching provides extra strength and prevents the nylon from separating from the rubber, which would make the neoprene very fragile. A hole is guaranteed!
To sew your neoprene, you need a needle of the correct thickness and thick polyester thread that is resistant to damp conditions and is not too thin, as it would cut through the neoprene during movement.
Use the following for this:
- Gutermann twist thread 30 meters
- Curved needle for sewing neoprene
To ensure your seam is neat, durable, and waterproof, watch the video tutorial by Reperacion Neoprenas which explains in detail how to sew your neoprene by hand.
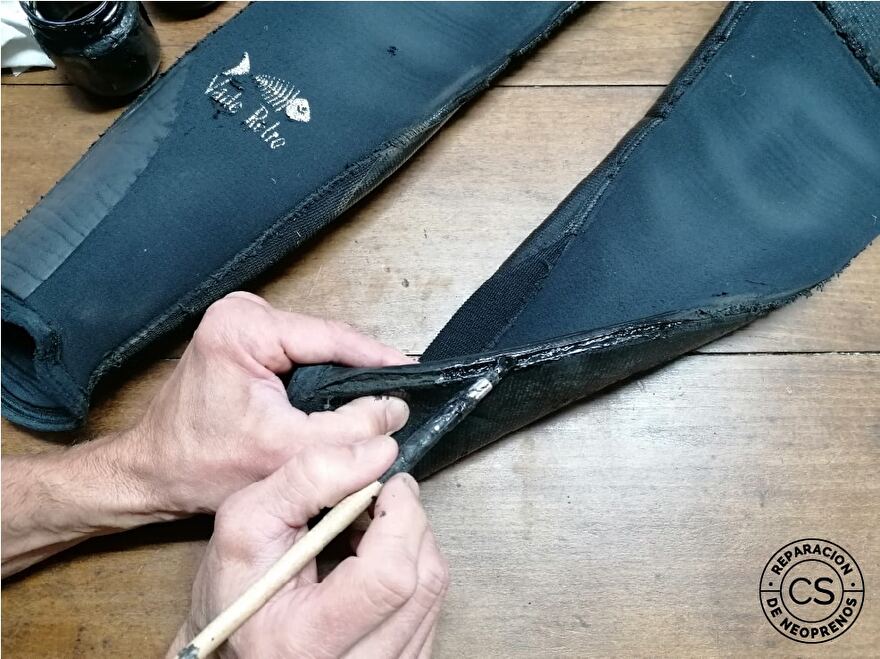
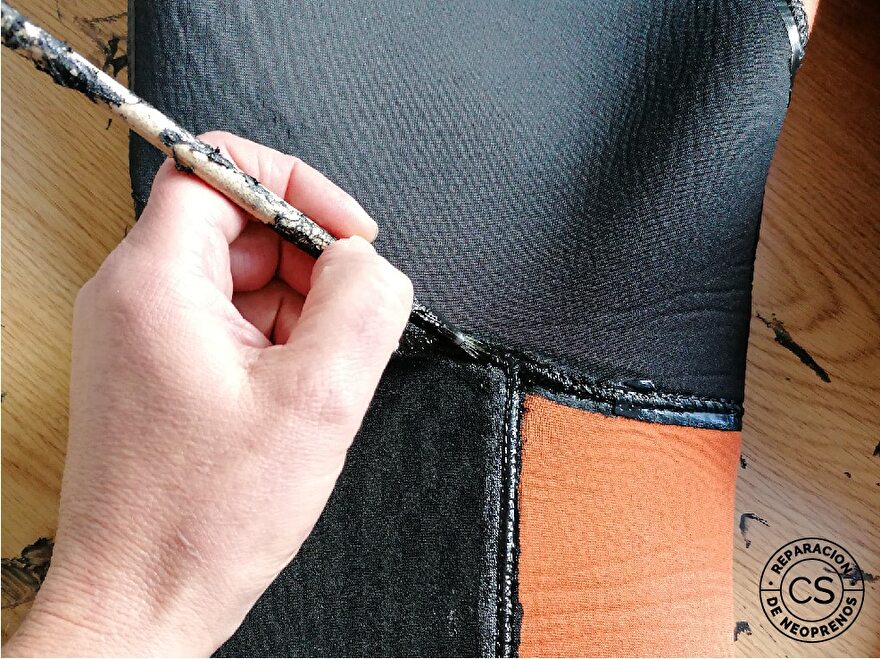
STEP 3: SEAL THE NEOPRENE SEAMS
Now we are ready! It is time to seal the seams of your neoprene with a protective lacquer, although you now know that more factors influence the waterproofing of the seams.
For this project, you only need a brush and polyurethane lacquer, also known as polyglut. This product is not glue; it is not intended to glue pieces together. Its function is to protect and seal the seams.
Using a brush, apply two or three coats of lacquer to the seams you want to protect. If you are afraid your hands will shake, you can use masking tape to delineate the area where you will apply the lacquer. Remove the tape before the lacquer dries.
IMPORTANT: Work in a well-ventilated area and be patient. The result is reinforced, waterproof, and wear-resistant seams... almost indestructible (although, as you know, rocks almost always win).
And what about the inner seams of the neoprene?
Never forget the inside of the wetsuit. Check that the seams are well stitched and the parts are firmly attached to each other, but do not apply polyurethane lacquer, as this can cause chafing. Use special heat-resistant tape to seal the inner seams of the wetsuit. This tape is easy to apply with an iron and is ideal for extra reinforcement.
This type of tape is mainly used in surf and triathlon wetsuits, but you can use it on any type of wetsuit with a textile lining. It is ideal for reinforcing seams where multiple parts meet, or when a seam requires extra strength.
20 mm wide heat-resistant tape for seams.
Conclusion: If you are going to do it, do it right.
Now you know how to properly seal the seams of your wetsuit: gluing, sewing, and lacquering, in that order. Only in this way will you achieve a durable and effective repair. The seams will no longer be a problem or a cause of premature wear of your wetsuit.
Based on an article by www.reparaciondeneoprenos.es
Overview Canyoning knowledge base: Go back.
CanyonZone
-
- Experts in canyoning & caving gear - ship worldwide
-
- Rent outdoor equipment
- New items in assortment
- Special offers
- Pre-ordering 2026
- NEW - Petzl Canyoning / Caving Line 2026
- 2nd hand canyoning caving articles
- Items / packages customer specific
- Giftcards of CanyonZone
-
- Canyoning (basic) equipment
- Canyoning equipment packages
- Luggage / Travel Bags
- Canyoning Neoprene clothing
- Canyoning shoes
- Harnesses & Accessories
- Helmets outdoor sports
- Carabiners & maillons
- Descend devices
- Ascending / Rise along rope
- Pulleys
- Rope & webbing slings
- Anchoring & accessories
- Via Ferrata / Klettersteig sets
- Outdoor Gloves / (ice-)canyoning, caving, via ferrata
- Canyoning Back Packs, bags & duffels
- Drybags & Kegs, Boats
- Outdoor Knives & Scissors
- Safety in outdoor sports
- First Aid / Medical Articles
- Rescue in outdoor sports
- Camping, Bivouac & Backpacking
- Winter- / Ice Canyoning
-
Canyoning Books & Topographic Maps
- Map Pouch
-
Canyoning Guide Books
- Australia
- Austria
- France (including Corsica and La Reunion)
- Germany
- Greece (including Crete) / Balkans
- Israel
- Italy (including Sardinia)
- Jordan / Middle East
- Morocco
- New Zealand & Australia
- Portugal (including Madeira and Azores)
- Romania
- Scandinavia
- Slovenia
- Spain (including Canary Islands and Majorca)
- United Kingdom (UK) / Scotland
- United States of America
- South America
- Switzerland
- Turkey
- Canyoning Techniques & Skills
- Canyoning Maps
- Outdoor Children's Books
- Outdoor DVDs
- Via Ferrata / Klettersteig books
- Repair & Maintenance
- Miscellaneous items outdoor sports
-
- Especially for Ladies
- Especially for Children
- Especially for Instructors and Guides
- Especially for Outdoor Sports Companies
- Especially for Underwater / Cave diving / Diving
-
- Caving (basic) equipment
- Caving equipments packages
- Caving Suits / Overalls
- Caving Under Suits
- Caving Boots / Wellies
- Caving Socks
- Caving Knee- and Elbow Pads
- Caving Gloves
- Headlamps & torches
- Caving Bags & BackPacks
- Tents and Bivi bags
- Caving & Potholing Books and topographic maps
-
-
Climbing related gear: on request
-
- Services
-
- CanyonZone New(s)
- CanyonZone Customer Service
- Contact about Assortment
- Business ordering at CanyonZone
- About CanyonZone
- CanyonZone's FAQ
- CanyonZone's Knowledge Base
- About CanyonZone, owner Gertjan van Pelt
- Works together with
- Link exchange
-
- Privacy
- Terms and Conditions
-
Terms and Conditions Rental
-