How do you glue neoprene correctly?
How to glue your neoprene correctly and avoid the most common mistakes.
It is perfectly normal to wonder how to do it; it is not something you do every day, or perhaps it is the first time. Gluing neoprene, although very simple, has its own art... and science. And there are also typical mistakes. But don't worry, in this article we will tell you about the most common mistakes and the right way to do it, so that you can repair your neoprene with confidence and guarantee a durable and strong bond. Then you can say: "Yes, it turned out perfectly, and I did it myself!"
Before we begin: Can it be glued with any type of glue?
The answer is simple: NO. Not just any glue is suitable; you need a glue specifically designed for wetsuits that is elastic, flexible, and waterproof. Beware of industrial glues! Even if they claim to be suitable for neoprene (the stiffer, industrial variant), they lack these properties and do not work properly.
The most common mistakes.
- Mistake 1: Sew first, then glue
This is a classic. However, the order of operations is indeed important. Glue the cut first, and then sew it shut to reinforce the seam. If you do it the other way around, you cannot glue the surfaces properly: the thread prevents the two sides of the neoprene from making full contact, gaps appear, and the repair is not watertight. The result: water gets in, it tears again… - Mistake 2: Sticking something on it… solves nothing
Another common mistake is trying to cover the hole by gluing something on it: a piece of fabric, Lycra, or even another piece of neoprene. But unfortunately, this does not solve the original problem. If the cut or tear is not properly sealed on the inside, water will continue to seep through that opening because the repair area is not watertight. - Moreover:
- The thickness increases and the elasticity decreases, which can even worsen the damage. Neoprene glue is designed to glue rubber to rubber (on the clean sides of the neoprene). It is not suitable for gluing textiles or other materials.
- The correct way is to glue the two sides of the neoprene directly together, without sticking anything on top. If the damage is severe, it is best to replace it with a new piece of neoprene with clean, glued edges. No improvised "bike" repair patches: it is better to do it right and ensure it lasts a long time.
- Mistake 3: Choosing the right glue
As we indicated earlier, not every glue is suitable. For a flexible and durable repair, you need a glue specifically designed for neoprene. In the Reperacion de Neoprene workshop, they have tested many glues in over 15 years of professional neoprene repairs, and the glue that always lets us down is the one we use daily. That is why they have packaged this glue in a 30-gram tube, so that you too can achieve a safe and reliable result. It is the same glue they use for all their repairs.
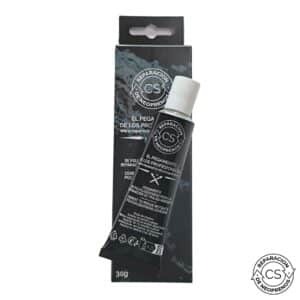
Neoprene Glue 30 g – Repair tears and seams
How to repair a torn wetsuit in 3 steps
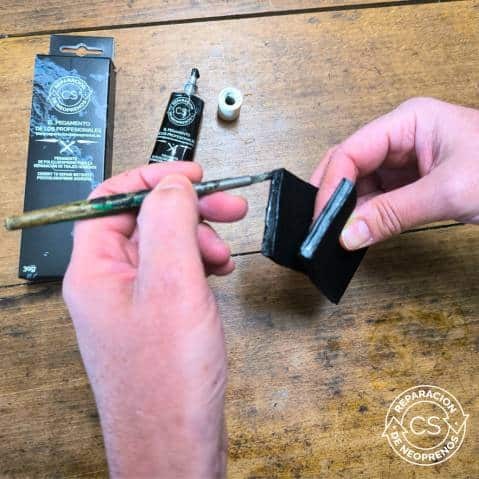
Thoroughly clean the area to be repaired. Ensure it is free of salt, sand, and moisture. Dry it completely.
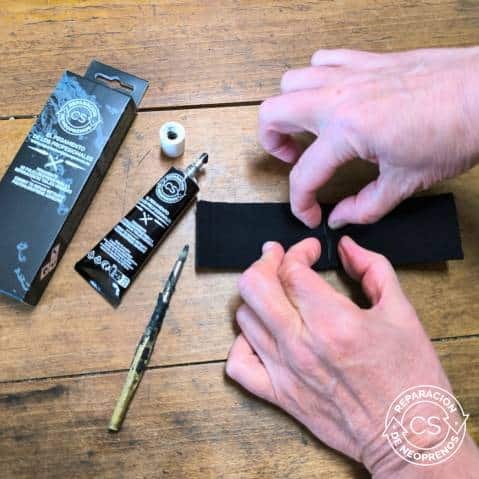
- Apply the glue to both sides of the cut. Let it dry for a few minutes according to the instructions on the packaging (usually between 5 and 10 minutes).
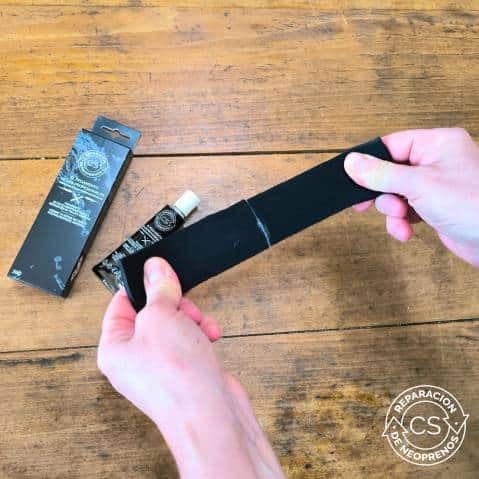
- Carefully join both parts together and press them firmly to ensure no air bubbles form.
- Let it rest for a few hours before use. At least 24 hours.
- (Optional) Reinforce with a seam. But only if it is already well glued.
Finally
Not sure how to repair your wetsuit? Then don't improvise. Here you will find reliable information and you can also make use of free personal advice from Reparacione Neoprene: use the form to send photos and they will guide you step by step to the most suitable product and the right technique. This ensures a simple, effective repair without surprises. See FINAL ADVICE on this page for more information.
Based on an article by www.reparaciondeneoprenos.es
Overview Canyoning knowledge base: Go back.
CanyonZone
-
- Experts in canyoning & caving gear - ship worldwide
-
- Rent outdoor equipment
- New items in assortment
- Special offers
- Pre-ordering 2026
- NEW - Petzl Canyoning / Caving Line 2026
- 2nd hand canyoning caving articles
- Items / packages customer specific
- Giftcards of CanyonZone
-
- Canyoning (basic) equipment
- Canyoning equipment packages
- Luggage / Travel Bags
- Canyoning Neoprene clothing
- Canyoning shoes
- Harnesses & Accessories
- Helmets outdoor sports
- Carabiners & maillons
- Descend devices
- Ascending / Rise along rope
- Pulleys
- Rope & webbing slings
- Anchoring & accessories
- Via Ferrata / Klettersteig sets
- Outdoor Gloves / (ice-)canyoning, caving, via ferrata
- Canyoning Back Packs, bags & duffels
- Drybags & Kegs, Boats
- Outdoor Knives & Scissors
- Safety in outdoor sports
- First Aid / Medical Articles
- Rescue in outdoor sports
- Camping, Bivouac & Backpacking
- Winter- / Ice Canyoning
-
Canyoning Books & Topographic Maps
- Map Pouch
-
Canyoning Guide Books
- Australia
- Austria
- France (including Corsica and La Reunion)
- Germany
- Greece (including Crete) / Balkans
- Israel
- Italy (including Sardinia)
- Jordan / Middle East
- Morocco
- New Zealand & Australia
- Portugal (including Madeira and Azores)
- Romania
- Scandinavia
- Slovenia
- Spain (including Canary Islands and Majorca)
- United Kingdom (UK) / Scotland
- United States of America
- South America
- Switzerland
- Turkey
- Canyoning Techniques & Skills
- Canyoning Maps
- Outdoor Children's Books
- Outdoor DVDs
- Via Ferrata / Klettersteig books
- Repair & Maintenance
- Miscellaneous items outdoor sports
-
- Especially for Ladies
- Especially for Children
- Especially for Instructors and Guides
- Especially for Outdoor Sports Companies
- Especially for Underwater / Cave diving / Diving
-
- Caving (basic) equipment
- Caving equipments packages
- Caving Suits / Overalls
- Caving Under Suits
- Caving Boots / Wellies
- Caving Socks
- Caving Knee- and Elbow Pads
- Caving Gloves
- Headlamps & torches
- Caving Bags & BackPacks
- Tents and Bivi bags
- Caving & Potholing Books and topographic maps
-
-
Climbing related gear: on request
-
- Services
-
- CanyonZone New(s)
- CanyonZone Customer Service
- Contact about Assortment
- Business ordering at CanyonZone
- About CanyonZone
- CanyonZone's FAQ
- CanyonZone's Knowledge Base
- About CanyonZone, owner Gertjan van Pelt
- Works together with
- Link exchange
-
- Privacy
- Terms and Conditions
-
Terms and Conditions Rental
-